
With electronic artists, aesthetics are just as important as functionality. There may be a few of you out there that don't care. But, for most of us, a beautiful piece of hardware is (almost) just as pornographic as this month's centerfold. Yeah, don't tell me you've never lusted for gear before...
If you read my previous article regarding Livid Builder and Elements, you'll know that I've been on a DIY sojourn into the dark sorcery of hardware, forging my own MIDI controller as a knight forging his own sword. Or, a newbie creating his first device. I'll go with the more poetic version to keep myself happy, you can choose whichever version you like. Either way, in this next and final recounting of the building of my MIDI controller, you'll learn how I finally pieced it all together.
The Case
No gear lust can fully be satisfied without the loving arms of a good enclosure, case, or whatever you prefer to call it. The bottom line, if you remember from the last article, I had all the parts and the brain, now I needed an enclosure to store everything in.
Originally, I tried to get creative. I looked at old, vintage radios that I could gut, and ornate, metal cookie tins. I really liked the idea of having a 'steam punk' look for my MIDI controller. However, the nostalgia and lust for experimentation quickly faded when I remembered that, unlike most of my buddies, I'm a man that has almost no tools of his own. So, while all of the ideas that I had were possible, without the tools, I'd be looking at building a very, very ugly box, with cool functionality. Who wants to look at pictures in a magazine, or on a website of ugly MIDI controllers, right?
So, knowing that those who inspired me on this quest always had an answer, I looked again to Livid. Come to find out, Livid builds some lovely cases made of wood, metal, and love. I decided to pick up a Skiff 80, which is a single row case that holds up to 4 Elements. Granted, the 8K8B device that I built is not, officially, an Element, but because I used a faceplate design that followed the Element build format, it could actually fit perfectly within the Skiff 80, and look pretty at the same time. And, you know that we like for things to look pretty.
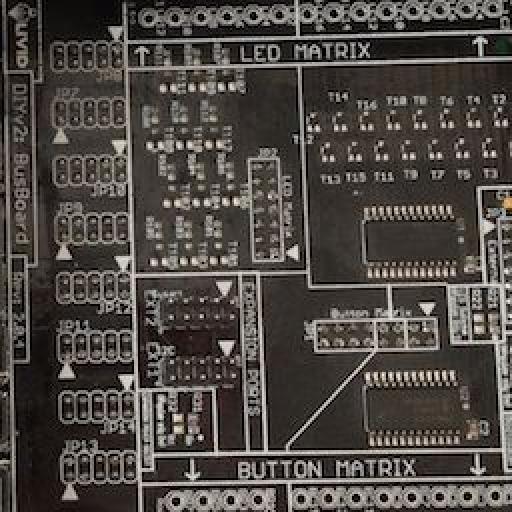
After the Skiff 80 arrived, the first thing I had to do was mount the Brain V2 within the case. Thankfully, the Skiff 80 has a nice plastic interior, so all I needed to do was obtain four, number four sheet metal screws. These are sharp enough that I'd be able to use a simple screwdriver (no need of a drill... But, that is one of the few tools I own!). Unfortunately, my local hardware store did not have these screws, but the wood screws worked out fine. Here's the Brain V2 mounted within case with ribbon cables billowing out all over the place.


The process of mounting the board within the case was, for the most part, very easy, but I had to pay special attention to lining up the MIDI ports, USB, and power jack so that all the cords coming in could get to the ports without occlusion. Yeah, you heard right, even the DIY kits that you buy from Livid don't necessarily have to be used with a computer. You do need to configure the MIDI ports on the computer! But, once this task is completed, you can buy a wall wart from Livid and run your homemade, Elements, or DIY device based on the Brain V2, and use it to control only MIDI devices, independent from a computer. Nice.

Next, came the process of adding each Element in, including my custom-built 'Element-like' device, the 8K8B. This was the part that I was pretty nervous about, because the faceplate that I had built was not made by Livid. So, if it didn't fit, I'd have to go back to the drawing board, then order from frontpanelexpress.com again, wait a few days, and hope that replacement worked. Thankfully, the hardware gods were shining down on me. The 8K8B fit in nicely, with its custom faceplate. I would be jamming tonight, after all.

Now came the process of running all the cables to the appropriate ports from the Brain V2. As I cabled everything up, I had a flash of insight from my past. As a guy that used to build his own computers back in the 90s, things were starting to make more sense to me. The Brain V2 acts as the motherboard for my MIDI controller. The Elements act as input devices that are easily wired by ribbon cables to the motherboard, again the Brain V2. The Skiff 80 acts as the computer case, but there's no bulky power supply and it looks sexy as hell, with its wood and metal build. On the Brain V2, all of the ports are labeled clearly with LED, Analog, or Buttons, so it's very self-explanatory in regard to where everything should go. You just have to make sure that the red wire within the ribbon cable lines up with the arrow on the port... Just like building computers in the '90s, only the ribbon cables are smaller.
Once all of my cabling was finished, which took a minute to complete, I was able to plop each Element within the case and get my first look at what my new axe would look like. And? It brought a tear to my eye! Look for yourself!

Everything fit snuggly within the Skiff 80, and as I carefully picked the unit up like an infant within my arms, I noticed that I didn't have to be too careful. It's solid! Seriously, it feels like it could survive a nuclear blast. The only part that was a little frustrating was that I, in my rush to complete the perfect MIDI controller, was missing one Element, or at least a mock faceplate to cover the Brain V2. So, for the moment, my controller looks a little rugged. That's okay, it's an excuse to build, or pick up another Element! Don't you agree that this is a glass half-full way of looking at things?
Connecting and Conclusions
Like the last article, the next step was to test everything. I launched the Brain V2 configure software to make sure my lights and faders were working. Once this was verified, I just launched Ableton, enabled the MIDI map mode switch, and started assigning knobs and buttons. The support section of the Livid website covered all bases in configuring the MIDI setup within Ableton, and I'd already taken care of that .

But, let me answer the most important question: How did it feel? Well, the buttons, knobs, and sliders within my new controller are top notch. These don't feel like the plastic controllers I've used in the past made by companies that shall go unnamed. These knobs, slider, and buttons feel like they can take some abuse, along with the whole controller. And, once I buy that next element, you can rest assured that this will take a lot of abuse.
Start your own DIY MIDI Controller project using Livid Builder on the Livid Instruments website here.

Discussion
G
Want to join the discussion?
Create an account or login to get started!