You may already know about building dubstep bass patches in Reason using one of its excellent built-in synths. If you don't fancy making your own patch, you can always load one of the preset dubstep basses from the Factory Sound Bank and tweak it to suit your needs. What we're going to look at here is processing the sound to make it even more deep down and dirty and help take your dubstep tracks to the next level.
Step 1
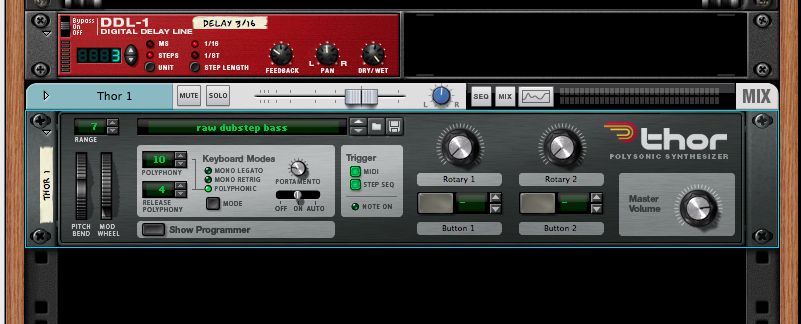
Load up a dubstep bass patch in Reason. Here I'm using a patch I have created and that you can download HERE. As you can tell it's a little dry and needs dirtying up a lot so the first thing to do is to place it inside a Combinator. This means it will be easy to connect lots of effects to it and save the whole thing as a single patch for instant recall in any project.
Step 2
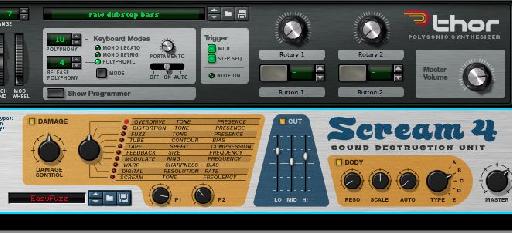
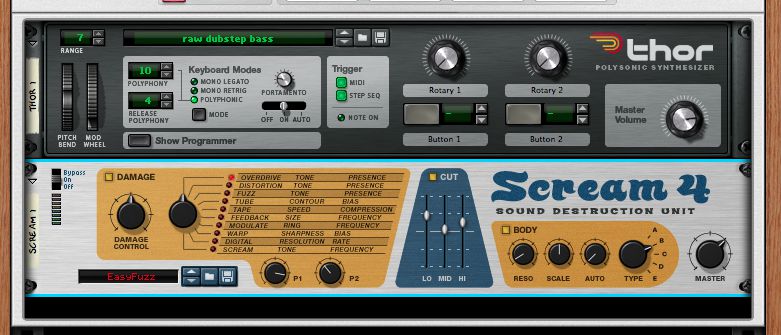
Right-click on the Thor in the Rack and choose Combine. Then select Thor again inside its new Combinator and choose to add an effect. Let's start with a distortion, since our sound needs some more grit. Dial in some settings to the Scream 4 that work for you: it's pretty easy to add some bite to the sound.
Step 3
Next, try adding an instance of the Audiomatic Retro Transformer to the signal chain. This is new in Reason 7 and can add various kinds of phasing, chorus, distortion and filtering to the signal to change it. For this patch, the preset called “Bottom” works well, especially when the Transform dial is pushed all the way up to the top.
Step 4
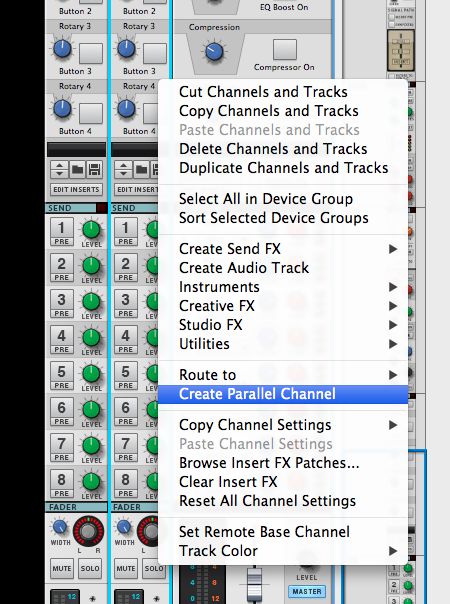
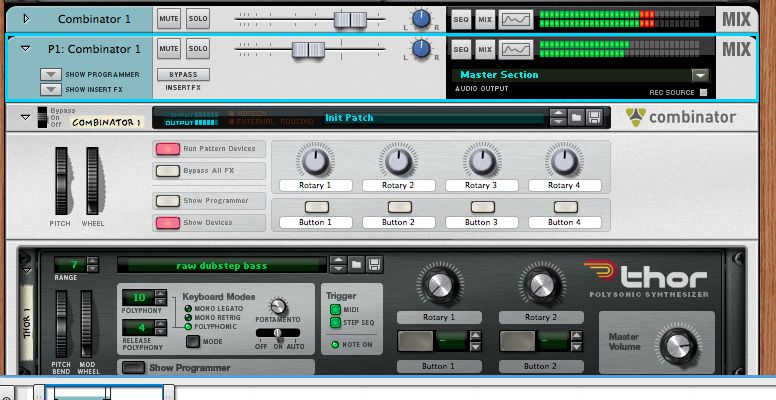
Now let's take advantage of Reason 7's parallel channel capabilities. In the mixer, right-click on the Thor channel and choose Create Parallel Channel. This creates a second mixer channel using the same signal that's feeding the original channel. So you're not duplicating anything in the Rack, but you can begin to add processing to the new channel to make a bigger sound.
Step 5
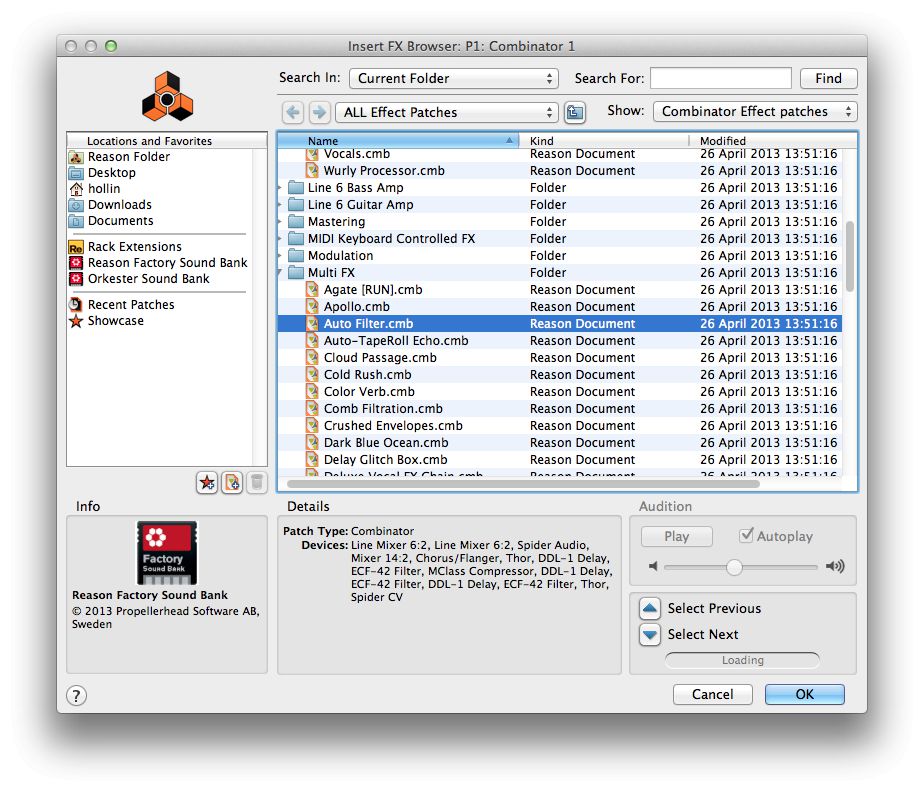
You could add effects to the parallel channel in the usual way, or click on the File icon button on the channel to go to the Insert FX patches browser. Navigate through the presets until you find something that works. If you leave the track playing back, you should hear the FX chain previewed in real time. Here I have chosen one called Auto Filter.
Step 6
The beauty of parallel processing is that you can now blend your original signal and the parallel processed one, and even EQ the two channels differently. In this case, by having the new channel a little quieter than the main one, I can keep the body of the sound intact while adding a layer of depth and interest underneath. Naturally the effects on the parallel channel can be edited freely.



 © 2024 Ask.Audio
A NonLinear Educating Company
Discussion
Want to join the discussion?
Create an account or login to get started!