
1. Declutter The Project Window

As Cubase evolves, the developers have been working on using fewer floating windows. While we’re some way off a single-window Cubase, there’s a lot you can do with tabs in the latest release. In the project window, look at the base where the MixConsole, Sample Editor and other tabs live - you should have at least a couple of these visible. Click on the gear icon (Cubase’s universal indicator that you can change a setup) to reveal the Setup window. Here you can choose to show or hide different sections, and change the order of visible items. It may be that you never use Chord Pads for example - simply hide them to declutter your workspace a little.
2. Toggle Back to 32-Bit
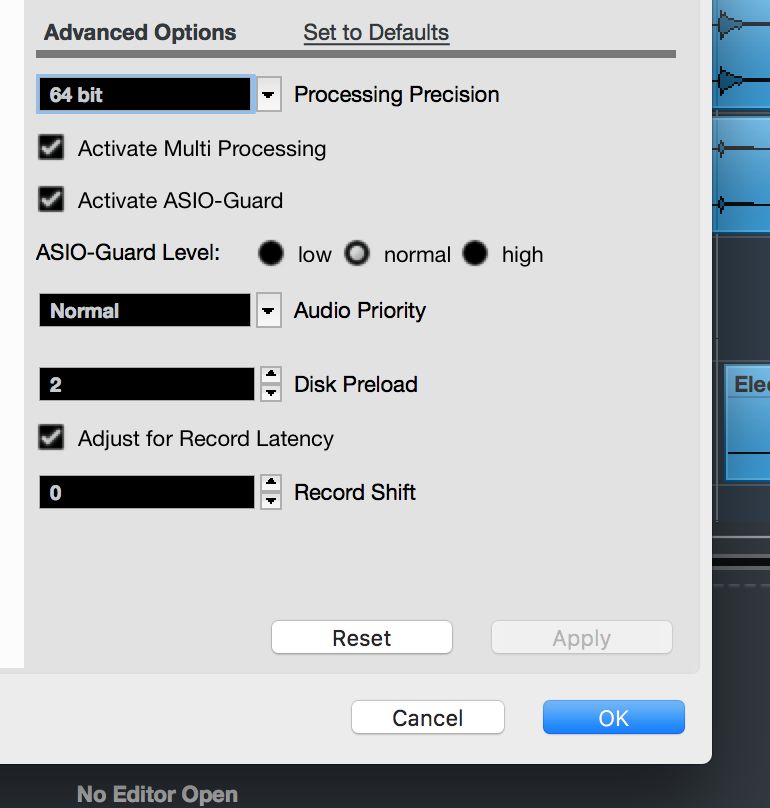
In the Studio > Studio Setup menu you can access amongst other things the controls for the way Cubase interacts with your audio hardware device. In addition to changing the ASIO Guard priority which governs how much processing power Cubase will use to maintain a stable audio stream under load, you also have the option to switch the application’s processing precision from 64 to 32-bit. While you might normally want to keep this on the higher setting of 64-bit, if running an older machine or struggling for CPU power, you do have the option to throttle it down a little.
3. Auto Fades Per-Track
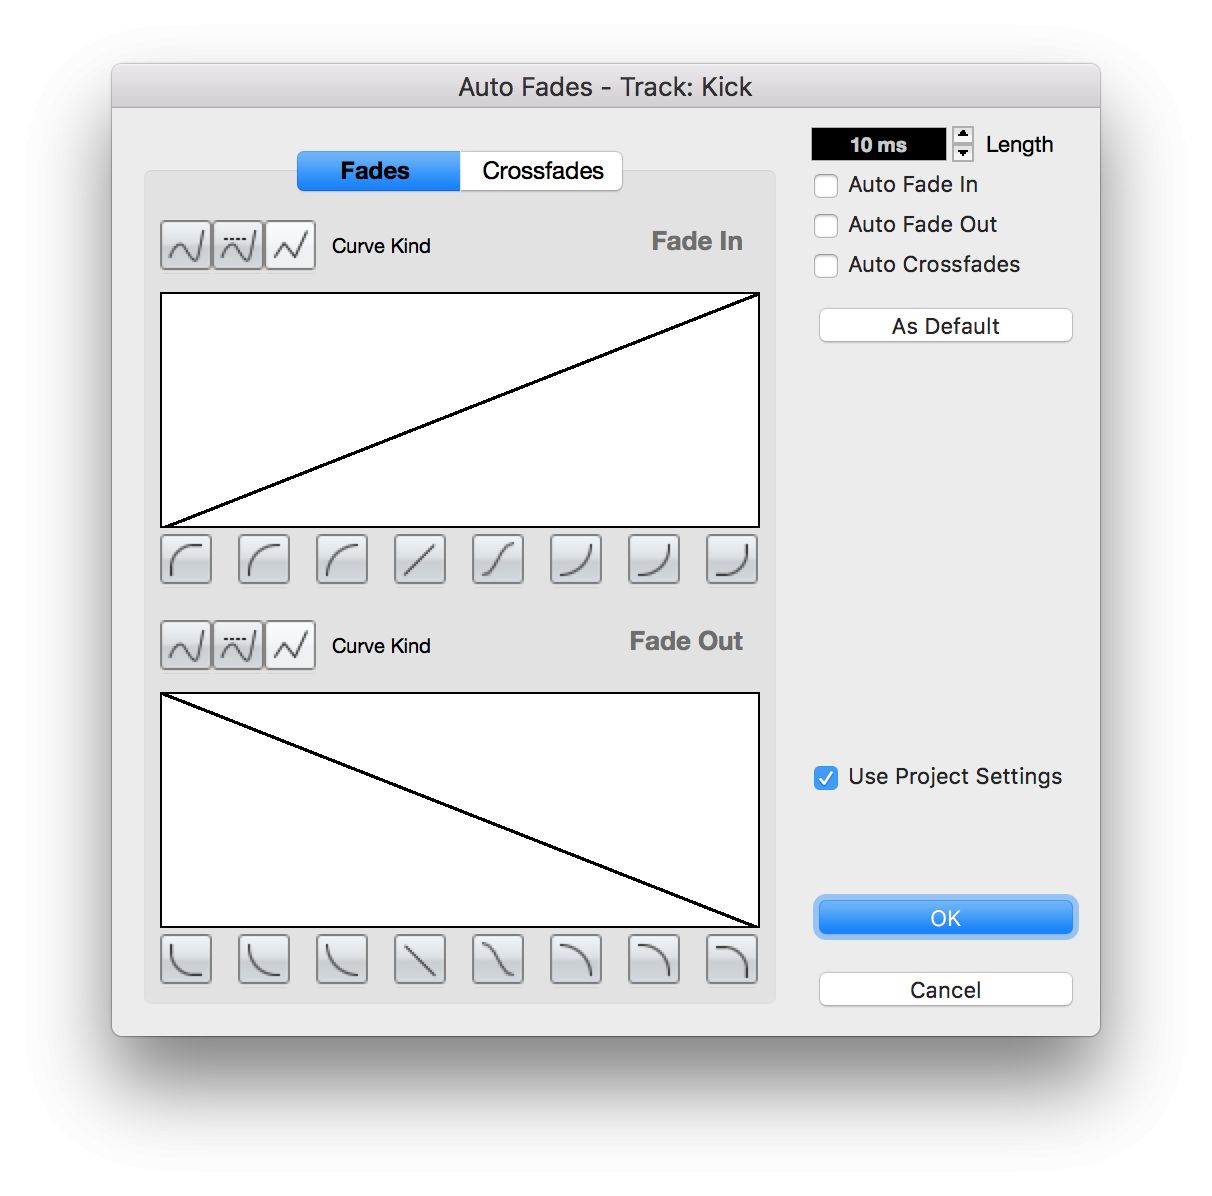
Cubase is able to automatically apply fades between audio clips and events to avoid clips and jarring transitions. If you right click on any track’s header section you can open a window called Auto Fades Settings. This lets you set a fade type on a per-track basis. So for example you might want a drum track to use different fade settings to a piano track. By default, tracks are set to use the global project fade settings but this can be deactivated from this window for any track.
4. Manage Workspaces

The Workspaces menu affords you lots of flexibility. Different parts of the production process require very different sets of tools and options, so setting up a couple or more of your own specialised layouts can be a great timesaver. The Workspaces Organiser window shows you two sections: Global and Project workspaces. Global ones are available to any of your projects, while Project ones are stored internally with this particular project. Once you have tweaked your layout, click Add new Workspace, assign it a name and choose its category. You can then also assign a key command to it, making zapping between spaces very quick and easy.
5. Program MIDI Without A Keyboard
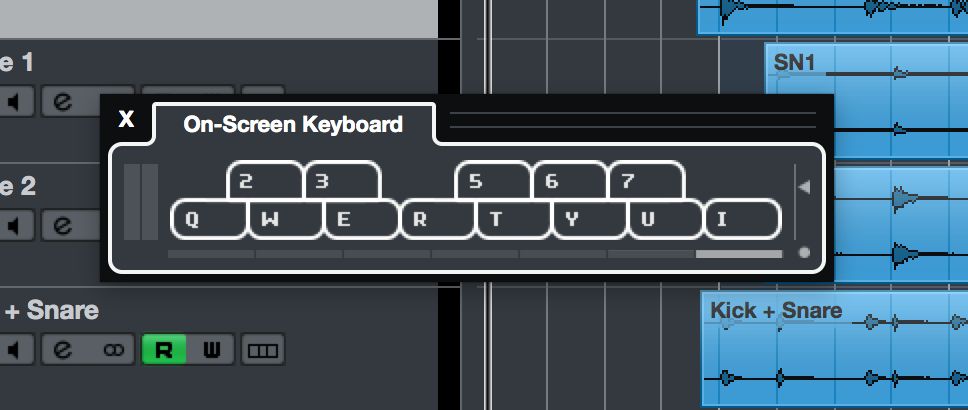
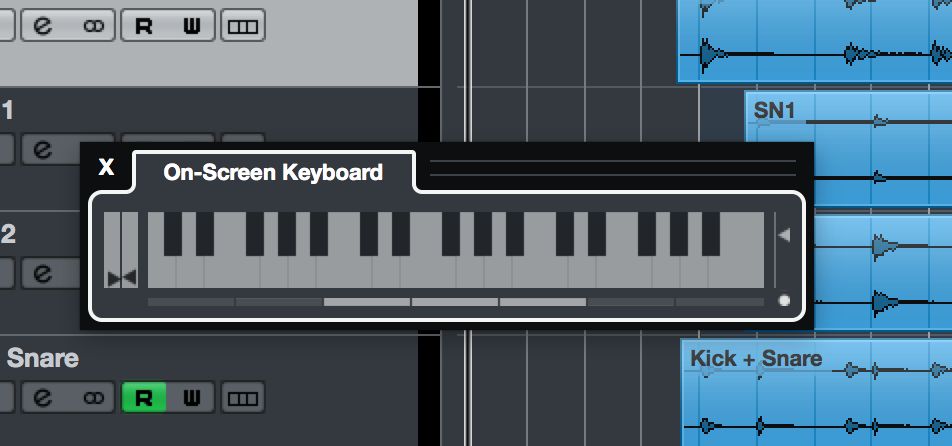
No MIDI keyboard? No problem. From the Studio menu, choose to show the On-Screen Keyboard and it will pop up. Click the tiny circle at the bottom right corner to toggle between piano and computer keyboard key view. The blocks running along its base let you change octaves and the two columns to the left - when in piano view - let you program in modulation and pitch bend amounts using the mouse cursor. It’s a good way to play simple MIDI parts with just your computer, and you can always draw in things like velocity and sustain afterwards.
6. Drag And Drop Anything
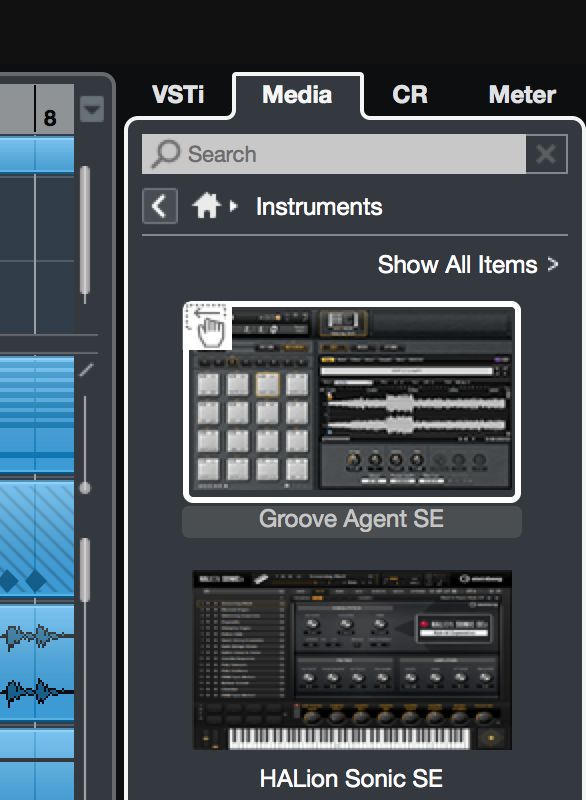
The Media tab now makes it easier than ever to load VST instruments. From within this section, mouse over any instrument’s GUI and you will see a small hand appear. You can then drag and drop it into a project and Cubase will create an Instrument track all ready to go. No more fishing around for content - simply drag and drop. The same applies to loops, MIDI files, presets and any other content you have available.
7. Save Individual Mixer Channel Settings
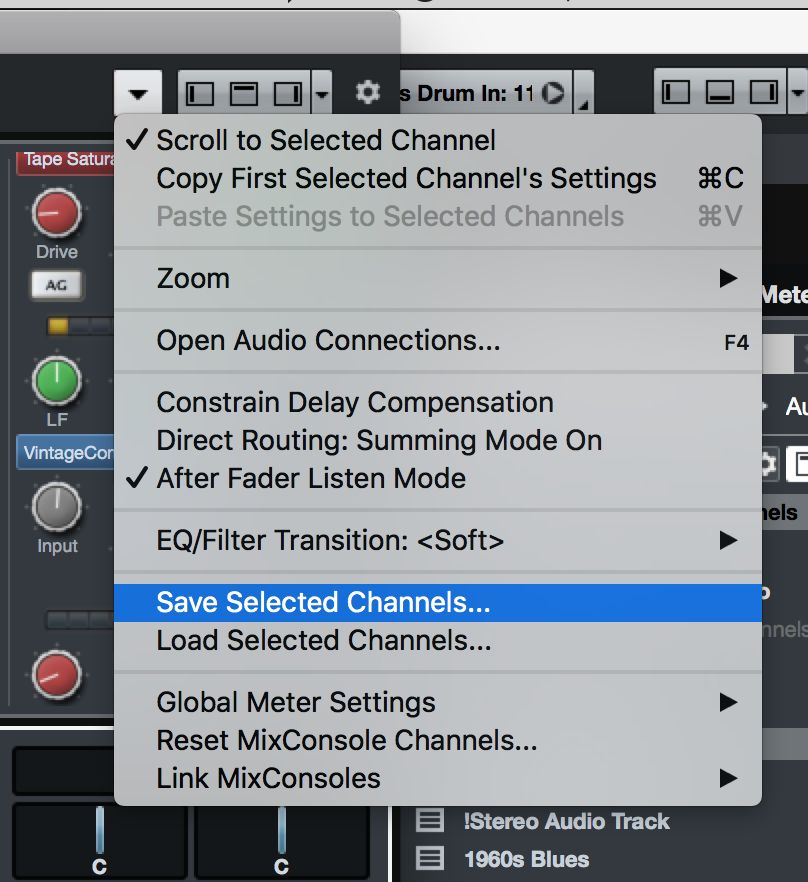
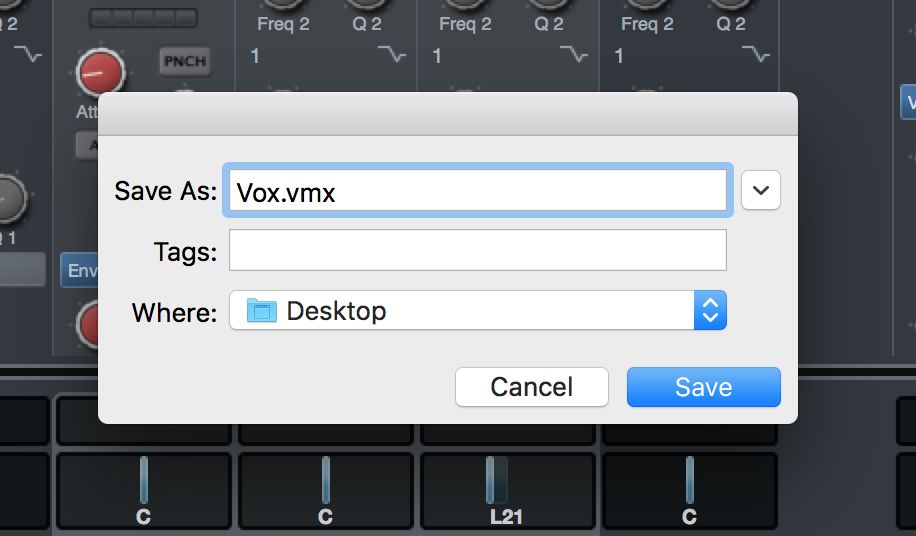
You may be aware of Track Presets, but Cubase is actually able to save individual mixer channel settings out to your Desktop. Choose one or more channels inside MixConsole and then click on the Functions dropdown menu at the top right hand corner. Choose Save Selected Channels and then assign a name to the file. Repeat using the Load… command to load these into another project. This is a handy way of sharing settings for individual channels in a more transparent way than saving them inside Cubase as a track preset. It would be easy for example to email this exported file to another Cubase user, so they could quickly recreate specific settings on tracks.
8. Customise Browser Filters

The Media Browser has several sections and many allow you to choose which filters appear in the filter list, making searching quicker and more accurate. Click on the gear icon at the top of the browser list and select which parameters will appear. This lets you quickly set up search criteria that are most useful to you - always showing BPM and codec for example, but leaving out the terms you never use.
9. Take Control Of Automation

Automation has become easier to work with in Cubase, and the Automation Panel really takes things to the next level. Performing bulk operations on automation data used to be a huge hassle but now it’s much simpler. As well as being able to fill, suspend or activate read and write within a given range, the Functions menu in this window lets you delete automation based on specific time ranges or tracks. It’s a great way to quickly manage lots of data with a couple of clicks.
10. Quickly Manage Tracks Inside Folders
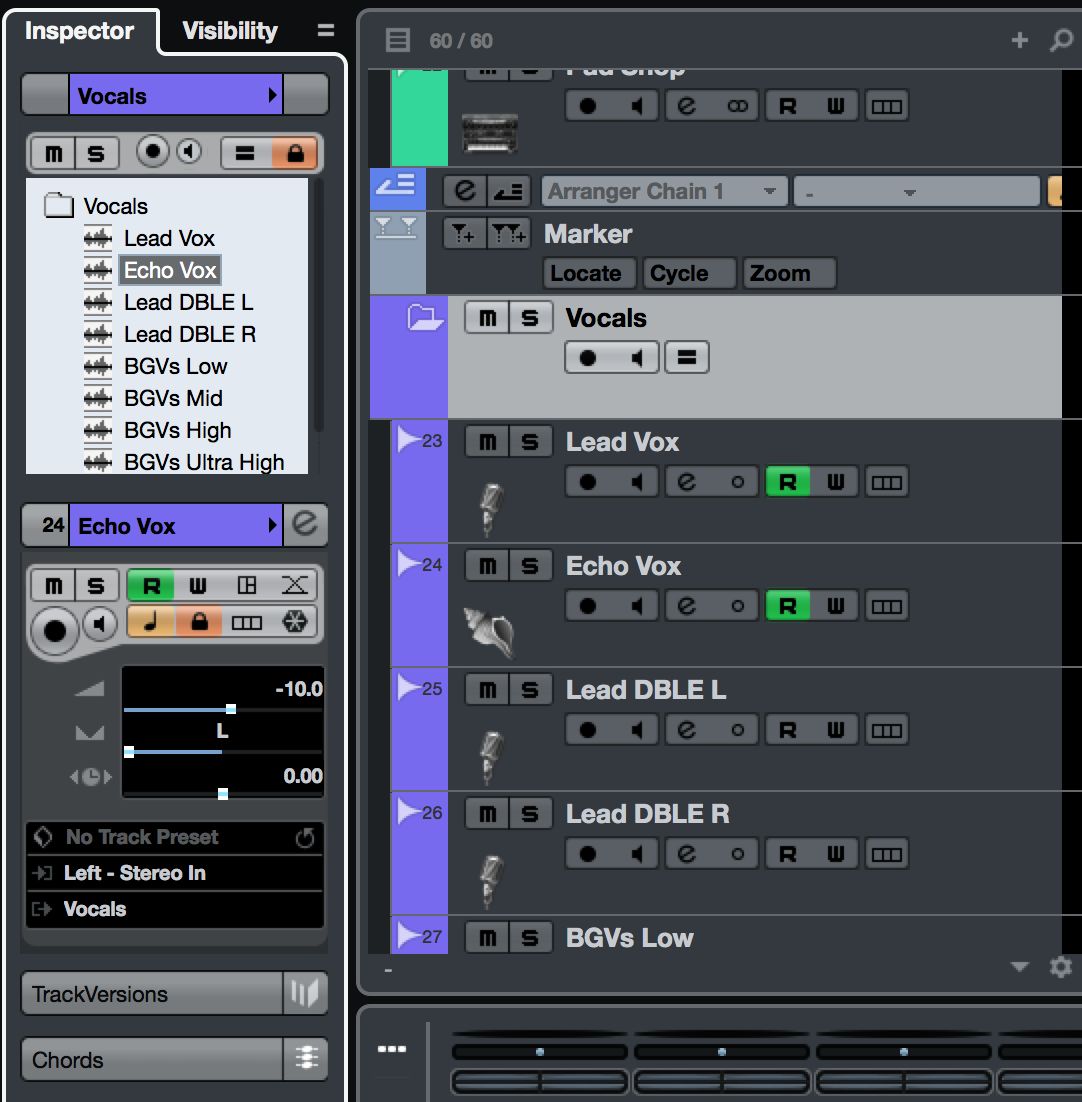
Grouping multiple tracks into a Folder track is a good way to keep common sources together and cut down on clutter. Multiple drum channels or vocals, for example. If you look at the Inspector panel when a Folder track is selected, the tracks inside that folder appear in a list at the top. You can then click on any of these and its own channel settings will be displayed underneath. Move up and down the list using the area at the top and you can quickly see and edit each track. This is quicker than toggling between tracks using the regular Project view.

Discussion
Want to join the discussion?
Create an account or login to get started!