The guys over at Steinberg have been busy again and have come up with a major update just in time for the start of the new year. We're now at version 7.03 and there are some pretty drastic feature updates here, including new devices, interface tweaks and a completely rebuilt mixer called the MixConsole.
If you are a long time Cubase user, it should be a nice easy transition, although things look very different, the updates and new design should make your sessions run much smoother. Let's take a look at the key areas of this new mixing tool.
A Serious Facelift
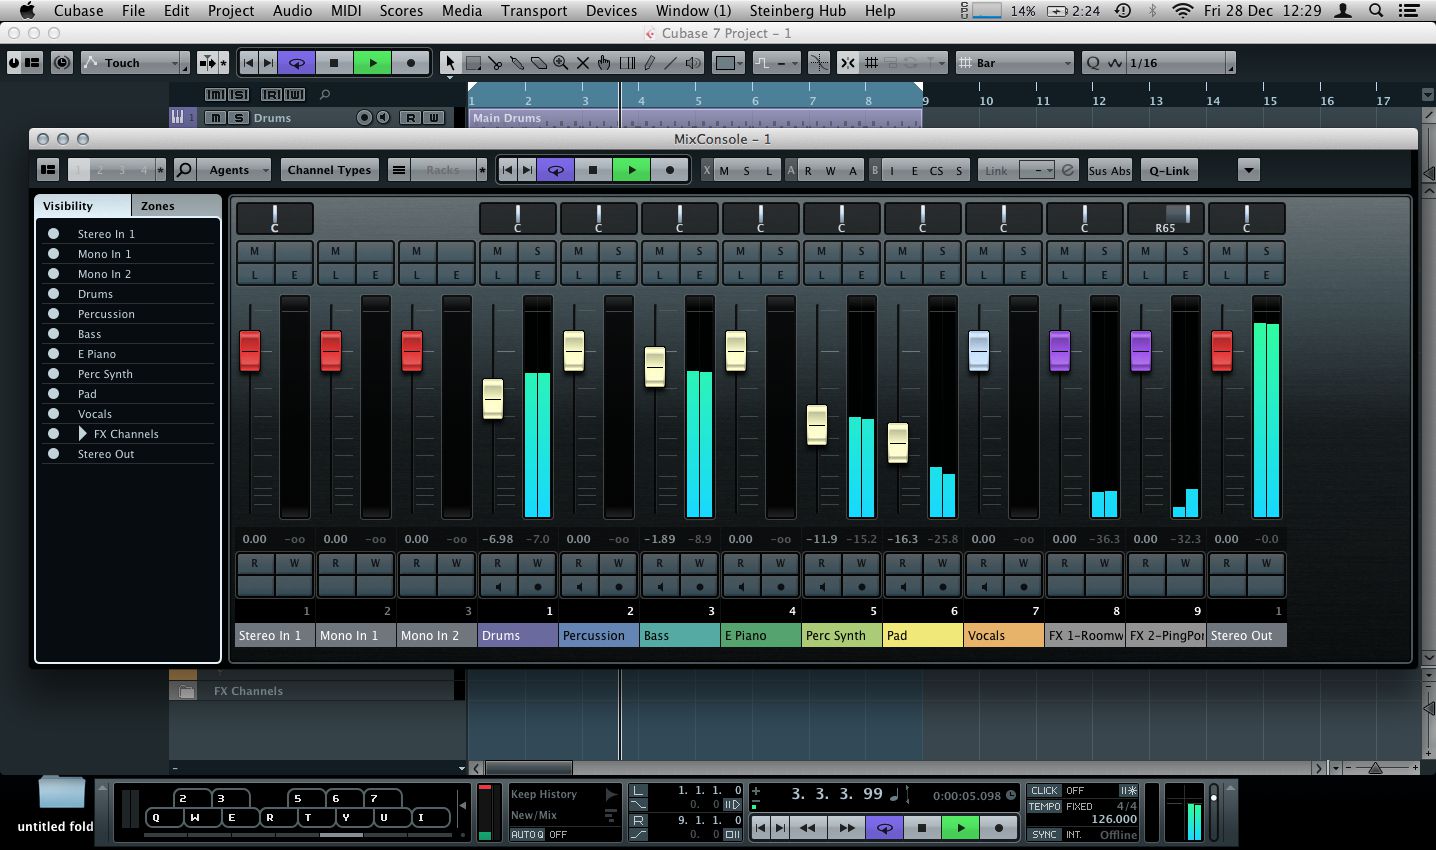
Although the MixConsole has a distinctly 'Cubase' feel about it, the graphics are more less completely revamped. The overall theme is now quite dark with lighter highlights, I find this much clearer and easier on the eye over longer sessions.
The brand new MixConsole in default view.
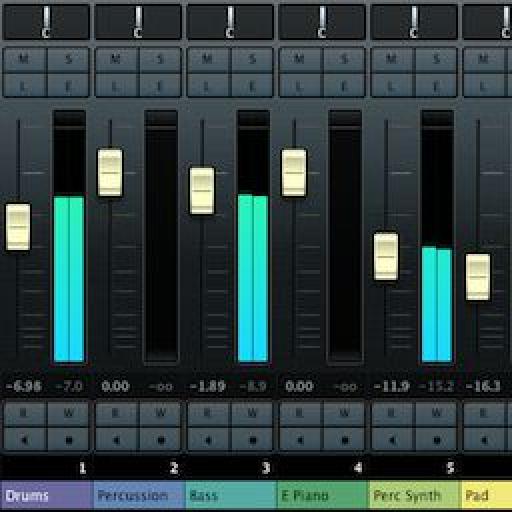
The faders and meters now have a serious hardware look, and some simple but effective color coding makes the different fader types stand out immediately. As soon as I opened a project in the new version I found it easier to navigate to specific instruments in the mix.
Coloring, naming and applying notes to each channel remains the same and these characteristics will be loaded from projects created in earlier versions of Cubase. These skin deep alterations to the interface are just the tip of the iceberg, so let's delve a little deeper.
Stretch And Zoom
When you first open the MixConsole in its default view, you may notice that there is not a huge amount of information on show. Granted, you can see the meters, faders and some plug-in info but there is much more on offer here.
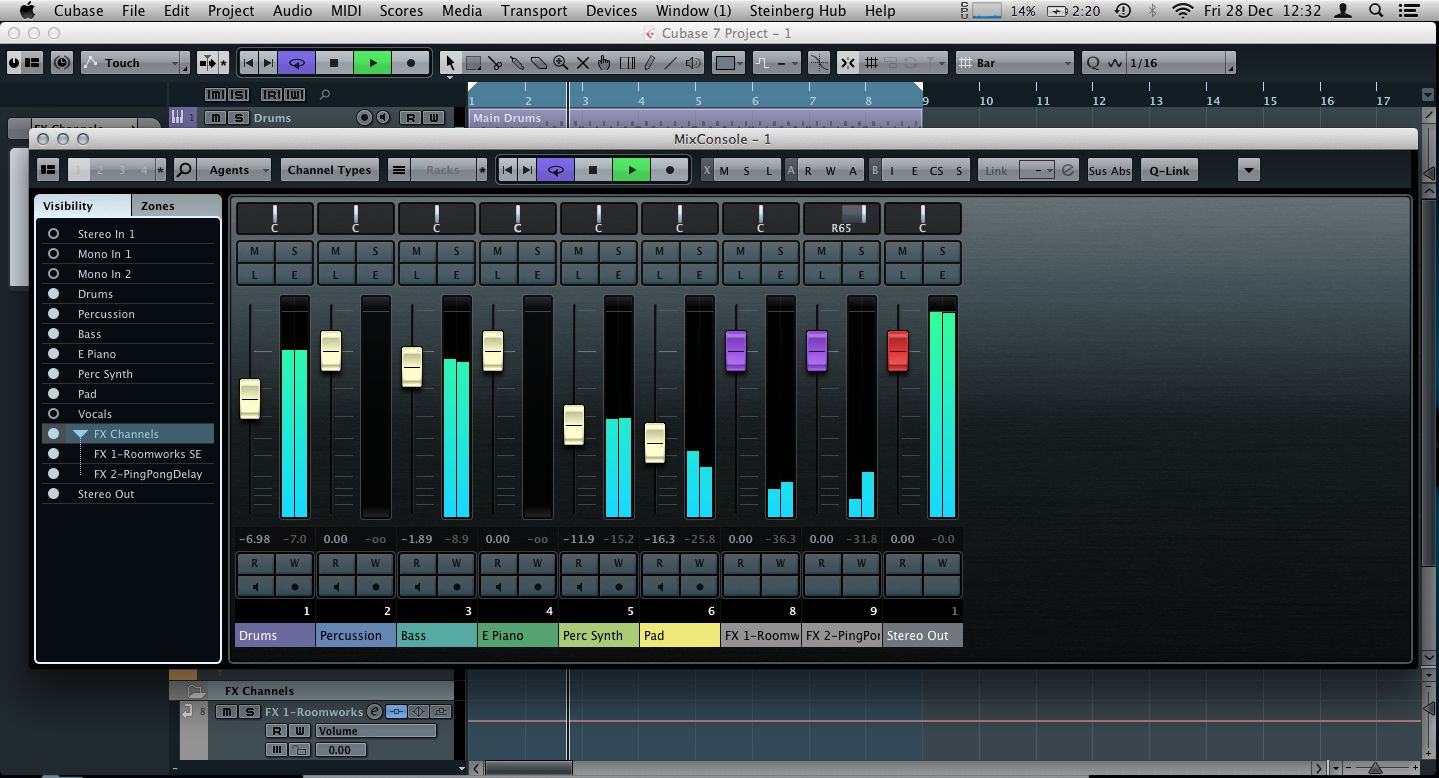
The first thing I want to touch on is the MixConsole's scalability. This is the first DAW mixer that I've used that uses this feature and it enables you to stretch the whole mix window to any shape you like and retain the majority of viewable info.
This is especially useful if you are working on a single screen or laptop-based setup. This was actually written on a MacBook Pro and although I have used Cubase 7 on a desktop setup, I was more than happy with the way the MixConsole adapted to the smaller screen.
A mix stretched and zoomed to fit into a smaller area.
Making the console window narrower or shorter simply resizes the majority of the data, menus and buttons, while the faders and meters can be zoomed and stretched to any size you like. This is a really refreshing approach and should really be standard in all DAWs moving forward... Apple take note!
If you find that you want to customize the way your console looks even further, you can use other features to show and hide specific elements in your mix.
Custom Views
Realistically, there are three or four ways of altering what is shown in the MixConsole at any one time. We've already seen that you can drag window sizes and this works for each area of the console. You can also use the standard Cubase zoom functions to open up the size of the faders and meters themselves.
On top of this scalability, you can actually choose to hide and reveal specific functions and channels within your active project. This is achieved by using either the Channel Selector, Window Layout or Channel Type windows. They all do similar jobs but have varying levels of control.
The Channel selector is probably the first area you'll see as it is open by default and appears on the left-hand side of the Console. This area allows you to show or hide any channel in your project individually. This really is ideal as you really can create a totally custom view of your mix and slim down even complex projects.
Removing channels from view with the Channel Selector.
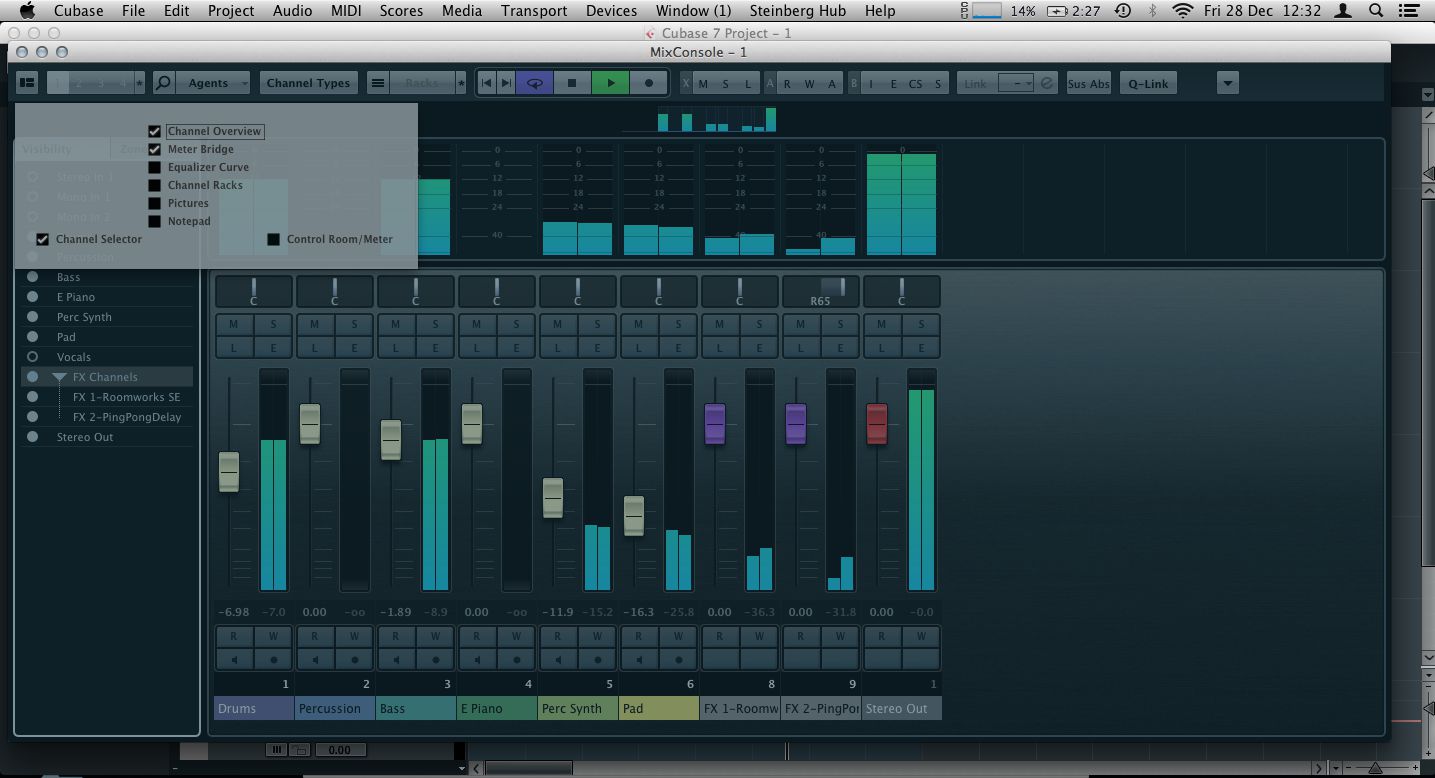
By accessing the Window layout options you can even show/hide the channel selector. This option window also allows you to hide other key areas such as the meter bridge, notes and even the new racks area.
The Window Layout area.
If you want a super quick way to show and hide specific types of tracks, try using the Channel Type window. This handy little area gives you access to hide/show buttons for certain types of track. For instance, you can hide just the inputs, or just the MIDI channels. I found myself using this one quite a bit.
Racks And Routing
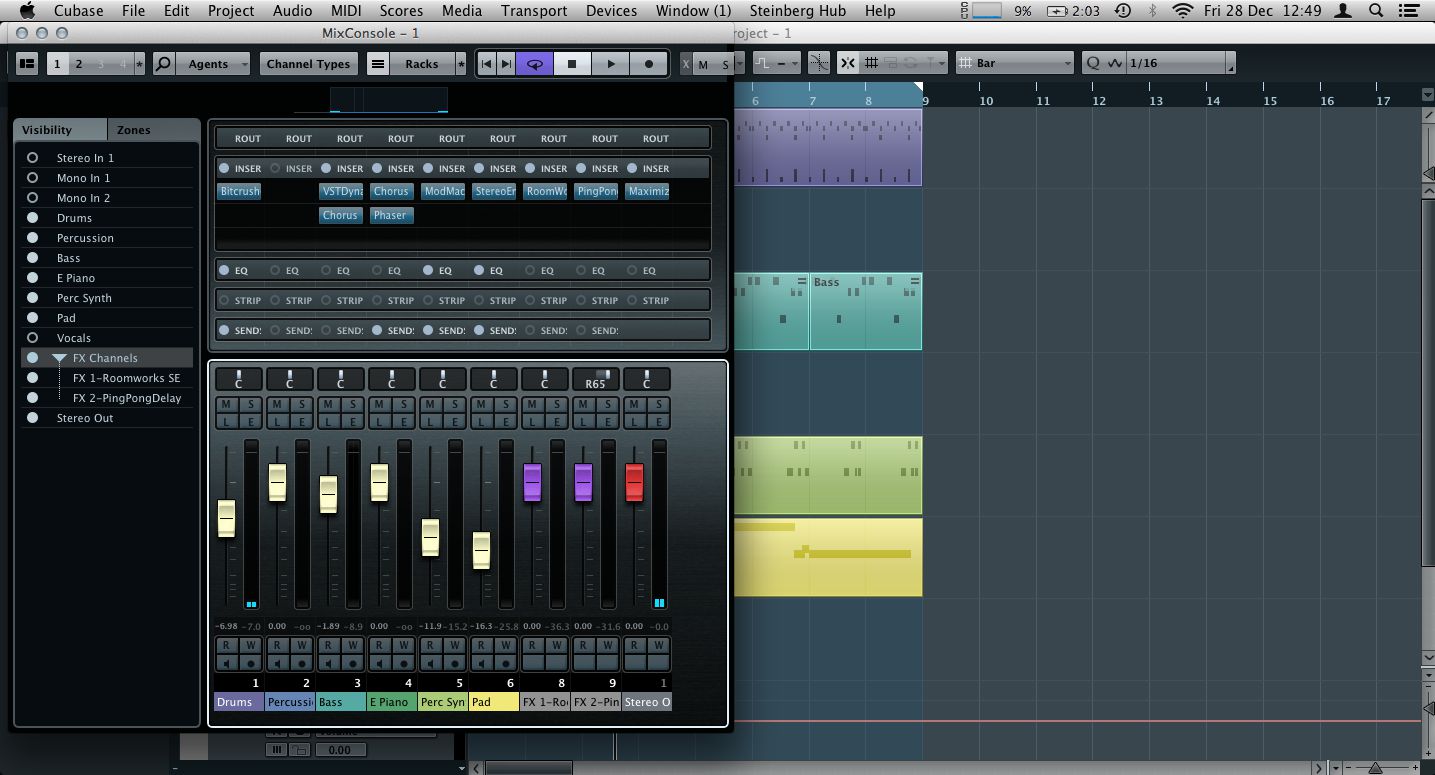
The new 'Racks' feature is really just a re-design of the insert system we have seen in previous versions of Cubase. I'm not playing it down at all, as it really is an excellent implementation of insert effects, but you really shouldn't find this too difficult to get your head round if you have ever used insert effects elsewhere.
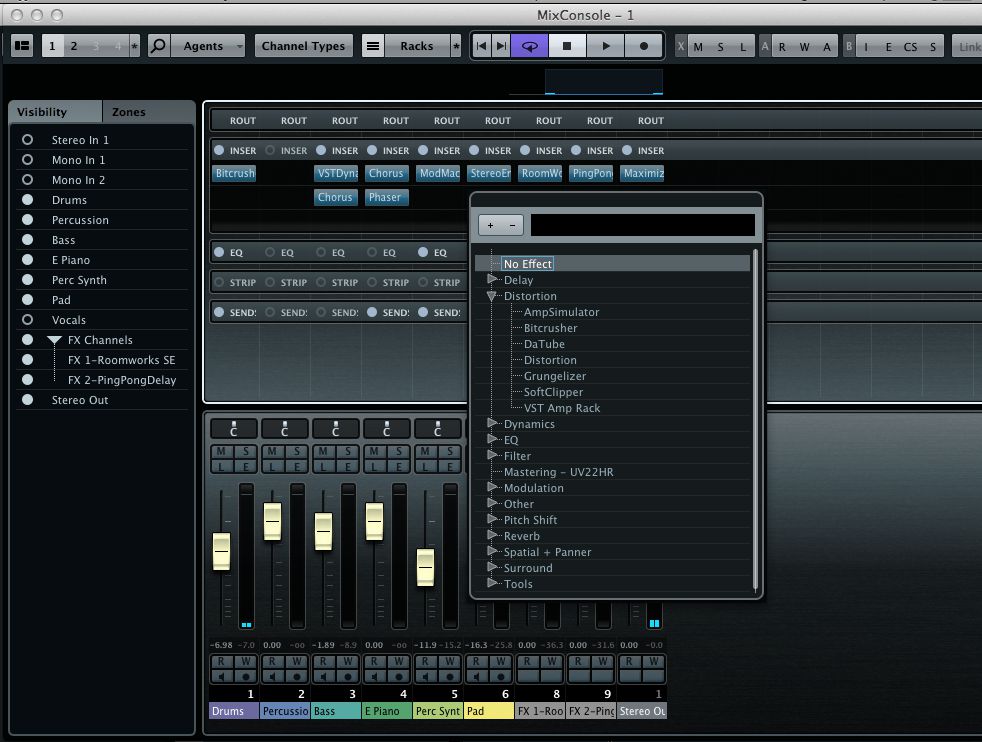
Handy drop-down menus are presented at the click of the mouse and effects can be easily moved around a highlighted grid using drag and drop. This system has been used before but this really is smooth as butter.
The newly updated insert racks.
On grabbing any effect an illuminated grid is shown and effects can be moved or duplicated and then placed in any slot. It works very well indeed. This can then all be saved as a MixConsole configuration and loaded at a later date.
The whole system is a pleasure to use and worked very well for me both on new and old projects. I really think this is one of the best DAW mixers out there and definitely the jewel in the Cubase 7 crown. If you haven't updated yet then the MixConsole alone is a good enough reason to do so.


 © 2024 Ask.Audio
A NonLinear Educating Company
Discussion
Want to join the discussion?
Create an account or login to get started!