Reason has always been a really great tool for making beats, and from the moment it burst onto the scene, the ReDrum and Dr REX were so much easier to program and tweak than most plug-in beatboxes that they helped to establish Reason as a strong presence on the music tech scene. Over the years, it has gained many new talents including the Kong Drum Designer, Dr Octo REX and a raft of new effects, ReGroove quantization and now even audio slicing directly in the sequencer.
All of this means that your Reason tracks are now more flexible and tweakable than ever before. In this tutorial, we're going to look at how to take a simple beat and really add lots of life, interest and punch to it, both by modifying the original pattern and by processing the sound of the beat. You can follow along or simply dip in and out to get snippets of advice. Whichever you choose, you're sure to end up with better sounding beats.
Step 1 '" Load a loop
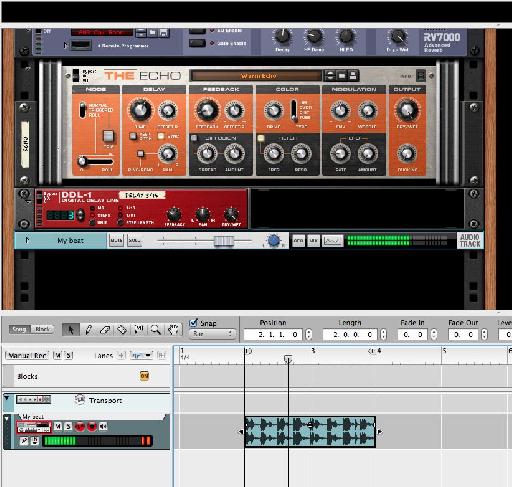
Load a loop either from your computer or from the sound bank, and if it is an audio file that isn't at the correct tempo, hold Option/Alt and drag with snapping enabled to snap it to the correct tempo. Make the loop shorter to make it faster, or longer to make it slower.
Step 2 '" Re-quantize the loop
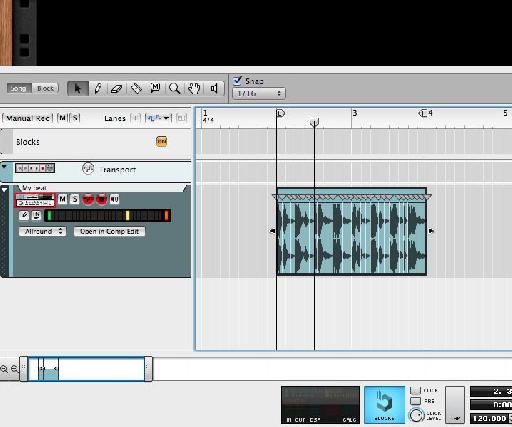
The first way in which you can alter the feel of an imported loop, be it a beat or any other kind of audio, is to take advantage of the new audio slicing tools. If you double-click on the audio clip in the sequencer you will see that it has already been assigned slice markers. Reason has already analysed it and so if you pick up and move any of these markers you can change the feel and pattern of your beat. It's a bit like moving MIDI notes, only here you're working with sound.
Step 3 '" Change the feel
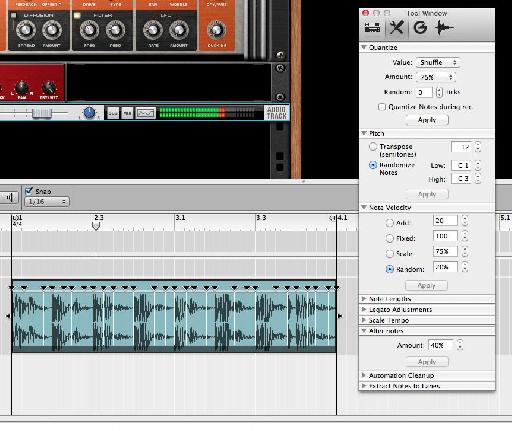
Open the Tool window and go to the Quantize section. Select a quantize value '" here I have chosen a shuffle value of 75% so the loop should be humanized, but not completely changed '" and then choose Edit > Quantize. Reason will alter the positioning of the slices based on these settings and create a totally new feel for the beat. In this case, it makes everything decidedly more shuffly. Notice that the overall length and position of the clip on the timeline has not changed. This is the equivalent for audio of what you might do for MIDI using the ReGroove mixer.
Step 4 '" Try a MIDI loop
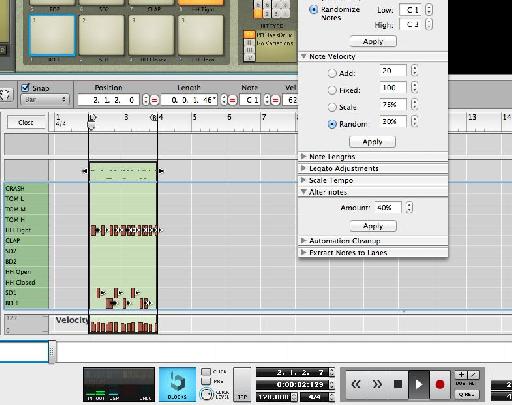
You can do the same with MIDI. Load up a drum machine and program a beat, or import a MIDI file. This time, in the Tool window, go to the Alter Notes section and choose a percentage value for Reason to use to randomize the notes inside your MIDI clip. Then hit Apply and you will find that a new beat is created, while maintaining the basic rules of the beat you programmed. It won't completely throw everything out of whack, but it should change the beat while keeping it useable. You can keep pressing Apply to keep randomizing. The same trick applies to loops triggered from a Dr Octo REX, where you would randomize notes in the REX lane rather than the regular MIDI lane.
Step 5 '" Beef up the sound
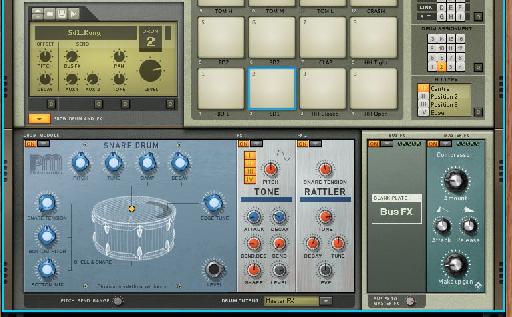
The second loop we have created sounds a bit weak, so it's time to add some weight to it. You can start by looking at the source of the sound. In this case, it's a Kong, so if you open the module's Drum and FX section you can get access to the building blocks of the kit. For each drum sound that's in use, go to its control panel and alter pitch and tuning sections to make the sound more intense, and then go to the two FX slots available to each drum. Where necessary, add effects like Tone, Rattler, Overdrive or Compression to beef up a hit and make it more prominent.
Step 6 '" Use Bus FX
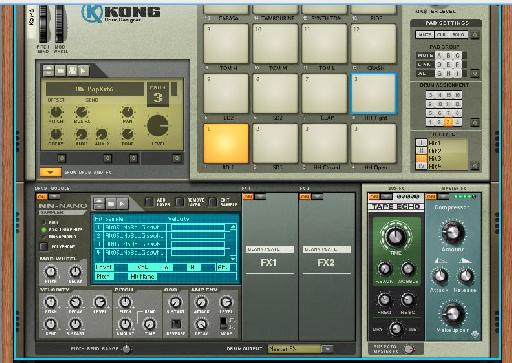
In Kong as well as using a master output effect, typically a compressor, you can also add a bus effect and then send each drum sound to it using a variable amount knob found in the control window next to the pads. Select a pad and you can set this independently for each one. So you might for example want to send the snare and hi hats through variable amounts of delay while leaving the kick completely free of delay, as here in this example.
Step 7 '" Use Rack FX
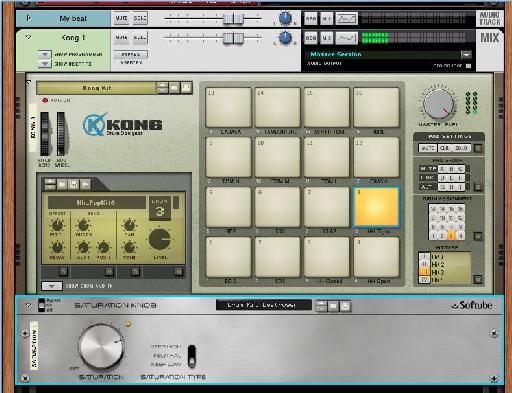
As well as processing beats internally in Kong and ReDrum, you can route the whole module '" or indeed individual channels from within a drum module '" through rack effects. With the introduction of Rack Extensions, the range of tools on offer to you has dramatically increased so although you can of course use Reason's stock effect modules, you can now use third party models as well. Here for example, we have added an instance of the Softube Saturation Knob module to our Kong kit and dialled in a preset for great sounding results.
Step 8 '" Try something more exotic
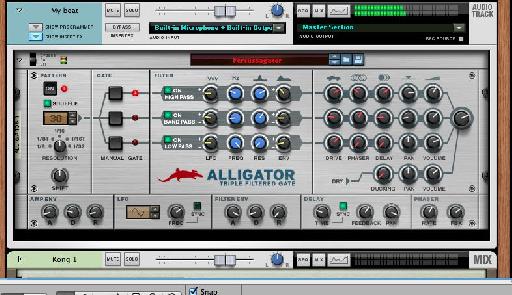
Reason comes with the excellent Alligator effect and this can sound amazing on beats. Try adding an instance to the audio loop from earlier by placing it into the Insert area of the audio track module. Dial in a preset or make your own settings and you should find that it does some cool sounding, tempo-synced filtering and moving of your beats in a way that sounds really professional but only actually took you a couple of clicks to achieve!


 © 2024 Ask.Audio
A NonLinear Educating Company
Discussion
Want to join the discussion?
Create an account or login to get started!