
Making synth-based drum and percussion hits can be a lot of fun and the end results are always useable. You can use the dedicated drum generators in Kong, but if you want a bit more control over the final sound (and a bit more of a challenge) you can try using Thor.
A Solid Start
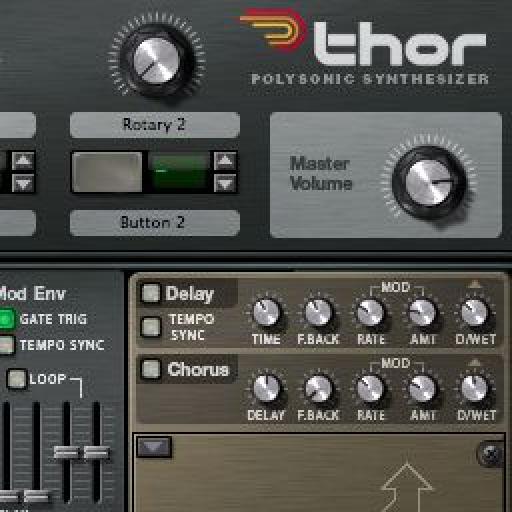
To get going, I inserted a new instance of Thor into my rack and fully initialized it. This gives us a solid starting point. I then immediately replaced the single saw wave oscillator for a noise generator. This will be our main sound source for our percussion hit.

The initial Thor patch.
At this point, things are obviously very basic, and we need to feed the whole thing through extra processors to bring it to life. You can hear the simple noise based sound source in action in our clip here.
The basic noise based patch plays back:

The main oscillator is switched for a noise generator.
Self Oscillation And Routing
The second sound source we are going to use here is a self-oscillating resonant filter. This should compliment the noise generator quite nicely and produce a pretty harsh tone. I have actually used the second filter slot here for our filter.
Once instantiated, this second filter should be routed so that you can hear both the noise and resonance together. The second filter can also be driven pretty hard and ensure that you crank that resonance high enough to induce self oscillation.

The second filter, modulation and routing is added.
The sound now sounds like a percussion hit:
With this all in place, you can set up the filter envelope with plenty of decay and release. This should transform your sound into the percussion hit we are after. You can obviously tune the release to taste here.
The key here is to balance the decay and release values between the filter and amplitude envelopes. If you dial in a huge amount of release on the amplitude envelope for a longer percussion hit you'll only hear it if the release in the filter envelope more of less matches it. If not this extra release may just be cut off by the filter closing.
Processing And Effects
To add a little edge to your sound you can call on the Scream 4 and flick it to tape mode. A heavy dose of compression from this setting will give you an edgier, more 'full on' sound and increase the level throughout.
To finish up we need a touch of spatial processing. Super short delays or reverbs work well here, personally I'm a sucker for gated reverbs. The RV7000 reverb processor has a great 80's style gate as a preset. After a small amount of tweaking we were good to go.

The processing used is now in place.
The hit enhanced with reverb and tape compression:
Once you have produced a few of these hits, they can be exported and brought into individual pads within Kong. Building up a kit of synthesized hits in this way will give you about the most original collection possible.

Discussion
Want to join the discussion?
Create an account or login to get started!