
Iris 2 is a powerhouse of a synthesizer that can create both convincingly organic sounds, as well as gnarly analog-ish patches that can bring some real terror into your track. One thing that can get frustrating, at first, if you're using to working with other synths, is the missing Detuning/Unison knob/function, so easily found in other synths. In this tutorial, I'd like to show you how to create your own easy detuning effect, within Iris 2, using the built-in modulation system.
Step 1. Choose The Right Audio
In traditional synthesis, you need to start with an oscillator, as it is the first major building block of producing sound with any synthesizer. However, because Iris is a sample playback synth, let's choose a sample, or WAV, in place of activating an oscillator. Thankfully, when you press NEW, to begin a new Iris patch, you'll be automatically greeted with the window for selecting a sample, or OSC Wav (basic oscillator wav).
I'll select the OSC WAVs panel, and then choose 02-Saw, which is short for Sawtooth. And, within the Sub-menu that appears, I'll choose Saw 8 Voice. Now, you can easily play a key on the keyboard, and listen to the soothing sounds of analog beeping.

Although, you'll notice, after you play for a minute that even though we added a seemingly analog oscillator, the playback doesn't quite sound... analog. Notes decay and play on top of each other to some extent, and polyphony, which in many cases is enjoyed, is killing our authenticity. I'll enable Mono, to combat this. This function makes it where you're only capable of playing a single key at a time, thus killing all polyphony. And, when using Iris 2, as it can be quite taxing on a CPU, I would highly encourage limiting polyphony whenever you can, as it will conserve valuable resources. I'll also lower the amount of voices, as well, to 1.

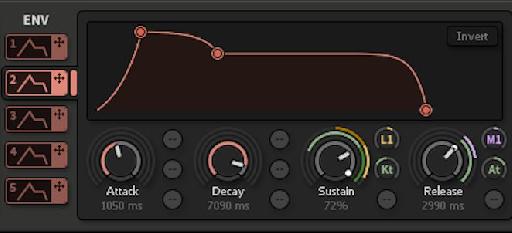
Okay, getting closer! Now, you may be noticing that your blossoming synth lead doesn't quite stop, as soon as you let up on a key, the way an old synth would. This is easy to fix, as well. I'll select Envelope 5, which is, by default modulating the Master Gain.

Within Envelope 5 panel, I'll lower the release down to 0. Now, when I play, I get the quick, punchy responsiveness that analog synths are known for. Now, we just need to make it bigger!

Step 2. Build it Up!
Now, let's thicken things up! I'll select Sample window number 2, and choose a secondary sample to play along with my current sawtooth. In fact, I'll choose the exact same sample, Saw 8 Voice.

Though, once chosen, I'll do something slightly different with this sample, I'll lower the Coarse to -12, so that the second sample plays back 12 steps lower. Enabling two identical oscillators with different pitches, slightly detuned is a classic way of getting a great synth lead, and I don't expect this trick to fail us here.

Now, lets layer up that thickness. I'll select LFO 1...

Now, within the LFO panel, I'll change the Wave Shape from Sine Wave to Triangle shape.

And, assign this LFO 1 to modulate the Fine Tuning of my second sample, by dragging the yellow icon of the LFO, over to the Fine modulation point.

I'll lower the amount of modulation coming in so that it's only slightly moving between the middle setting which is perfect tune. As a result, our LFO will take us only slightly in and out of tune.

Alright, now that I've got a little bit of detuning action going on, let's check it out. You'll notice a gradual phasing going on now, that wasn't there before. And, if I increase the rate of LFO 1, I get increased movement, adding to the fatness of my patch. Not too bad! Of course, I can repeat this, up to three more times, so that I can really layer on some thickness with other samples! Or, add some Chorus, and really increase the thickness.

Discussion
Want to join the discussion?
Create an account or login to get started!