Here's a quick article on customizing graphics in Reason. Yes, that's right: both the Combinator and Kong allow you to create and add your own custom skins. This is a fun way to give your custom instruments some flair especially if you're thinking about sharing your creations.
It's really simple to do, all you need is a graphics editor like Photoshop or Pixelmator. Propellerhead even supplies templates for an easy workflow. Here's how you do it.
Step 1
You'll find this feature by Control-Clicking on the Combinator interface. At the bottom of the list you'll see Select Backdrop.
Step 2
Here you can see the same thing in Kong. We also have an option to load a graphic for the interface when it's folded.
Step 3
To get started go into your Reason folder. Inside the Template Documents you'll see a folder called Backdrops.
I'd like to point out this wasn't present in the Reason 6 update download so you'll need to get this either out of your old Reason 5 install on your hard drive or off of the Installer DVD.

Step 4
We'll start with the Combinator. Inside the Backdrops folder you'll see the Combinator Backdrop Template.psd. There's also a .jpg incase you don't have Photoshop.

Step 5
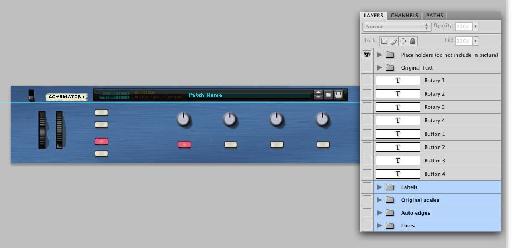
If you open this file you'll see the familiar Combinator layout and a simple guide to show where the fold goes. The file is 754 x 345px.
Step 6
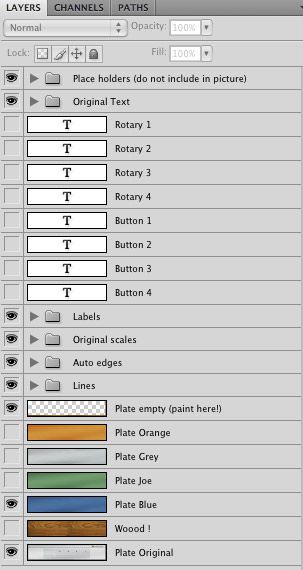
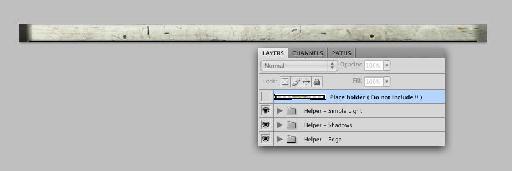
The psd comes split into layers with all the elements on a separate layer.
Step 7
The Placeholder layer gives you all the elements that are created by Reason and you need to make sure you exclude this from the final image. The other layers are for labels, lines and text (like the bypass info etc).
You can always replace these with your own font. If you want to add your own label text to the rotary knobs and buttons (if they have a set function) you can include them in the image, just remember to delete any text in the labels inside Reason to stop any overlap.
Step 8
So here's a quick grungy backdrop I made. It looks a bit of a mess but the elements generated by Reason will cover that up. You'll need to export as a .jpg as Reason will not see any other file format (e.g. PNG).
Step 9
Here it is inside Reason. The image is stored in the rack module when you save it. You can always go back to the default by choosing Remove Backdrop.
Step 10
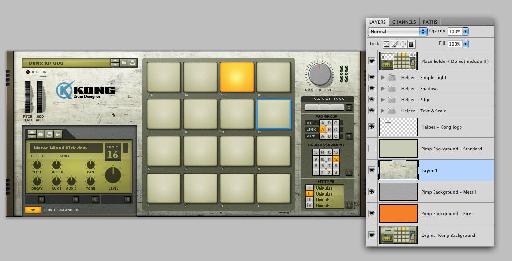
The Kong Backdrop Template is pretty much the same.
Step 11
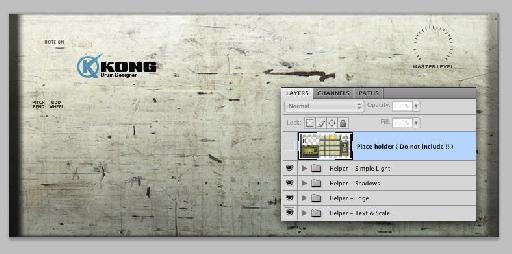
Make sure you exclude the Placeholder layer before you save.
Step 12
Make a folded version using the Kong Folded Backdrop Template.
Step 13
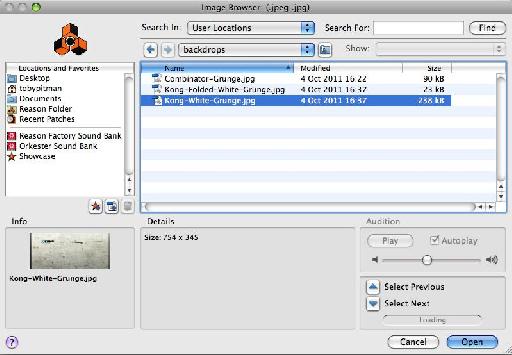
Load the main backdrop using Select Backdrop from the menu and browsing to your image.
Step 14
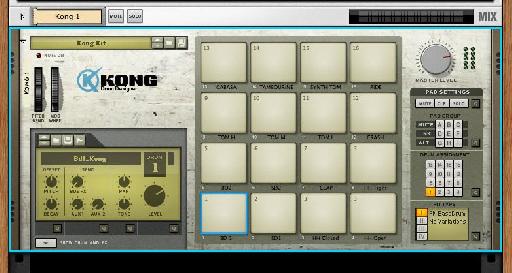
Here's the new Kong backdrop.
Step 15
Then load in the folded version by choosing Load Backdrop When Folded.
Step 16
Here's the folded version.
There's plenty of skins out there on the web already but sometimes it's just fun to build your own. Have a go!









 © 2024 Ask.Audio
A NonLinear Educating Company
Discussion
Want to join the discussion?
Create an account or login to get started!