
Logic's Hyper Editor is a very powerful tool, especially when it comes to drums and drum patterns. You can create some esoteric drum patterns by manipulating the grid lengths in the Hyper Editor and create drum sounds that aren't possible in the standard Piano Roll editor. Let's look at how to build a drum editor for the Hyper Editor, and then how to experiment with the grid lengths to create interesting drum timbres.
Step 1 - Build a Mapped Drum Instrument
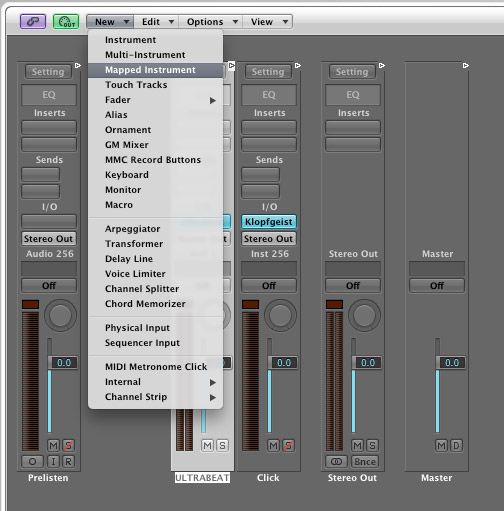
Let's start by creating a Software Instrument on a channel. I have inserted an Ultrabeat using the default Ultrabeat Kit sound. Now I need to create a Mapped Instrument of the Ultrabeat. Go to the Environment Window (Cmd-8). Go to New > Mapped Instrument. Let's rename this instrument 'ULTRABEAT MAPPED'.
Now cable the Mapped Instrument to the Ultrabeat Channel.
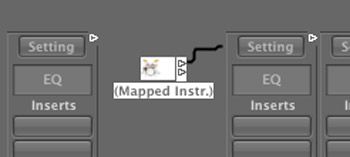
Logic will display a window asking, "Do you want to remove the channels port setting?". Select 'Remove'.

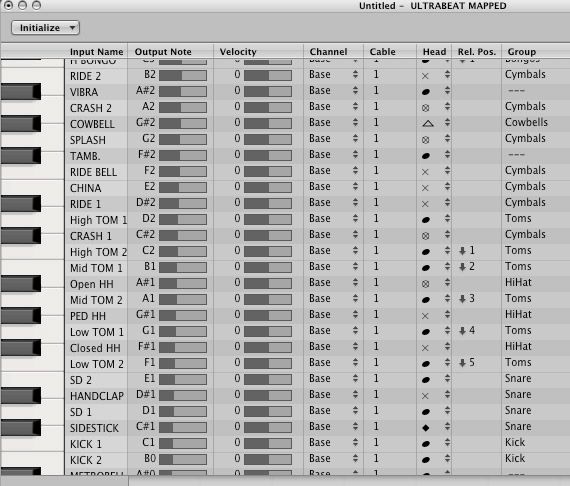
I now need to add the mapped instrument to our Arrange page. To do this, I need to assign a channel to the mapped instrument. If you double-click the mapped instrument you will see the default naming convention of the mapped Instrument. If you wish, you can rename these. But I am going to stick with the default names.
Go to the Arrange page. Create a new audio channel. Right-click this channel and navigate to Reassign Track > Mixer > ULTRABEAT MAPPED. Now the mapped instrument is visible from the Arrange page.
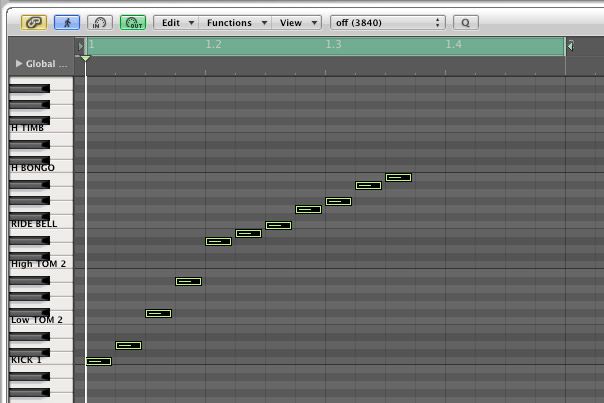
Draw in a region. Double-click this region to open it in the Piano Editor. I want to find the drum sounds I wish to use in the Hyper Editor. Draw in the sounds you'd like to use with the pencil tool (Esc, 2) on the Piano editor. As you can see the names for the Mapped Instrument are on the Piano Keys on the left now.
Select all these notes (Cmd-A). Next I will build a Hyper Set using these selected notes.
Step 2 - Build a Hyper Set
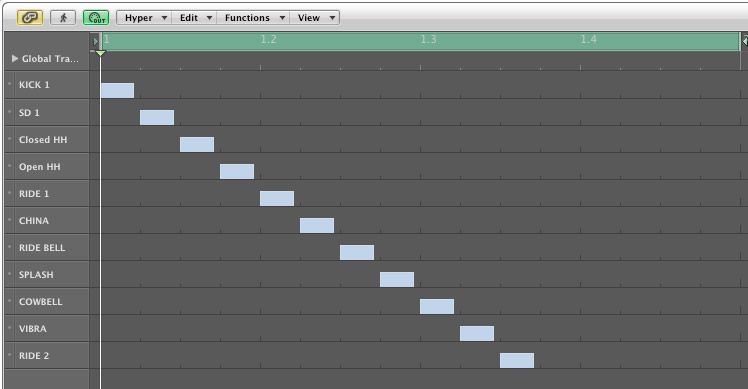
With the notes all selected, move to the Hyper Editor window and from the local menu choose: Create Hyper set for Current events. This will populate a Hyper Editor window with the selected notes you chose. You will see that the drum sounds are also named as they were in the mapped instrument. If you wish you can go in and change the names, but I will stick with the default names given for now.
Step 3 - Change Those Grids
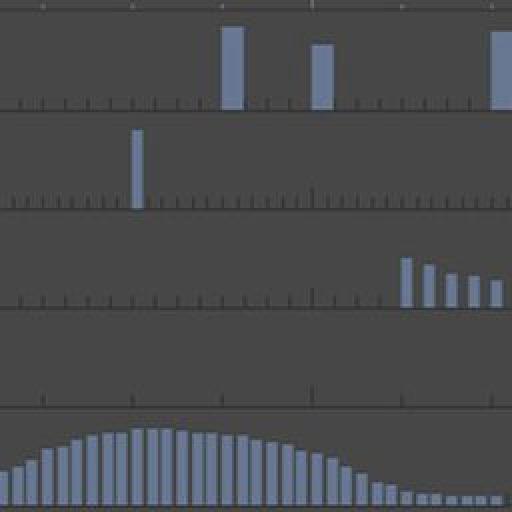
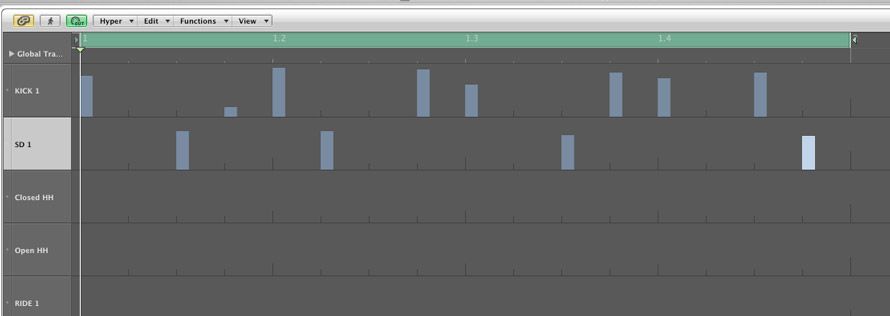
Now comes the fun bit. Delete all the notes in the Hyper Editor window. Lets create a simple drum pattern in the Hyper Editor window. Currently all the lanes are set to a 16th-note length. I have the pen width on the lanes set to 2 so I can clearly see the notes when we start getting into smaller grid increments.
Use the pen tool to draw in some Kick and Snares hits. You will notice that when you draw in the note you can also draw in the velocity amount by the height of the note.
Here is the audio of a simple Kick and Snare pattern:
Let's fiddle with the Hi-Hats. Go to the Hats lane and change the grid length to 1/64 and change the pen width to 1. Now draw some notes and notice what strange hi-hat patterns you can make up. With these fine grid lengths, quite radical patterns can be achieved.
Here is the audio of the Kick and Snare pattern, with the added Hats:
Let's do a similar exercise with the ride cymbal. Go to the Ride lane in the Hyper Editor window and change then pen width to 1 and the grid to 1/96. Draw in some crazy patterns. Notice what interesting drum timbres you can get by experimenting with the grid. With such small notes, the drums almost become notes with pitches when you create these fast drum hits.

Here is the audio of the Kick, Snare, Hats and Ride:
Step 4 - Conclusion
Much fun can be had with drums patterns in the Hyper Editor. This is just a quick example of what is possible. If you spend time picking the rights sounds and drawing in interesting grid patterns, you can come up with some very interesting drum grooves.
Added with the ability of being able to draw in your velocities so easy really makes it a helpful tool to master.
Take a look at the macProVideo.com Logic 303 TNT 2 and Logic 304 TNT 3 tutorials to see what else you can take advantage of in the Environment and other unsung areas of Logic.
Discussion
Great article. It was a blast following along with you. Nice easy way to program beats in a very clean UI.
Love your contribution to the Hub!
Want to join the discussion?
Create an account or login to get started!