
So I had this fellow who was really into dubstep contact me, (wha? dubstep? surely you jest!).
He had an idea. He wanted to control the LFO rates of his ES2 using a MIDI controller. Specifically, he wanted to use specific MIDI notes to cause a change in LFO rate to give the infamous 'Wub....Wub-Wub-WubWubWubWubwWubWub' of dubstep.
This would require changing a MIDI note from his keyboard into an LFO rate parameter. Now, we could assign a controller via Track Automation assignments, but that's not specific enough. I chose to use....
Wub Wub Wub Wuuuuuuub....
The Environment window.
Step 1 - Setting up the ES2
First, Copy these settings on the ES2:

I've also included a channel strip setting that you can pop into your user folder at Users > Home > Library > Application Support > Logic > Channel Strip Settings > Instrument
If you reboot Logic, that channel strip setting should pop right up in your software instrument channel strip's 'Setting' area.
Step 2 - Find the Fader Value
Open an Environment window. Go to the 'Mixer' layer, where our ES2 lives. In the 'New' pulldown menu, select 'Monitor' and connect the output of the ES2 object to the monitor.

Now double-click on the ES2 in the environment window, so we can tweak the LFO rate for LFO 2. As we do this, we'll see data in the monitor telling us the fader value for that parameter.

Click on the value for LFO2's rate. Use + and - on your numeric keypad to slowly step through these values. What we see is the following in the monitor:
We are going to take note of the following Fader Values:
- 32 = 1/2 note
- 39 = 1/4 note
- 40 = 1/4 note triplet
- 44 = 1/8 note
- 46 = 1/8 note triplet
- 49 = 1/16 note
- 51 = 1/16 note triplet
- 55 = 1/32 note
- 57 = 1/32 note triplet
Step 3 - Set Up the Transformers
From the 'new' menu of the environment, choose 'Transformer'.
Double-click on the transformer object. You will be asked for conditions (what we are affecting), and operations (what we are gonna do to them).
Copy the following settings:

Now, this transformer is taking a note value of C0, and converting it to a fader value that will set the ES2 LFO rate to 1/2 note.
Copy and paste this transformer 8 more times. Change the operation value that was 32 in the first transformer to 39, 40, 44, etc. in the subsequent transformers. Also change the note value in the conditions to C#0, D0, D#0, etc.
Now create another transformer, and use the following settings:

Since we are using a note value, we get a note on, and off. This transformer takes that note off value and changes it so that our LFO rate will be '0' when we are not playing a note.
Step 4 - The Final Hookup
Take the previous 9 transformers, and route them into this new transformer. Connect the monitor to the 9 transformers, and disconnect the monitor from the ES2 by selecting the cable and pressing Delete.
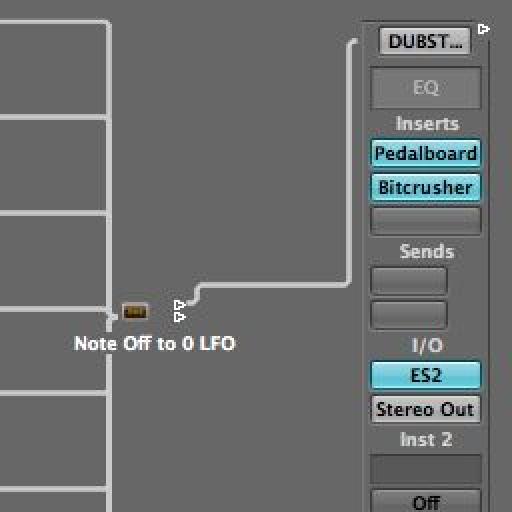
Rename the monitor 'From Note input' with the Text Tool and turn on the Monitor's icon in the Inspector. Finally, connect the last transformer to the ES2:

Step 5 - Get the Notes in There!
Go to the 'Click and Ports' layer of the Environment window.
Option-click on the 'Input Notes' keyboard's output and select'From Note input'. If you don't have the 'Input Notes' object, create one! (It's in the 'New' menu.)

Now the notes C0 - G#1 are controlling the rate of the ES2!
Step 6 - Limit key range
You will still hear the C0 - G#1 notes playing when they are used for the LFO. A quick way to keep them out of the mix is to limit the key range of the channel strip in the arrange window to C1 - G8

There are even more ways to refine this configuration, but this is a nice way to show the concept. Enjoy!

Discussion
Are you Option-clicking on the output of the output triangle on the Keyboard object?
If the Transformer's are still not visible in the drop-down menu go the layer with your Transformers, select each one and make sure (in the Inspector on the left of the Environment window) that "Icon" is ticked/selected.
There are other ways to connect one object to another. If they are in the same layer simply drag the output to the input of another object... or open two Environment windows (both displaying different layers), place them side by side and track from one object's output to another in the other window.
Hope that helps
R
Want to join the discussion?
Create an account or login to get started!