HALion Sonic SE 2 is the hybrid synth / sample-based instrument included in Cubase 7.5 and Cubase Artist 7.5 and it's a really powerful tool for music-making and sound design. In fact it's much more than just a synth, with layer and split capability, an onboard mixer, multiple output functionality and a range of onboard effects. As such, it can be an invaluable tool in your sonic arsenal, and it's easier than you might think to build up a really cool sounding multi-instrument with it. Read on to find out how…
Step 1
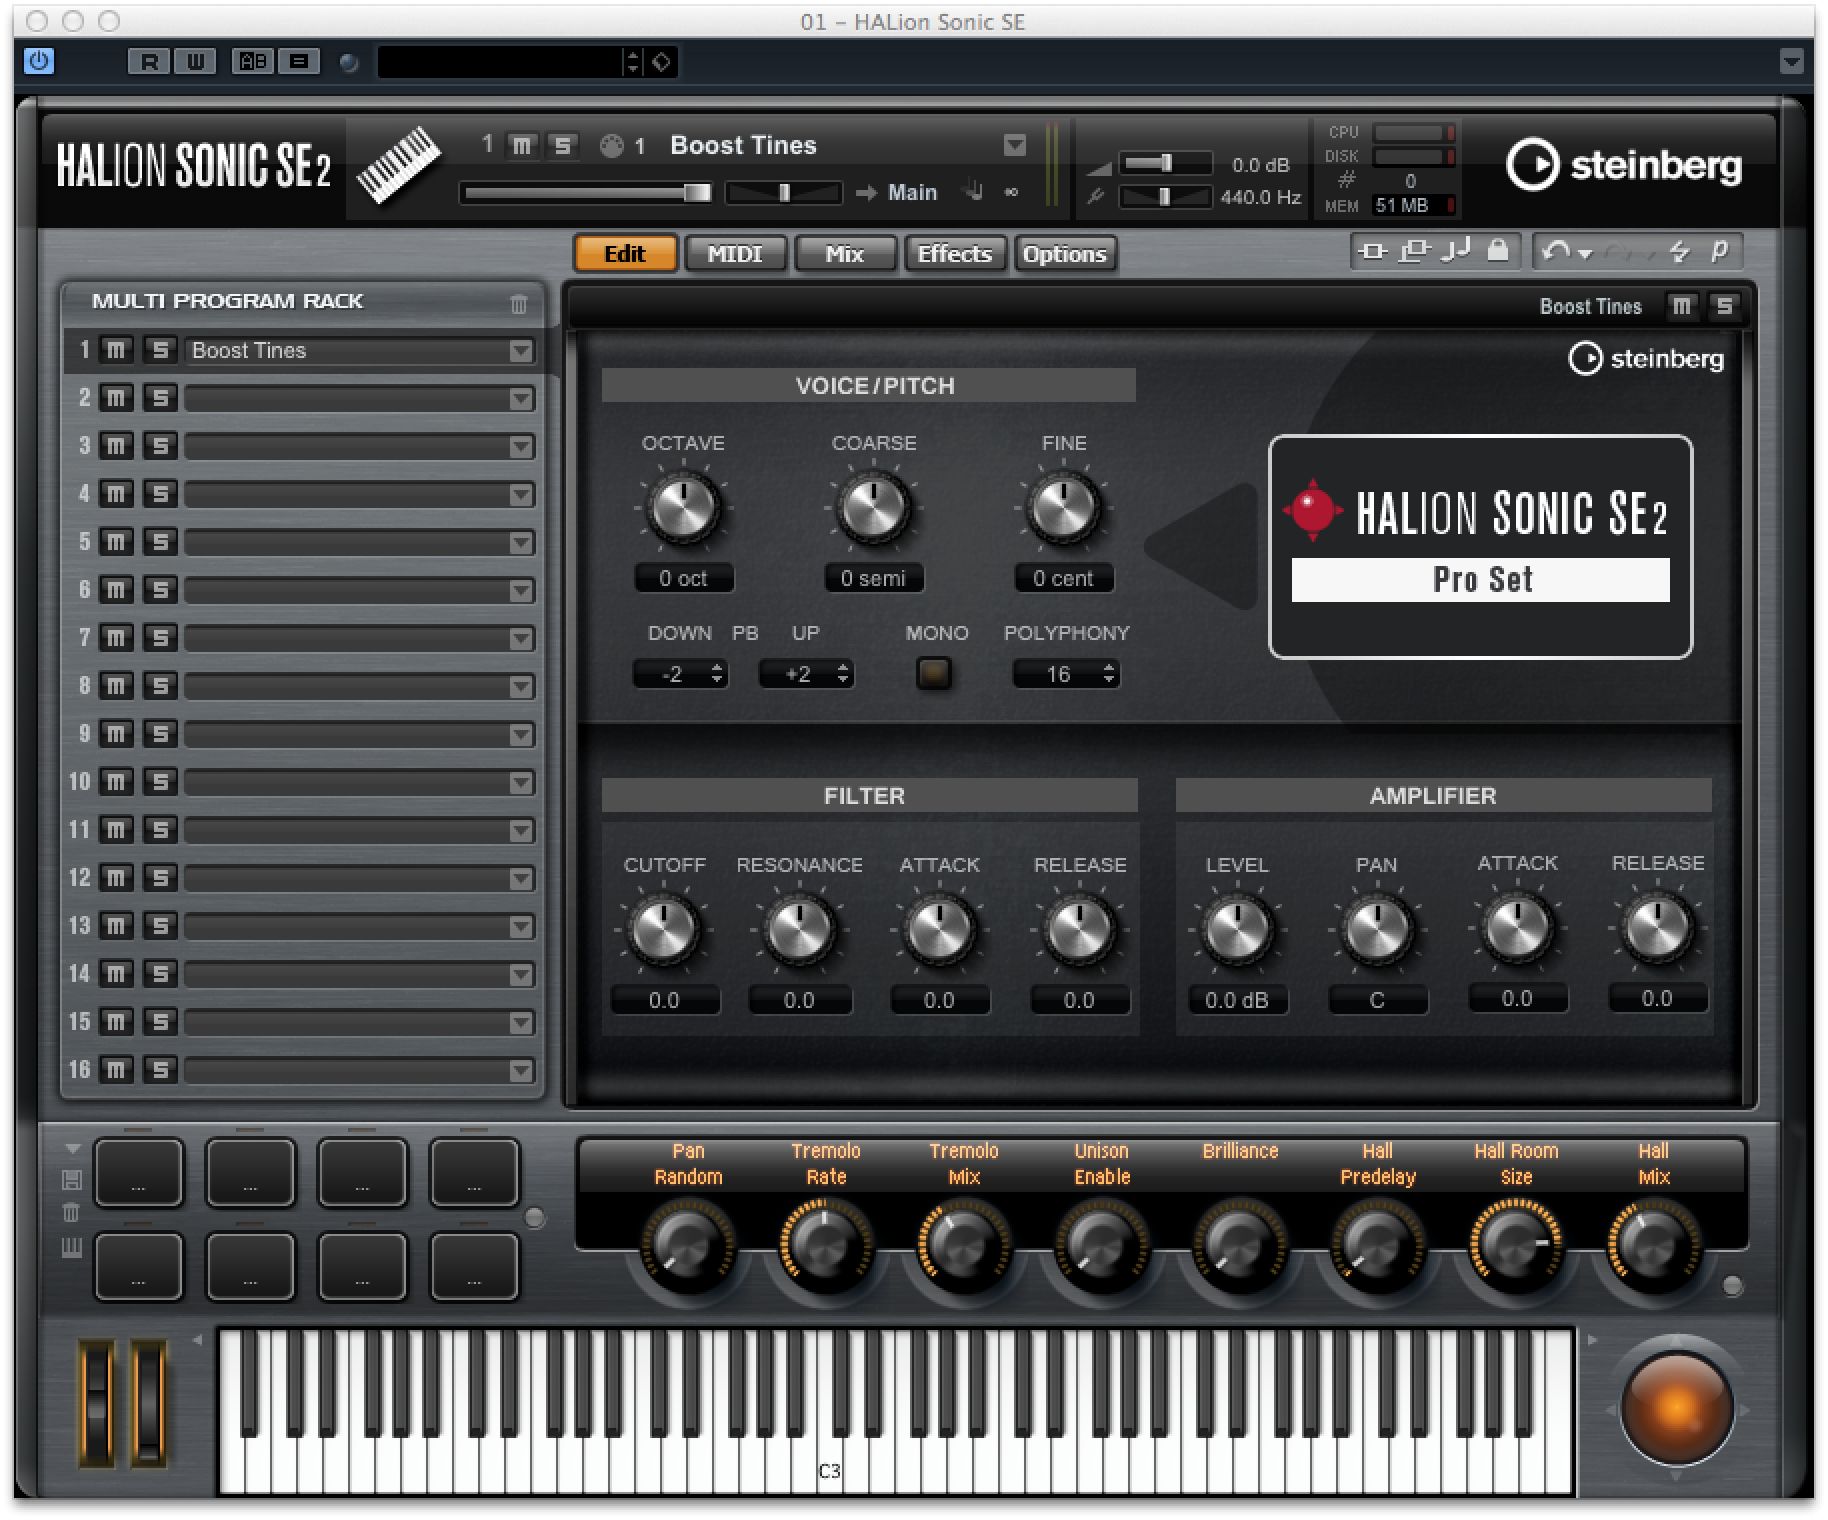
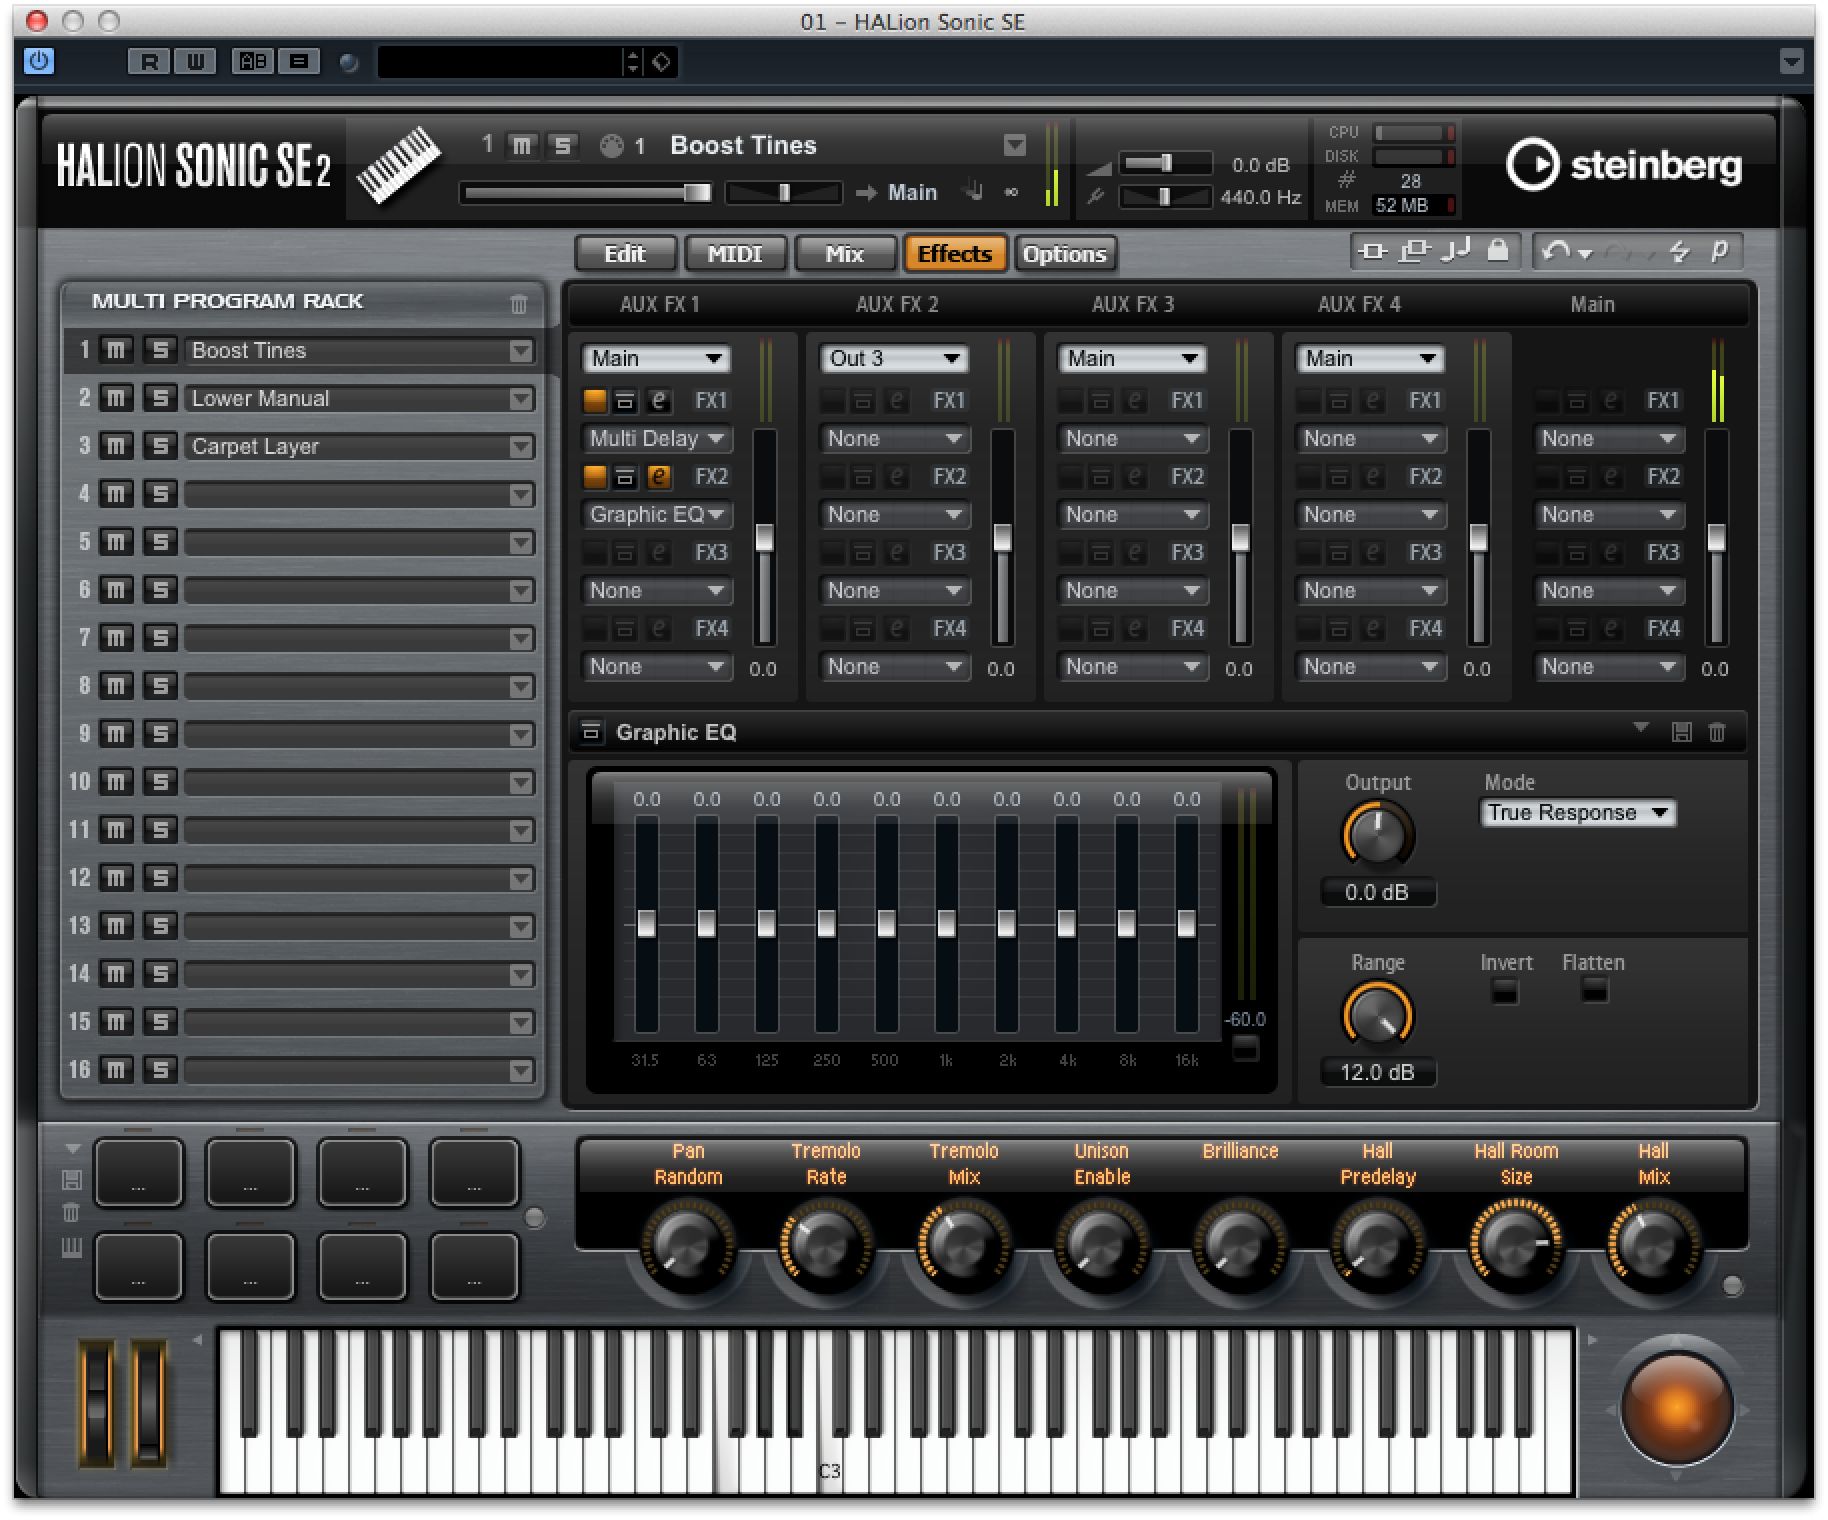
Load up an instance of the plug-in which can be found inside the Synths folder of Cubase's instrument list. You will see that there are 16 instrument slots, and you can begin with the first one, choosing a sound from the preset list. Here we have gone for the Boost Tines patch which is a nice sounding Rhodes instrument.
Step 2
The main Edit section provides you with some controls to shape any patch, changing filter, amp and pitch to change the character of the sound. Along the bottom is a row of effect controls specific to each patch. It is separate from the effects section of HALion which we will look at later, so you can make settings again to shape the sound. For this patch you might want to alter the tremolo and unison effects : for another patch these will control other parameters.
Step 3
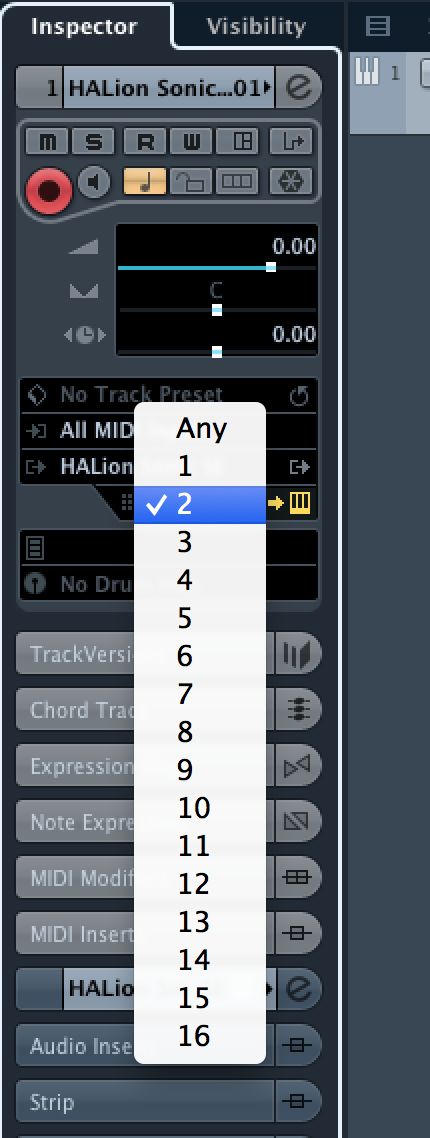
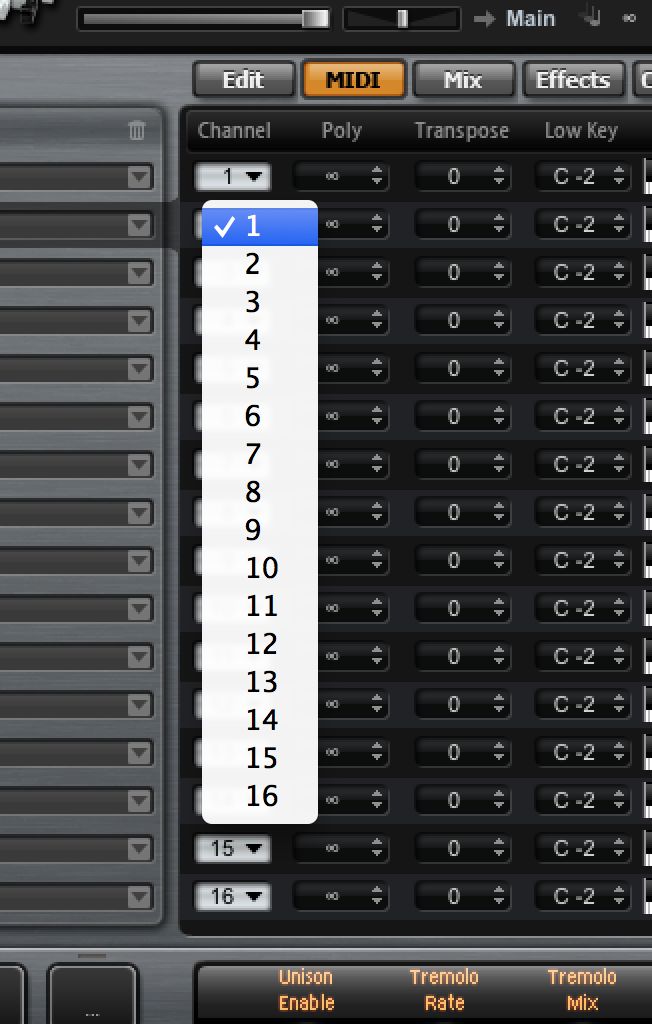
Since HALion is a multi-instrument, if you load a second patch into the second slot, it will not initially be playable until you have assigned MIDI channel 2 to it using the track's inspector tab. This is one way to use the plug-in as a sort of full sound source, assigning up to 16 different MIDI channels to it and pointing each one at a separate slot on a unique MIDI channel.
Step 4
If you go into the MIDI tab in HALion, you can start to manage the way that the plug-in deals with incoming signal. Here you will see another set of MIDI input controls, and if you switch the second instrument slot to also respond to input on MIDI channel 1, you will find that your MIDI keyboard now plays both the sounds at the same time. So you have created a layered instrument, and you can repeat this to layer up to 16 sounds together if you like.
Step 5
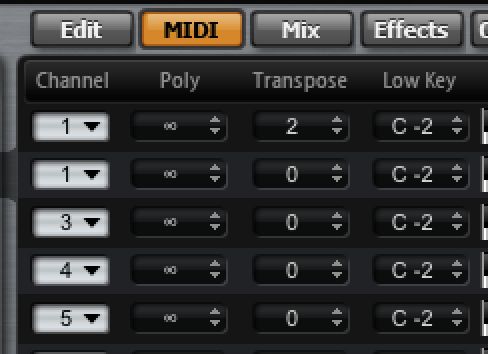
In the boxes next to these controls, you will see that any instrument can be transposed within HALion itself. So if you were to tune one instrument up or down by several semitones or even an octave, you could create a more unusual sounding multi instrument. If the tuning isn't working out, try using a texture for one of the layers rather than a conventional instrument. That way, you don't have to match the tuning of all the layers so accurately.
Step 6
To create a split over your keyboard, click and hold the mouse on the Low Key and High Key boxes and drag up and down to set a key range. Using this technique you could easily place a bass sound in the left hand but make sure it didn't overlap with a piano in the middle for example, and some SFX at the top. Of course you don't have to separate everything: you can split AND layer various components to create the ultimate instrument.
Step 7
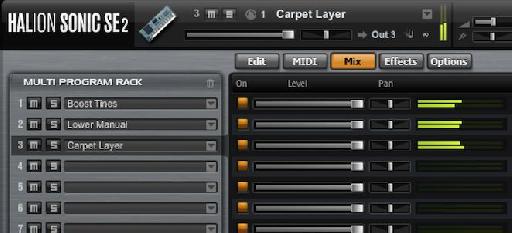
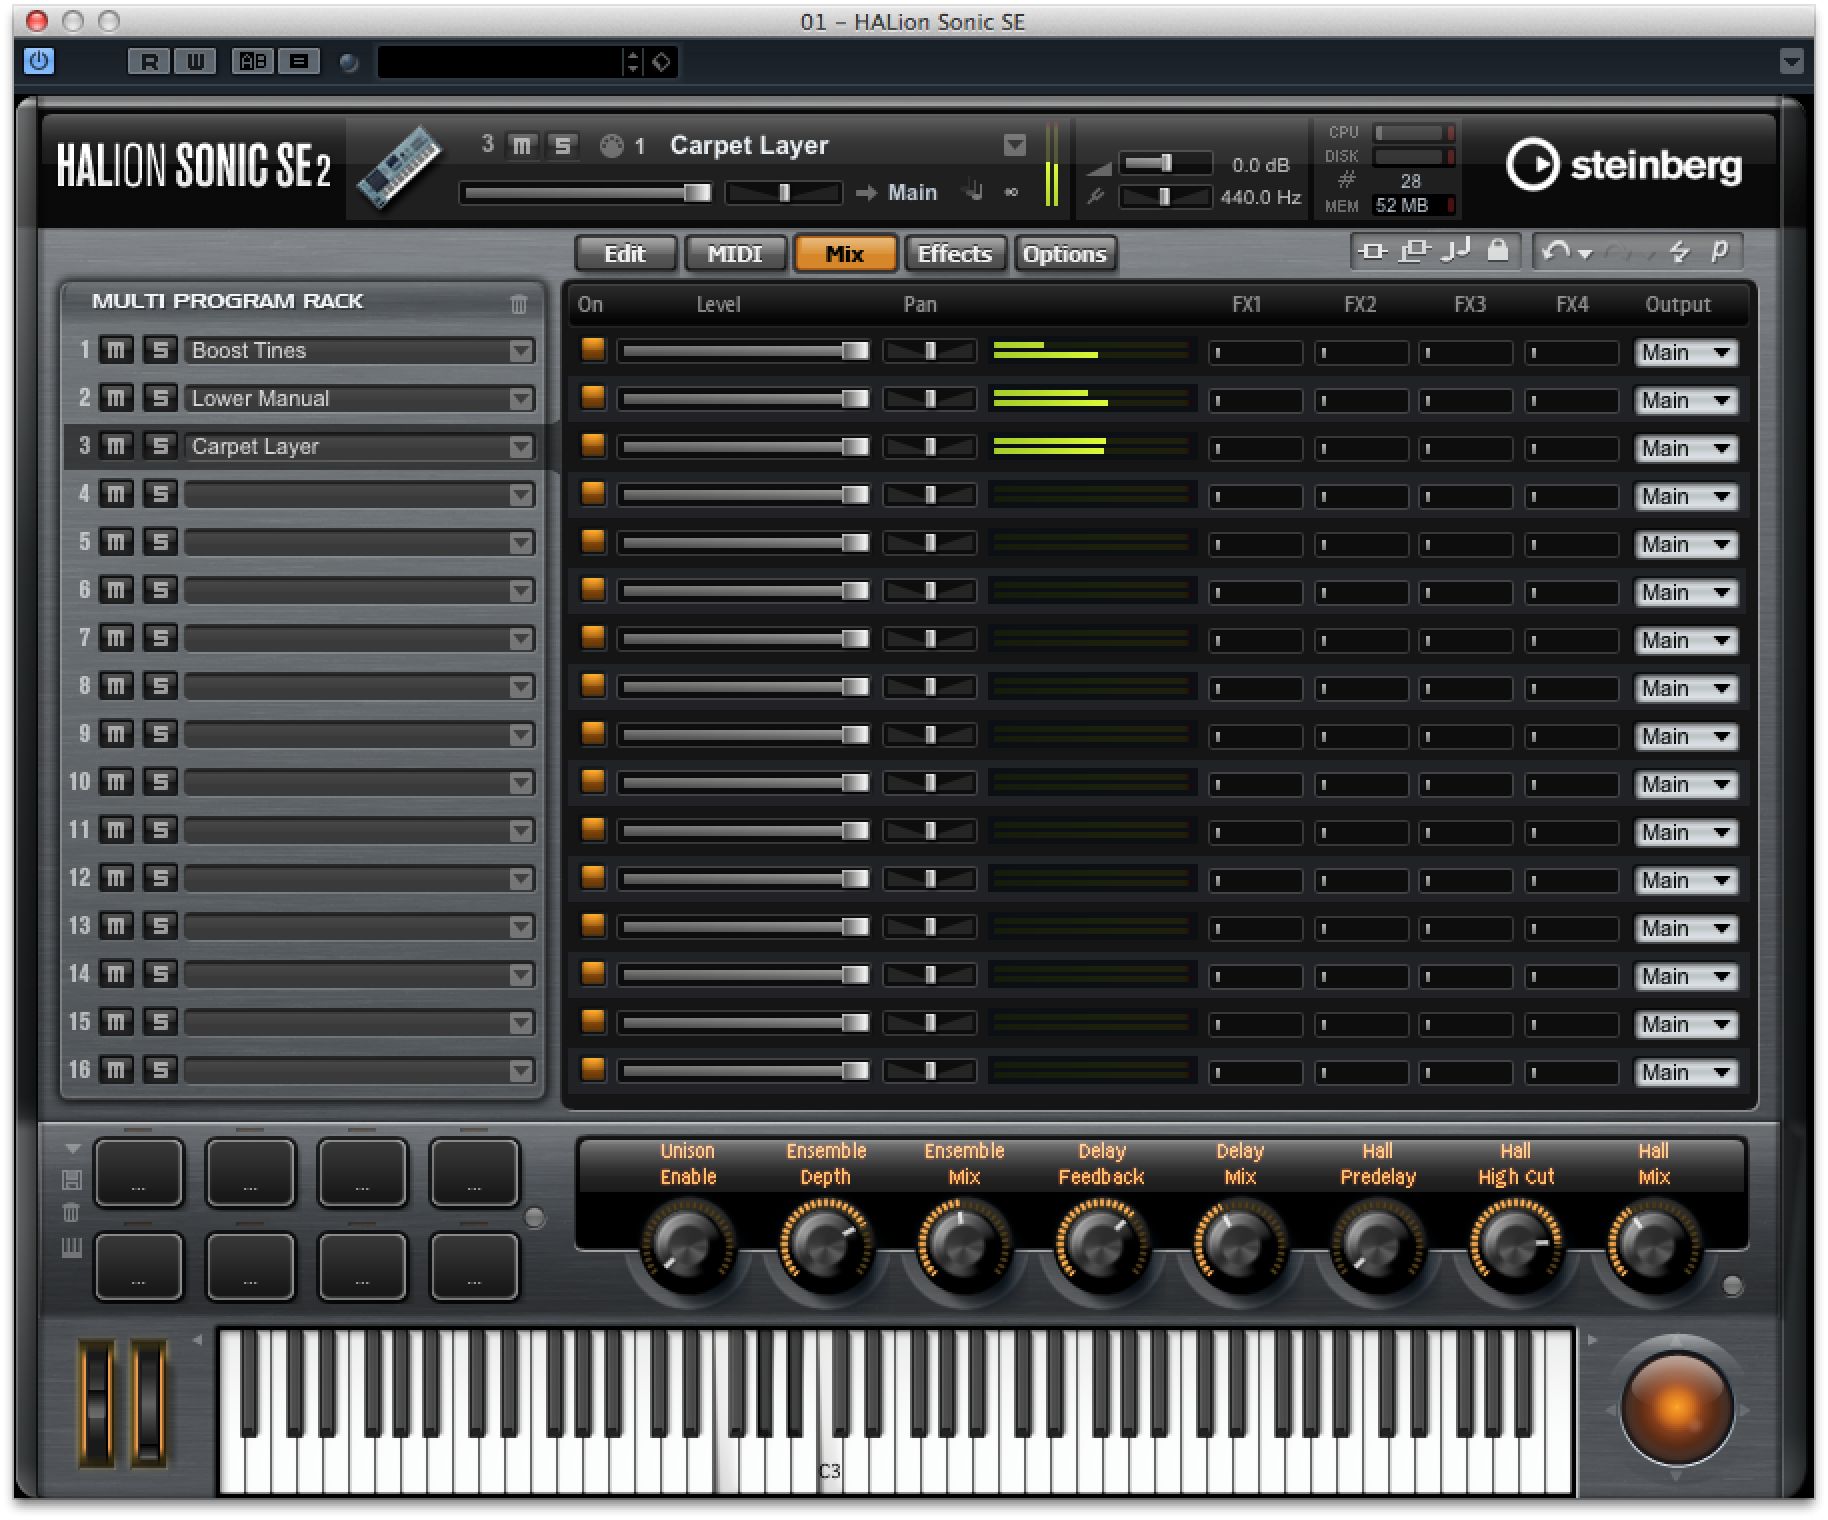
Moving on to the Mix section using the tabs at the top of this area, you can balance each patch using level and pan controls so that the stereo output of HALion contains the correct blend of all the different sounds. Use this to make a synth part quieter for example, while the piano that's layered on top of it is louder and more prominent.
Step 8
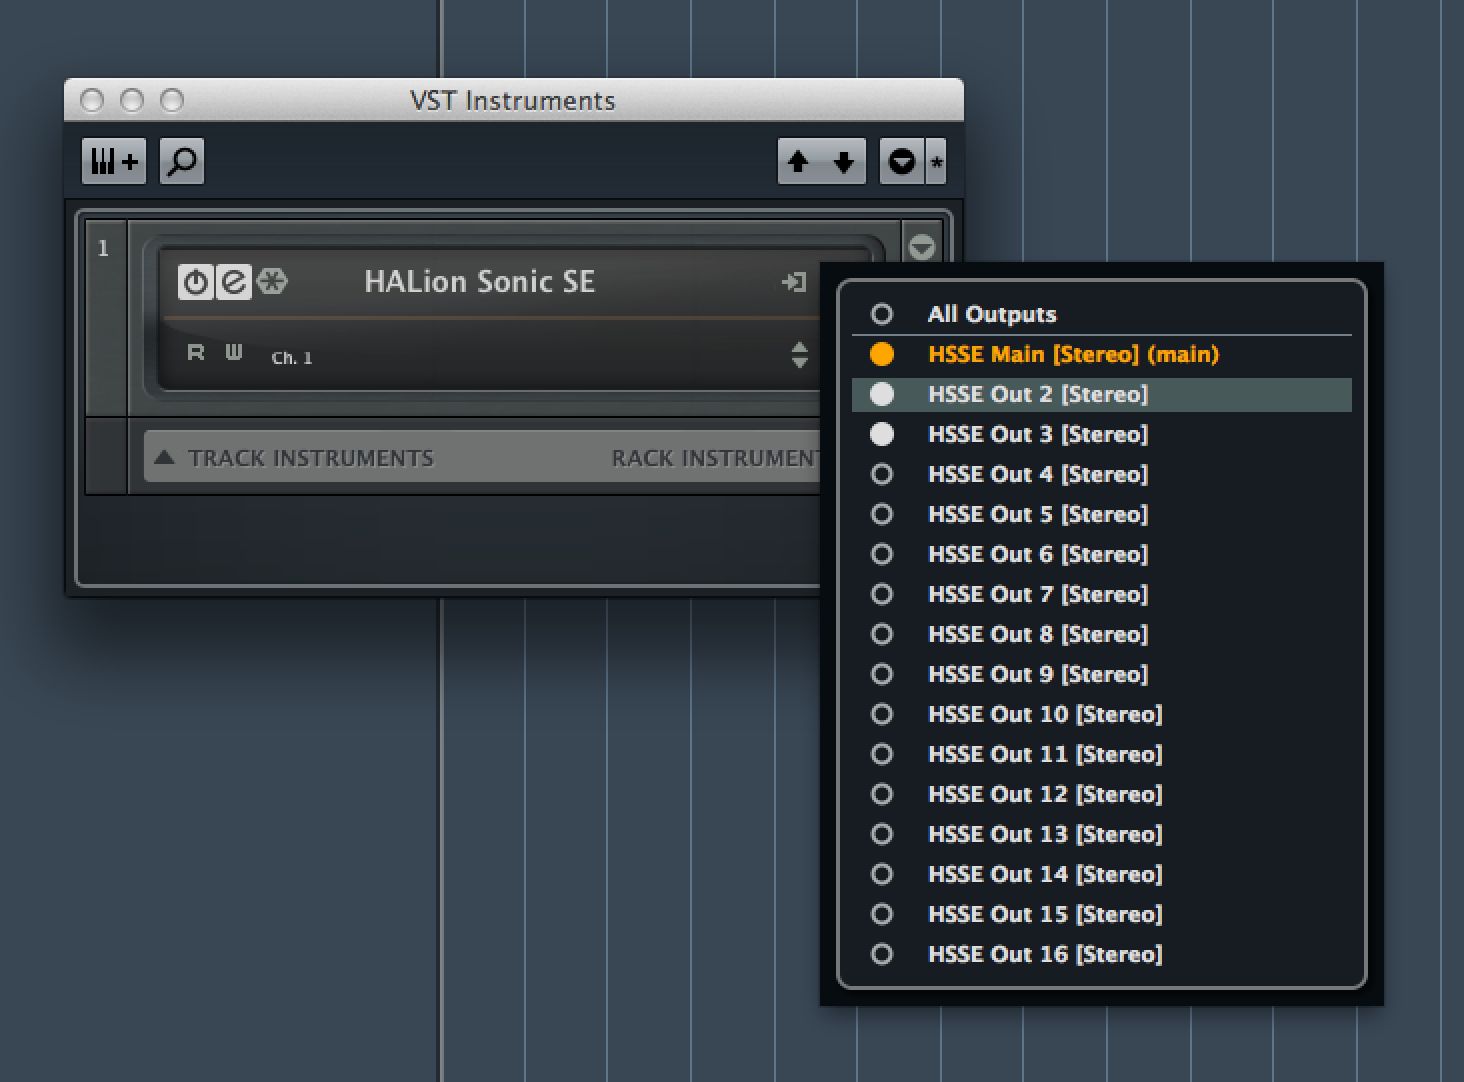
You can route any layer out into Cubase's mixer separately for individual mixing or processing, but before you do this you will need to open the VST Instrument rack from the Devices menu. Click on the Activate Outputs button here and switch on any outputs you want to use in addition to the instrument's main stereo outs.
Step 9
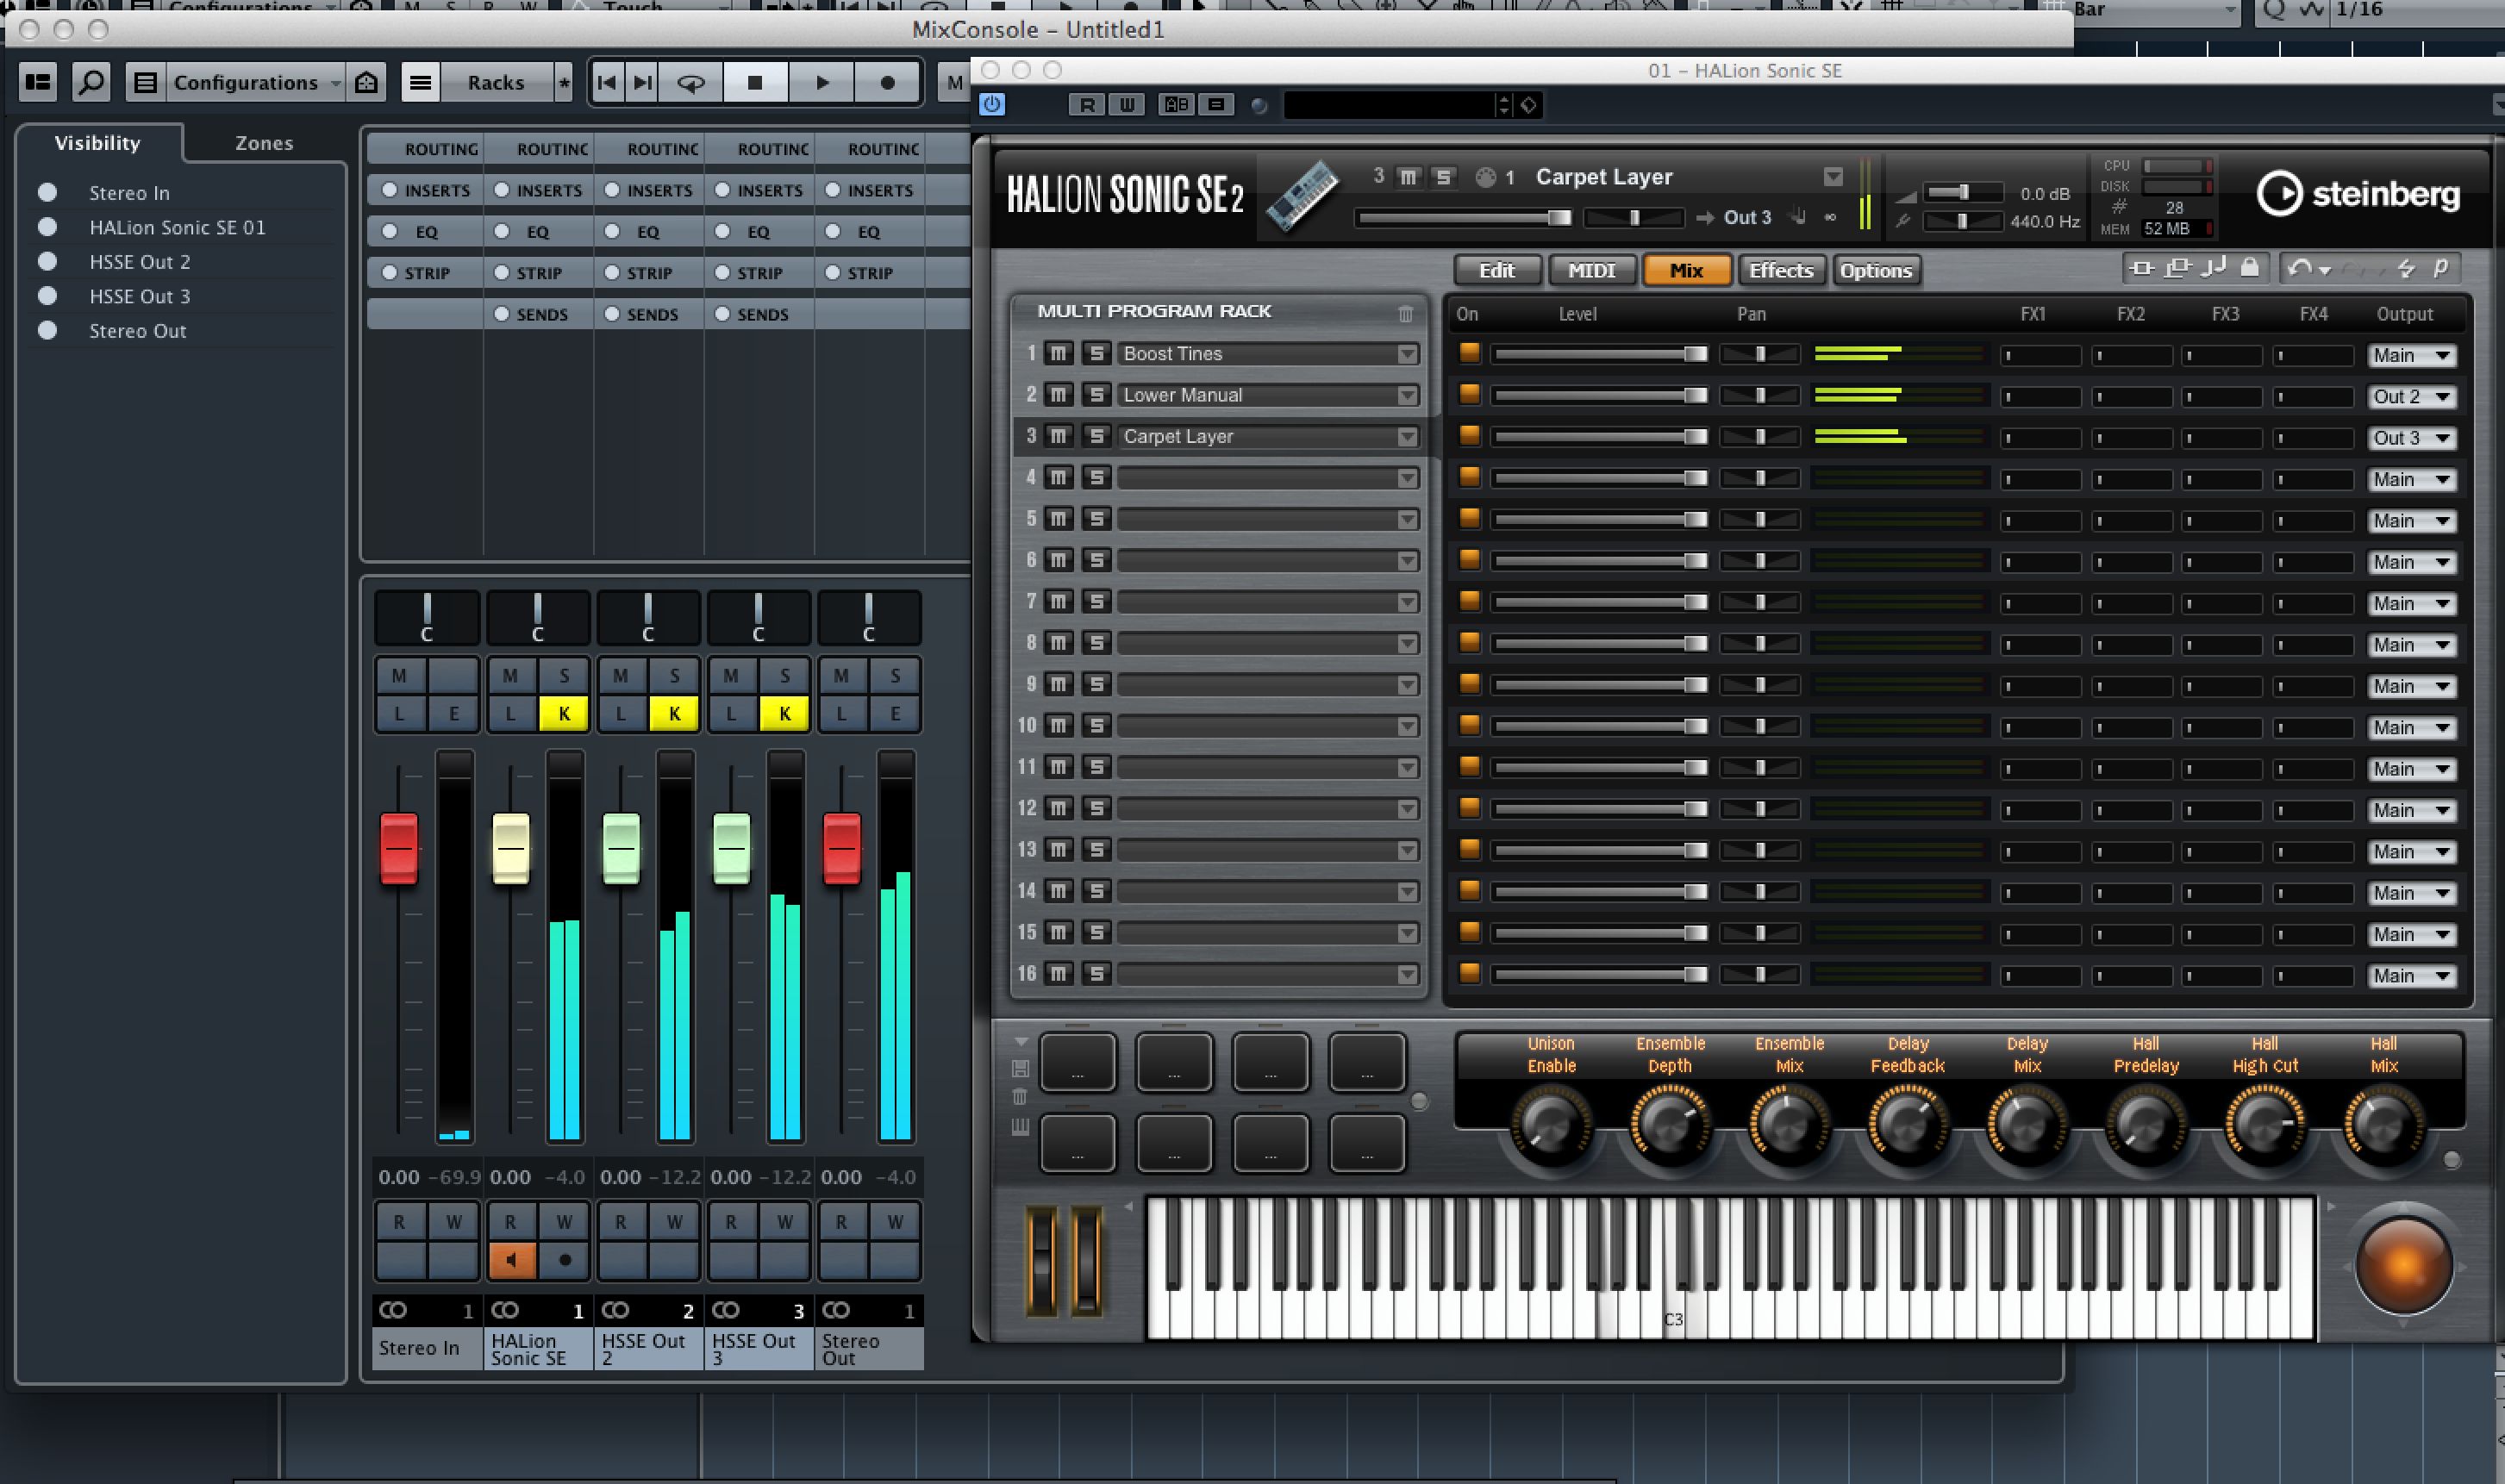
Now in HALion's mixer, go to the output selector for any layer and assign it to the channel you want. So let's say we want to send a couple of layers out separately, we just assign them to outputs 2 and 3. If you open MixConsole you will see that the channels have been created in the mixer and the sound from those instrument layers should be flowing to them.
Step 10
You will notice FX Send level sliders in HALion's mixer, and these relate to the FX that you can add in the next section along, called Effects. Here you can use the assignment drop-down menu for each of the four FX channels to associate an effect with a particular output, or leave them set to “Main” to have them routed to the master output.
Step 11
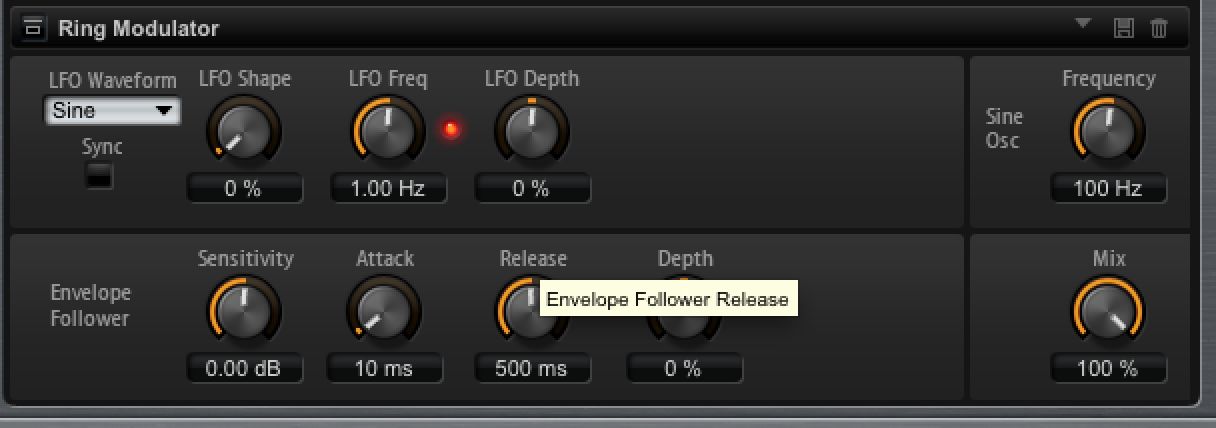
For each effect that you add here, a separate control section appears at the base of the window so you can make tweaks and settings to suit the sound. At the far right hand side are four master effect slots and these will process anything flowing through the master outputs of HALion. So you might want to use these for example to add a little reverb or compression to smooth out the overall output.
Step 12
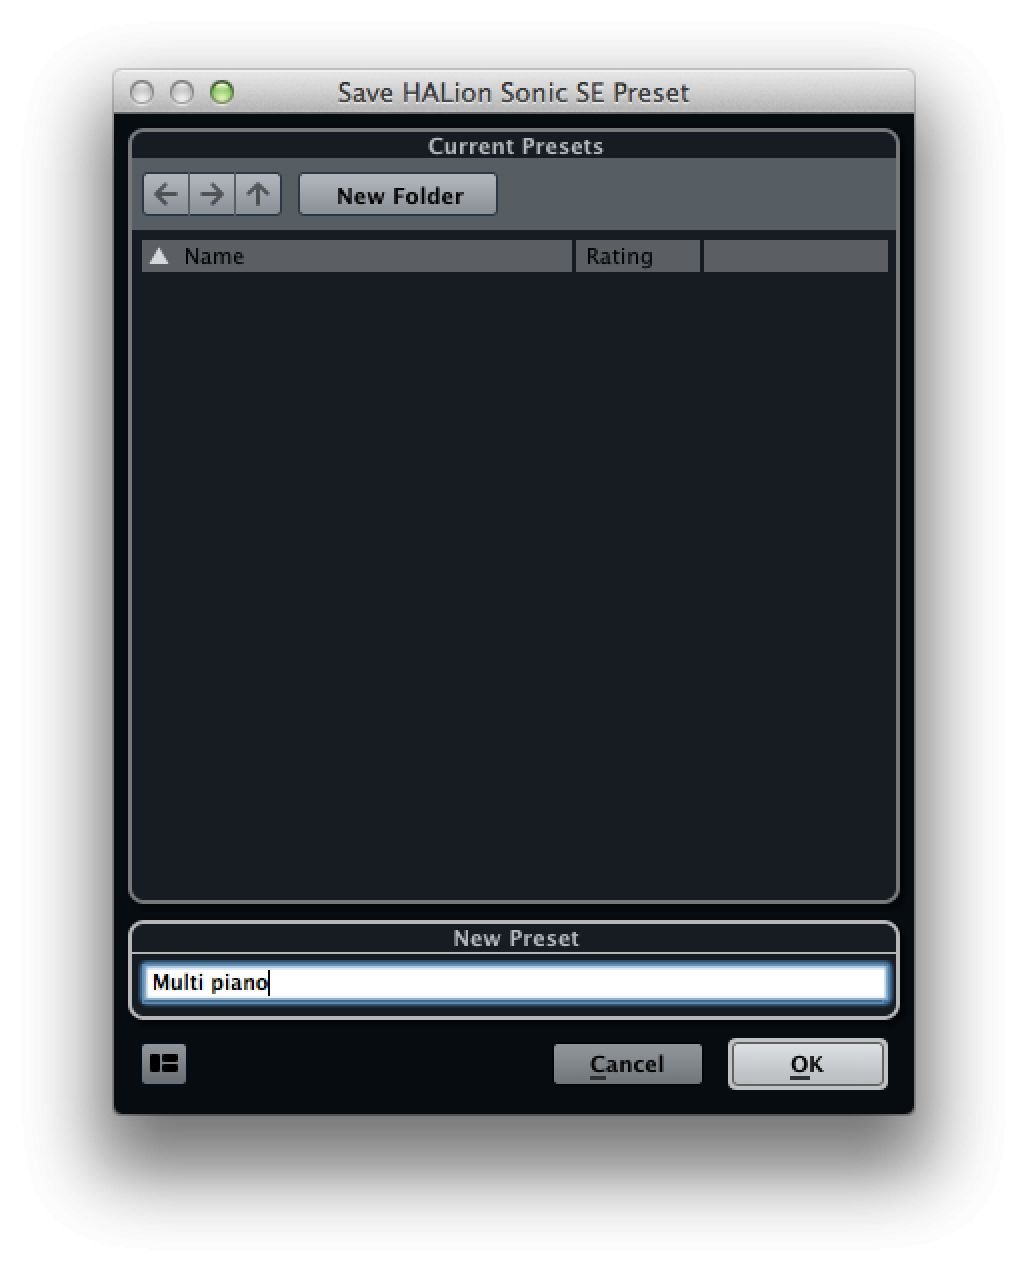
Finally to save your patch complete with routing, mixing and effects options, click on the preset section at the very top of the window and choose Save Preset. Enter a name and the preset is ready to be used in any of your projects or even saved out and sent to others to use!




 © 2024 Ask.Audio
A NonLinear Educating Company
Discussion
Want to join the discussion?
Create an account or login to get started!