
If you'd like to advance your DJ sets, and add unique sonics to your mixes, then it's time to start developing your own custom FX chains. This step by step guide will explain how you can build your own FX chains in Traktor, and provide ideas on how to creatively use them. I highly recommend using a controller to modulate the dry/wet signal and the individual parameters of each effect.
The first thing you will need to do is make sure your Traktor Preferences for the Effects Section are configured for Group FX. This setting will allow you to layer multiple effects.
Step 1 - Set your preferences
In your Traktor Preferences, navigate to the Effects section. In the FX Unit Routing, make sure you have selected 2 FX Units, and in the FX Panel Mode, select Group for both FX 1 and FX 2.

Step 2 - Choose your first effect
In the first slot in your FX chain, choose the 'base' effect that you are going to work with. I have chosen the Tape Delay, as I like its repeating echoes, but you can choose any effect you like. To achieve a similar effect, you could use a Delay or a Delay T3 instead.

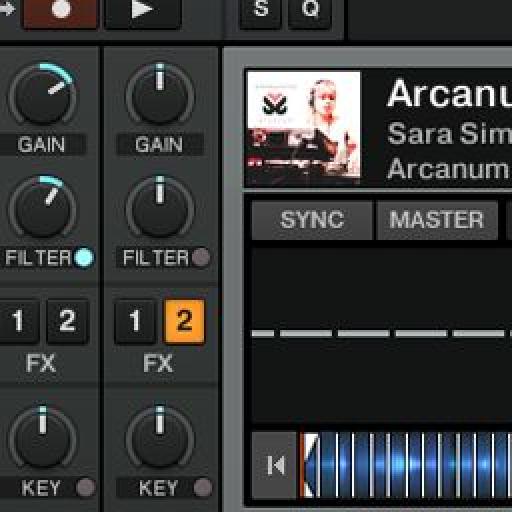
Step 3 - Filter your sound
In the second slot of your FX chain, select an effect that you can use to modulate your base effect. A good choice here would be one of the filters. I have chosen a basic filter, and use this to sweep through the sound of the base effect.

Step 4 - Add the last effect
In the third slot of your FX chain, choose your last effect. I prefer to work with an effect here that gives me a glitchy sound, such as Beatmasher 2. I use the Beatmasher to add variety to the last four bars of a phrase (as a variation every 16 or 32 bars).

If glitching up your sets isn't your thing, I recommend you spend some time playing with the FX, and choose an effect that you prefer. Remember, this is your own custom FX chain you are building, and it should represent your own tastes and sonic preferences.
Application
Once you have your FX chain together and are happy with the sounds, it's time to put it to good use! Although effects can be used anywhere in the track, I find they sound best over a section of the song that has a reduced number of elements in it, such as the breakdown, or simply a section with a simple percussive rhythm, and one other instrument or vocal line. You also can easily loop a section in your track to create an extended song section.
Next, turn on the entire FX rack on your track, by selecting the corresponding 'on' FX button. (Note: If you have been building an FX chain in the FX 2 slot, you will need to make sure that FX 2 is enabled).

You are going to have to experiment with the effects you have chosen, and the Master Dry/Wet (D/W) level of the chain. To get to know your effects, start by turning on the effects one by one, adjusting the individual parameter, and the Master D/W of the chain. Listen carefully and see how each one affects the overall sound of the track.
Here's how I like to use my FX chain:
- I set the Master FX Chain D/W at a fairly high value.
- I introduce the FX chain by using the Beatmasher at the end of phrases (e.g. Every 8, 16, 32 or 64 bars) and changing its value, so that the ending of phrases always sounds different. I quickly 'punch' the Beatmasher in and out, (by turning it on and off) using a different value each time to achieve new results.
- During a breakdown, or sparse part in the in track, I turn on the delay, and turn the filter knob to sweep through the frequency spectrum. I then continue to use Beatmasher 2 at the end of the phrases, to add variations to the mix.

Now it's time for you to get busy, and build your own FX chains! There's still plenty of room for innovation in digital Djing, and using a custom FX chain is a great way for you to make your sets sound original.

Discussion
Want to join the discussion?
Create an account or login to get started!