
The words Frequency Modulation Synthesis can really sound scary and daunting. I know when I first tried to understand this form of synthesis, it went right over my head. I stuck to other forms of synthesis for years until I realized the full power of FM Synthesis. Native Instruments' FM8 really makes the FM process a lot simpler. By getting familiar with the interface can really speed up the process on education yourself on Frequency Modulation. I will show you how you can create a simple FM synth by making use of the operators and getting them to frequency modulate, and self-modulate each other.
Step 1 '" Start with the first Operator
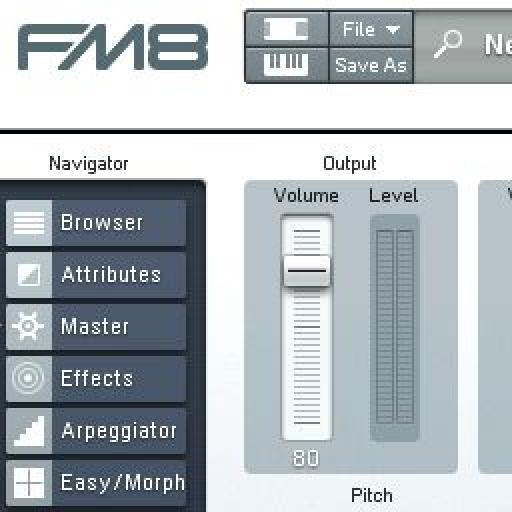
I want to create a nice Digital sounding FM Bass. First make sure FM is set to Mono under the Master Tab. Then switch to Expert section. This is where I'll start initializing the operators and begin the FM process.

By default the New Sound has the F Operator initialized with a Sine waveform.

Sine Wave:
Right click on the other operators to initialize them. You will notice that they go from a grey text color to a white text color. On the bottom bar is the volume parameter for each of these operators. You can also choose different waveforms for these operators. I have chosen a Triangle waveform for the D operator.

Extra Operators:
Step 2 '" Build Up Some More
Keep going and add more operators. I have added another Operator (C), with a Short Tristate waveform. Adjust the volumes for each operator until you are happy with how they all sound together. Now lets get to the frequency modulation. Line the D and F operators up and on that block in the modulation matrix start dragging up. I have dialed in a setting of 51. Do the same between C and D with a setting of 13. Next up are further steps on modulating operators.
Step 3 '" Get Them to Self Modulate
You can even self modulate operators. On the F operator drag up on the modulation box just above this. This will get the F operator to modulate with itself.

Self Modulation:
Step 4 '" Panning and Detuning
The box under the Volume parameters allows you to pan the different operators. I have panned C slightly left and D slightly right to add some separation to the synth sound.
Also what helps thicken up the sound is to slightly detune the operators. I have detuned the C and D operators by a fraction, but it makes all the difference to the bass sound.
Step 5 '" The Noise Operator
Operator X is the Noise operator. It comes in real handy to introduce more attack to the sound. Initialize the X operator. The Noise Amp is sitting at 9 o'clock. And the Noise Cutoff at 5 o'clock. I have left the other parameters at their default location. Listen now how the noise has given the bass sound more attack and presence.
Noise Operator:
Step 6 '" The Master Section
To finalize this sound let's move to the Master tab and do a few more tweaks. Increase the Unison Voices to 8. Increase the Detune to 16 and the Pan to 76. This will add a minor detuned effect to the synth sound and the Pan parameter will spread the synth sound further across the audio spectrum.
Now move to the Quality section and increase the Analog and Digital parameters as desired. I have dialed in a small Analog amount of 17 and quite a high Digital amount of 76. This will introduce digital artifacts into the signal and slightly bitcrush the sound source.
Take a listen now how the bass sound has transformed. Throw a beat over this and you will really hear how this simple FM bass patch pierces through the mix.

Master Tweaks:
Here is the FM8 synth over a drum loop:
Conclusion
As you can see when you familiarize yourself with a few of FM8's interface parameters, you can really design your own unique FM patches. You can even take this further and start exploring some of the other tabs and parameters such as the Effects and Arpeggiator sections for further sound design.
Take a look at the following tutorials for further synthesis techniques:
NI 210: FM8: FM Synthesis and Sound Design
Discussion
Want to join the discussion?
Create an account or login to get started!