MainStage shows its flexibility and power best when we assign controllers to perform multiple functions in patches. The ability to assign a controller to multiple functions makes for some interesting effects, and allows more control with less physical knobs, buttons, and faders.
Step 1 - Creating the Controls
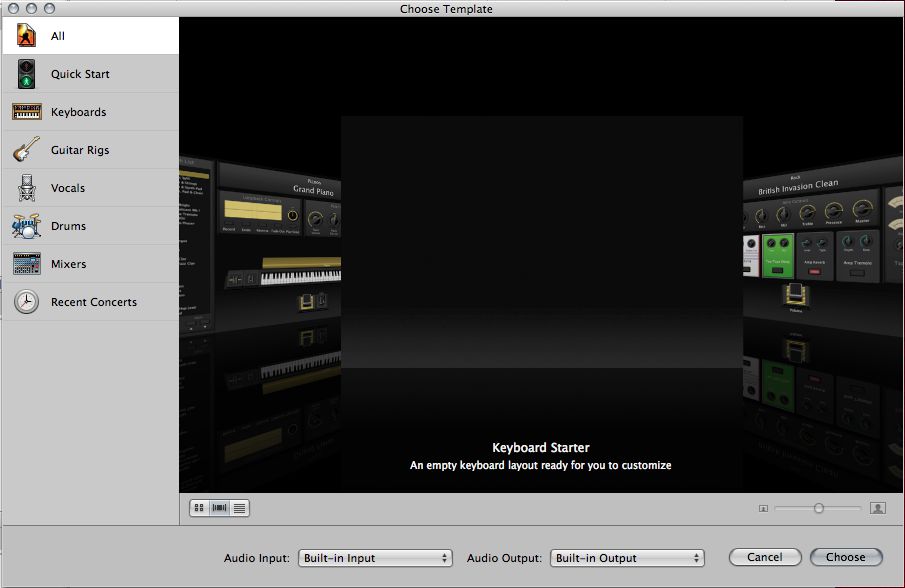
First, we are going to create a blank MainStage Concert from the template chooser. Use Keyboard Starter.
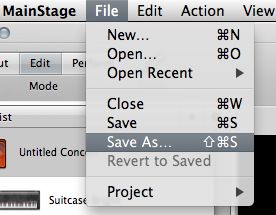
Next, we're going to save the document. Go to File >Save As...
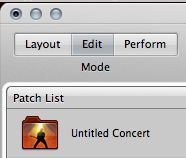
Now we press the 'Layout' mode button:

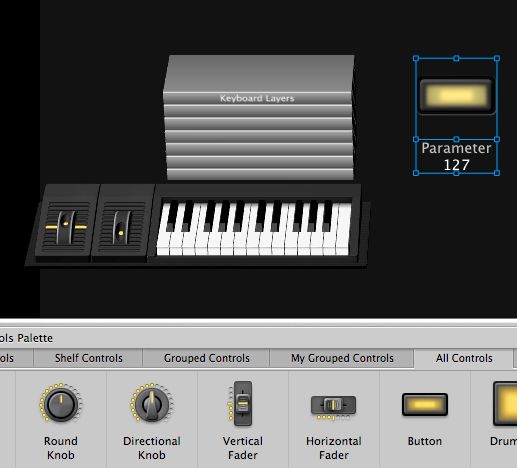
Go to the bottom of the screen, where there are drawers for different types of controllers. Select the 'All Controls' tab:
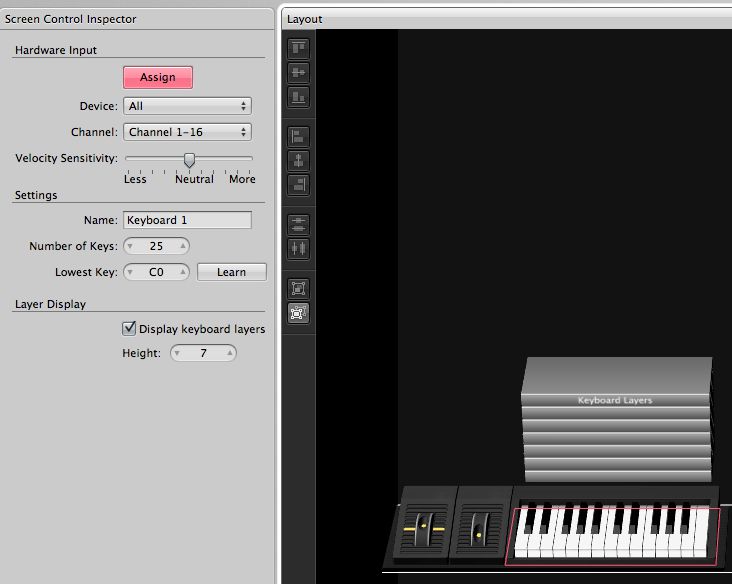
In the area below, scroll around until you find the keyboard controllers. I'm going to use the controller setup for 25 keys.
Drag that image into the layout window above. Select it with the mouse, and hit the 'Assign' button in the inspector:

Hit any key on the keyboard, and de-select the Assign button in the inspector. The keyboard should now register when you hit your keys. On to the button we are going to use: locate a button in the 'All Controls' drawer, and move it into the layout.
Step 2 - Assigning the Controls
Select the button, and select the 'Assign' parameter from the inspector again. I am going to use a specific key on my keyboard controller, but feel free to use an actual button on your controller to assign it to this button in our MainStage concert. The technique will be similar.
Now that we have a button assigned, let's create a waveform readout that we're going to use for Loopback. It is in the 'All Controls' drawer as well.
Switch over to the Edit mode now, by hitting the Edit button:
Step 3 - Setting Up Loopback
We are now going to place a Loopback on the same channel strip that has our EVP88. It will be under the 'Delay' category.
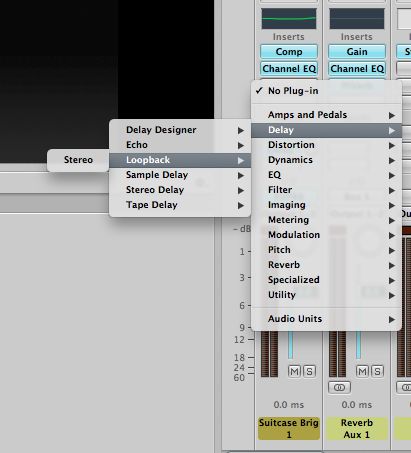
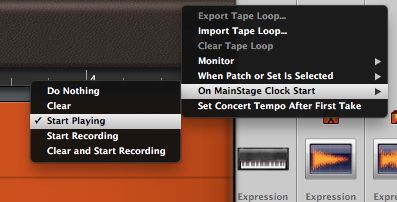
When Loopback opens up, go to its settings menu, and select the option for Loopback to start when MainStage Clock starts ('On MainStage Clock Start').
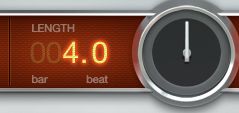
Now let's set Loopback so that it is making a 4-bar loop. You can either drag the value with the mouse, or double-click and enter the value.
Step 4 - Viewing the Waveform
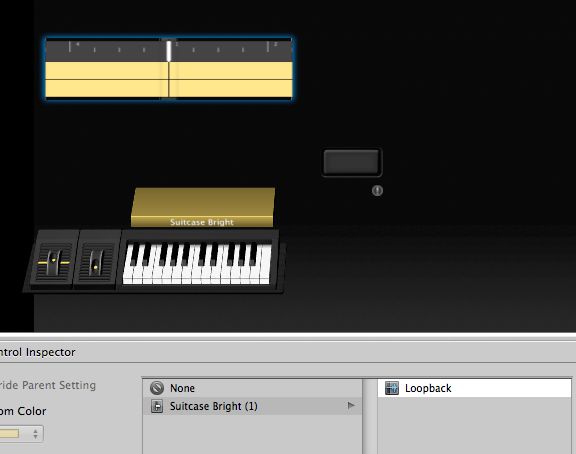
Close the Loopback window, and now we are going to assign our waveform to reference Loopback. Select the Waveform object, and view its parameters in the area below.
Select 'Loopback' from the available list of plugins on that channel:
Step 5 - Mapping the Controls
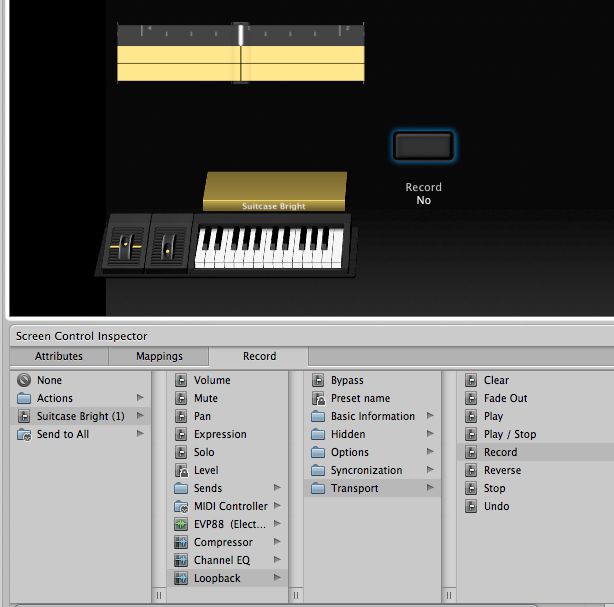
Now select the button in the workspace. In its inspector panel below, we are going to locate Loopback again, and assign the button to 'Record'.
Now we are going to add another controller assignment by hitting the '+' button to the right of the inspector.

Select the 'Clear' command from the list of controller assignments. To test our assignment, hit the spacebar to start MainStage's clock. Press the button in the workspace. Hit a few keys on your controller.
Now we see that Loopback is recording! Hit the button again, and the loop should clear.
While MainStage is playing, check the controller that you have assigned to that button. In my case, I am using the note value of 'C5'. When I hit that key, Loopback goes into record. When I hit it again, the loop clears.
Step 6 - Creating a 3-stage Knob
Assigning multiple controllers in MainStage is an invaluable trick. We used a momentary button for this example, but you can also use ranges of a knob as well. Imagine a knob where turning it all the way to the left put Loopback into a record state, Mid-way turns the record off, but still plays, and turning the knob all the way to the right clears the loop. 3 assignments on a single knob!
Create a knob in Layout mode, then assign it to a knob on your controller. Create 2 assignments: Record and Clear for Loopback.
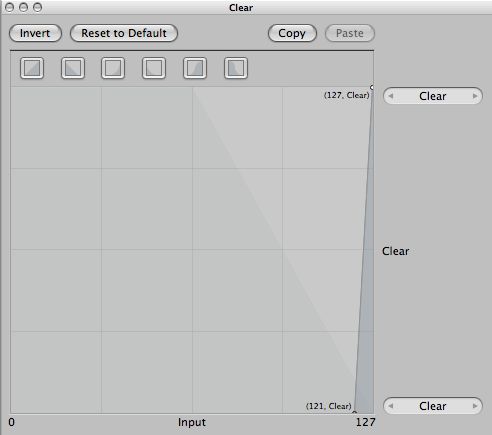
In the inspector, click the following 'Scale Parameter' box:

This will give us a way to decide the range of this parameter in relationship to the knob. Do this setting for 'Record'.
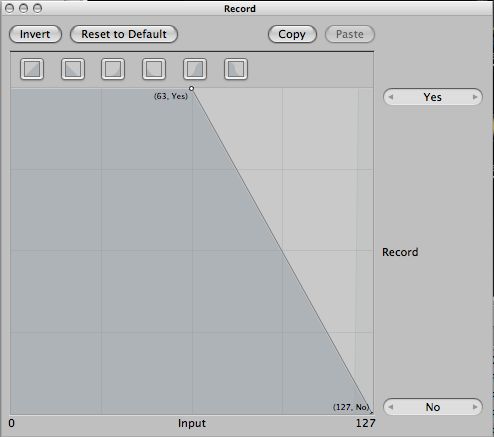
And this scale for 'Clear':
Press the spacebar to start MainStage's clock, and turn your knob.
Can you see how much fun you are about to have? This knob now has assignments for different ranges of the knob.
Have a blast!



 © 2024 Ask.Audio
A NonLinear Educating Company
Discussion
Want to join the discussion?
Create an account or login to get started!