Ableton Live is an amazingly powerful music creation tool. Many musicians and producers alike are aware of the app, but have yet to deviate from the safety of their track-based DAW solutions and ventured into the mysterious land of clips and scenes. Having taught Ableton Live to 8th graders for the last 3 years now, I can tell you that the transition can be completely painless—even fun!
We are also in the age where a DAW is just an extension of your musical creativity, and there’s no reason to have just one. Most people wouldn’t expect a professional guitarist to own only a single guitar, and there’s nothing wrong with keeping your copy of Logic and taking a bold step into the world of Ableton Live. Here are the first 5 things you should try to understand before you get started, and hopefully they’ll get you excited about trying out a completely new way of writing, mixing, and even performing music!
Creating Clips
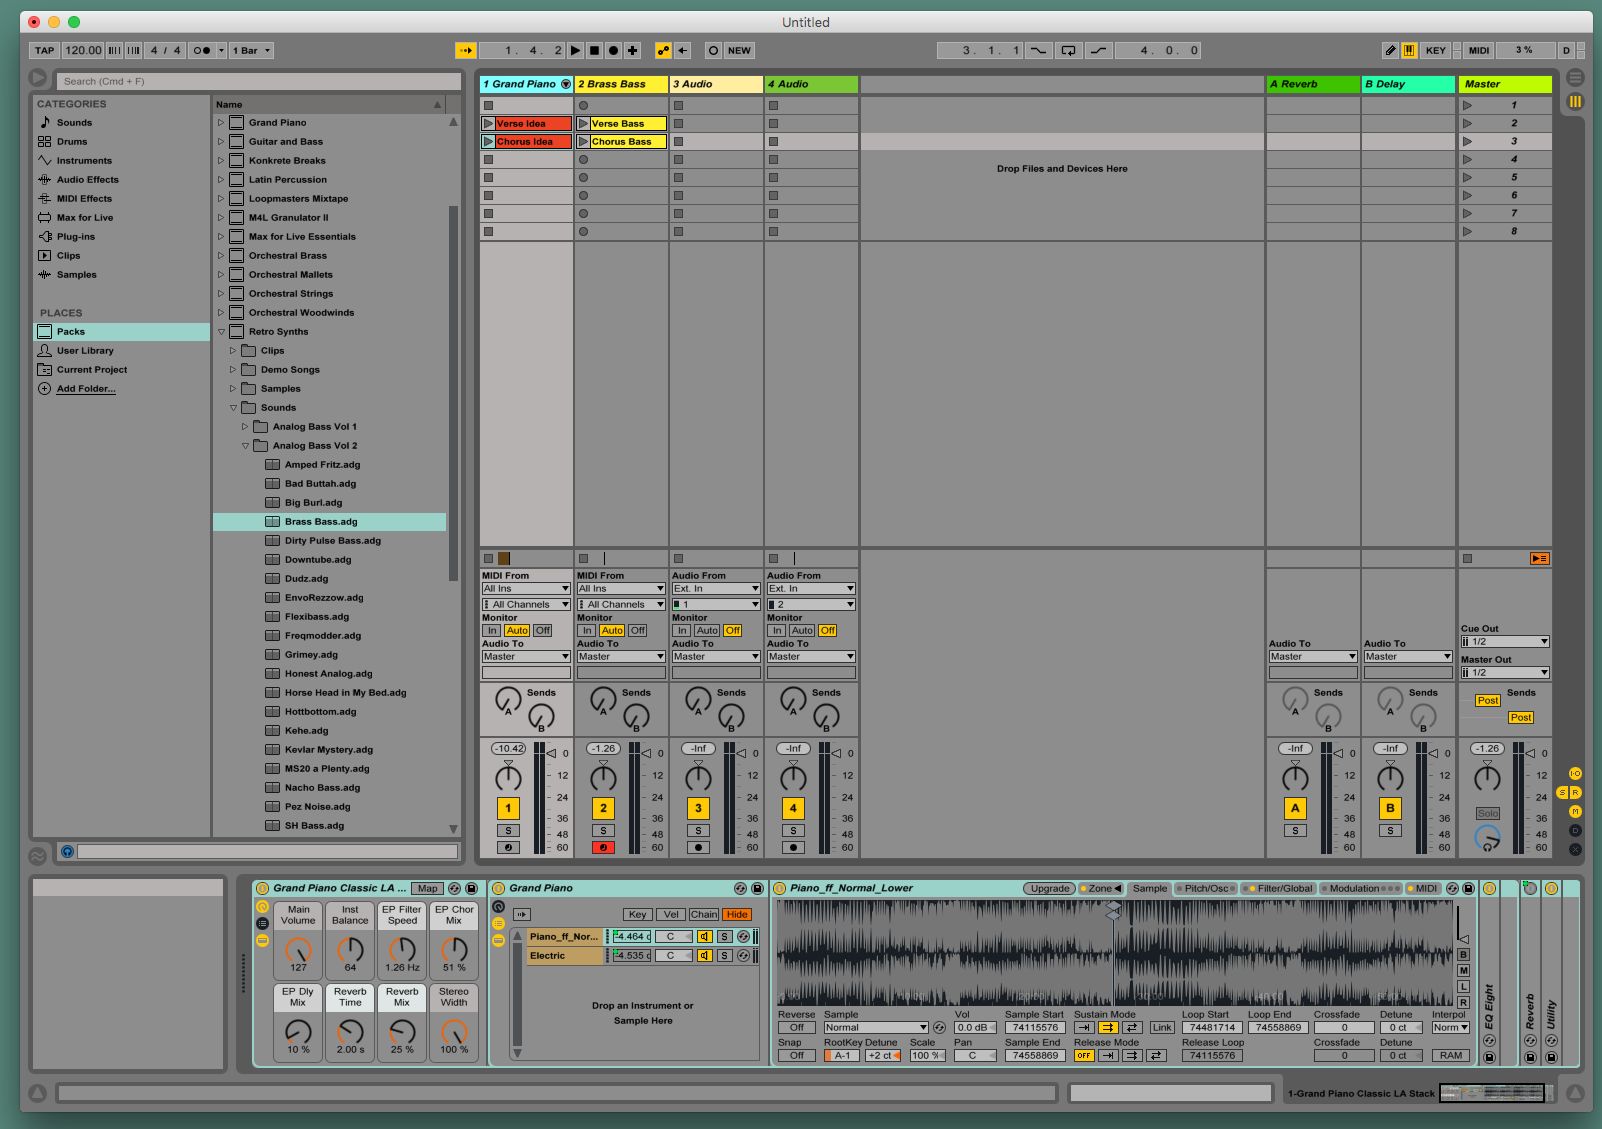
Live works best when you understand the power of clips. Clips are short musical ideas. A clip can be a simple guitar riff, a one-shot sample, or even the entire verse of a song. You can approach creating a clip in one of two ways. One way is that you can have it planned out in your head and simply record. You set up a new ‘blank’ clip by double-clicking in an open cell, tell Ableton Live how long that clip will be, hit record, and start playing your instrument. You’ll then have a clip that is exactly the length you specified which you can edit, quantize, or do whatever you want with.
Another approach is to simply click in an open cell and start recording. Try noodling around until you play what you’re looking for. Once you do, you can open the clip up and drag the start and end points until it encapsulates your idea. So you can try ten different times to get that ‘perfect riff’ laid down, then tell Ableton Live ‘only use this part of what I just played’. Either approach is fine, and you’ll wind up with what you need!
Sounds and Columns
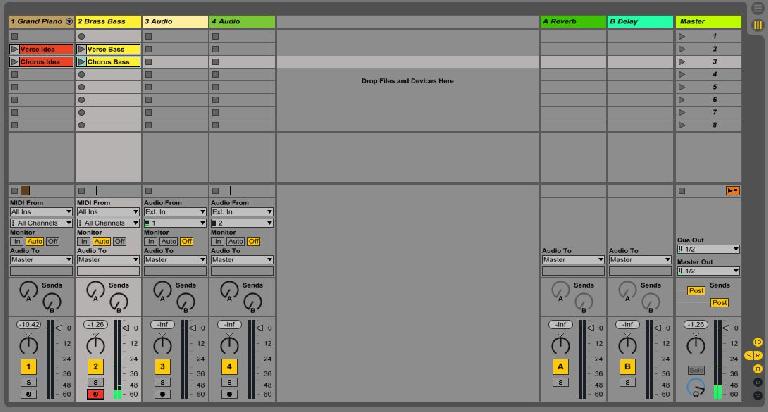
Every clip you create inside a column will generally be on the same instrument. This is because if it’s a MIDI instrument, every clip will play back on the same VI (as if it were on one track in a traditional DAW). If it’s an audio instrument, every clip will go through the same processing chain you’ve set up, so again—it’s a good idea to think of columns as all the different musical ideas that you’ve got for that single instrument. You can have a piano column, a drum column, a strings column… think of these as tracks! (because they are—we’ll get to that later!)
Scenes and Launching
So you’ve got a few columns lined up next to each other and things are starting to look like an Excel spreadsheet! Any clips that line up next to each other in the same row are in the same scene. A ‘scene’ is a bunch of clips that are on different tracks that will all play at the same time. In fact, you have the ability to ‘launch’ a scene by clicking the play button for that scene in the ‘master’ column on the right-hand side. So if you have a piano, a drum set, and a bass track all set up for your columns; whatever you played in each cell for the first row will all play back simultaneously.
So you can see it’s generally a good idea to put things in the same row that share a common harmonic structure. If you played a bass line based around an ‘E’ chord in row 1 of your bass column, you’re going to want to play a guitar riff based on ‘E’ in that same row in your guitar column. It’s pretty easy to understand once you try it out for a few minutes.
Devices, Mixers, and Properties
The properties window at the bottom of the screen is incredibly powerful, and it will morph and change depending on the situation you’re in. If you’ve got a column (track) selected, that area will show you everything you need to know about that track. If it’s a MIDI track, then the properties window will show you all of the information about the instrument. The effect chain, the sample set, the modulation parameters… all of the things you need to control about your instrument. If you’ve got an audio track selected, then it’s here that you’ll adjust your audio effects that you drag and drop in. Your reverbs, plugins, and other fun stuff will all appear down here.
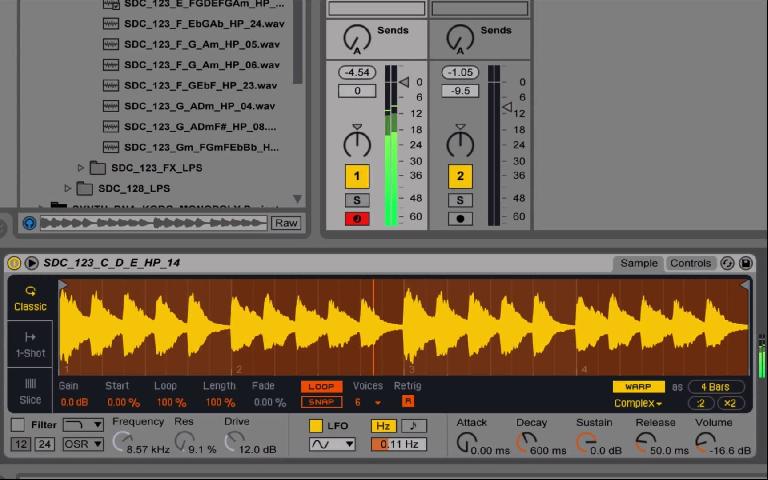
If you select an individual clip that you recorded, then it’s down here that you can edit the MIDI, change the parameters of the clip, stretch and chop up the audio… the sky’s the limit! There are a ton of things you can do to clips in Ableton Live, and having everything separated into these smaller units allows a real freedom to ‘micro manage’ every little aspect of your music!
Arrangement and Session
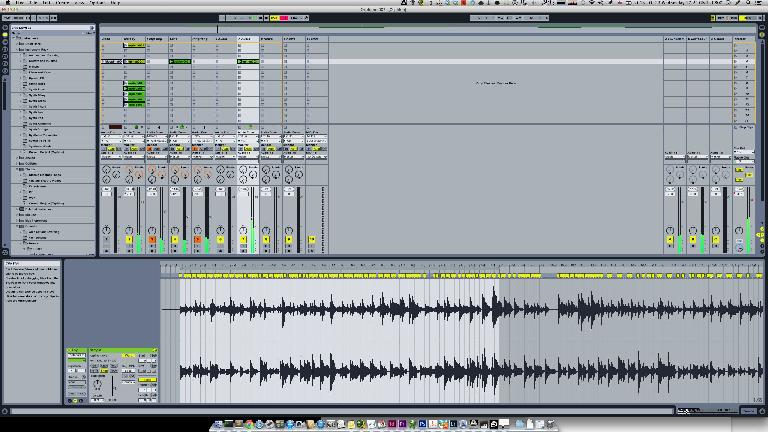
The view you’re likely looking at (the default view for new projects in Ableton Live) is called the ‘session view’. You can launch clips a bunch at a time by using the scenes on the right, but you can also launch individual clips by clicking on the clip’s play button (on the left side of the clip). You can experiment with different performances of your song by simply choosing different scenes and by starting and stopping different combinations of clips. This is the beauty of Ableton Live! You can really create so many different ‘versions’ of your music this way!
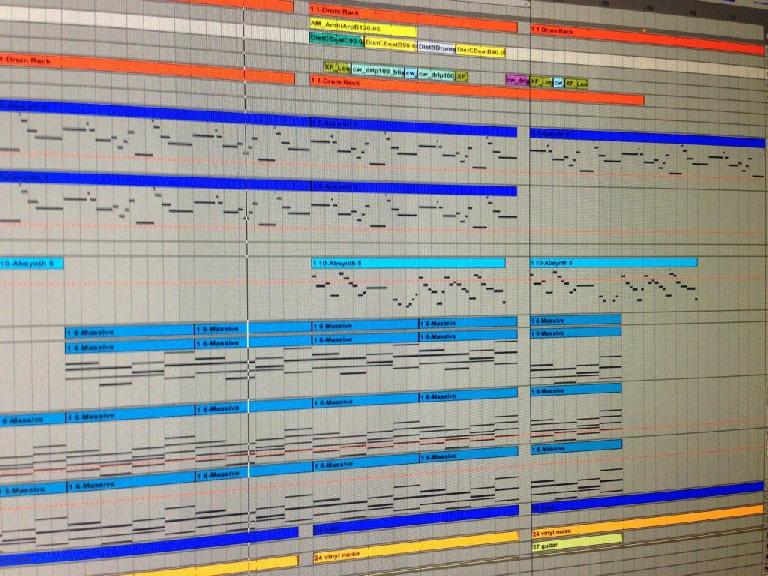
If you come up with something you like, you can record your performance and work on it in ‘Arrangement View’. Click the record button, then by launching scenes and individual clips try to create the best ‘version’ of your song that you can. When you’re done, click on the arrangement view icon in the upper right corner and you’ll be treated to the standard linear DAW style view of the song you just created! You can tweak the arrangement, record linearly and add more instruments. It’s the best of both worlds!
But Wait, There’s More
Ableton Live has so much more to offer, and it’s a really wonderful way to create, compose, and perform music. With the advent of Ableton Push and some of the great updates that Ableton has pushed (pun intended) out the door with Live 9.5, the time for getting into Live has never been better. Use these first 5 concepts to launch (pun still intended) you out the door into a new frontier of music making!


 © 2024 Ask.Audio
A NonLinear Educating Company
Discussion
Want to join the discussion?
Create an account or login to get started!