1. Always A/B
When mixing or mastering, have a copy of a commercial track that is similar to what you’re aiming for loaded up on a separate stereo audio track in your project. The vast majority of the time this will be muted of course, but with your mix or master running you can very quickly just solo the reference track to jump instantly from your track to the commercial track and compare the two in terms of things like dynamics, balance, stereo width and compression levels. By having the reference track inside the project you can A/B instantly and without having to stop one project, bring another to the front and play it. The whole thing becomes much more instant and it gets easier to directly compare the two.
2. Use Markers
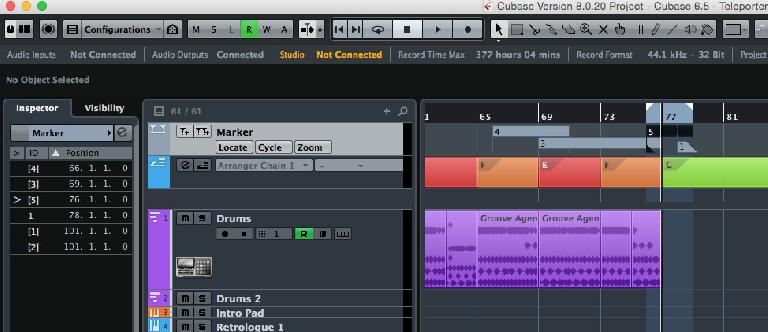
They might sound like something better suited to DJs but markers are actually incredibly useful when you’re arranging or mixing. Imagine there are a couple of choruses that you need to audition repeatedly, to better tweak the mix. Clicking to zoom every time you want to go to a new part of a track quickly becomes tiring and repetitive, but zapping between markers using key commands is instantaneous. Markers can overlap each other too, so you can try auditioning different loops or sections that contain elements of other sections. This is a workflow trick but an immensely useful one.
3. Watch the master fader
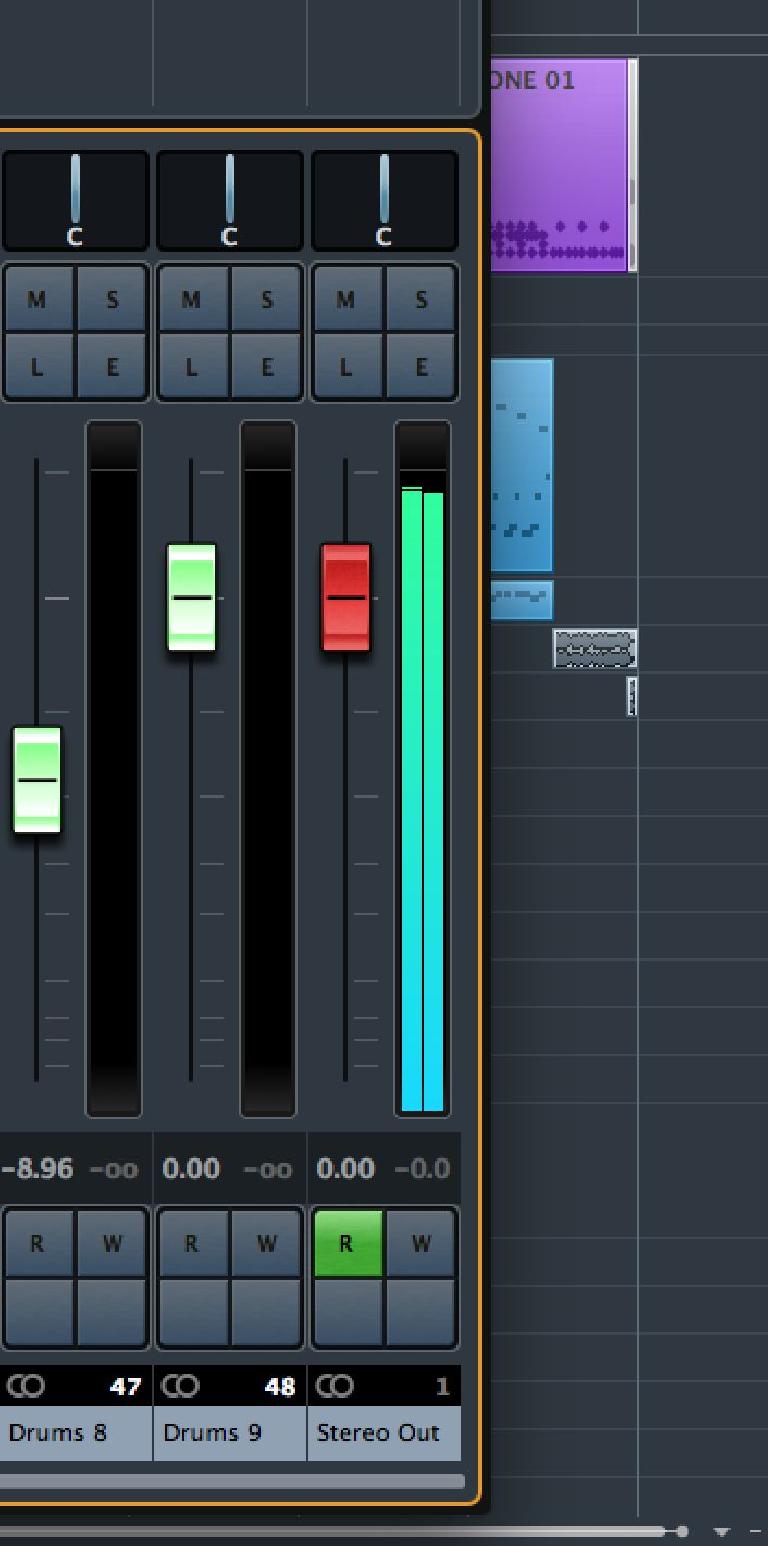
There are several stages at which levels are set in Cubase or any DAW: individual channels, groups, busses, the master fader and your monitoring equipment amongst others. Rather than pushing or dropping individual channels to make big adjustments for the overall gain of the track, first make sure the master fader is set optimally. If everything is a bit quiet, push the master fader rather than all the channel faders, and vice versa if it’s too loud. It’s also worth inserting any analysis plug-ins at the master fader stage as these will then accurately reflect exactly what’s going on in the mix. Somewhere around 0 dB is ideal, and preferably not very far over it.
4. Save time setting up inserts
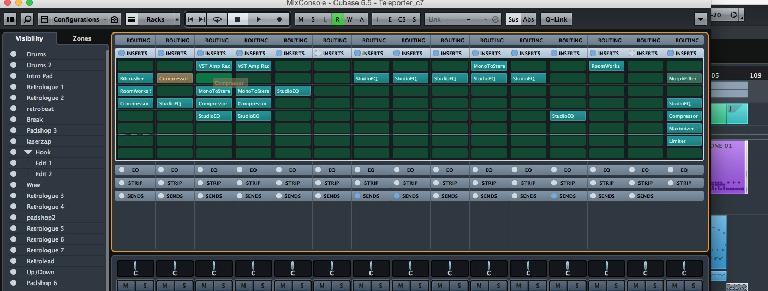
In MixConsole, insert effects can be dragged freely to move them between any insert slot in any channel. If you hold the Alt key as you do so, the effect is duplicated rather than moved, complete with all its current settings. This is a great way to apply that perfect compressor and EQ for example from your led vocal track to a doubled version without spending any extra time or effort. The insert slots also support saving and loading of entire channel presets and you can use the main menu’s copy and paste commands just like you would in any application, to instantly copy and paste a set of inserts from one channel to another.
5. Use Track Versions
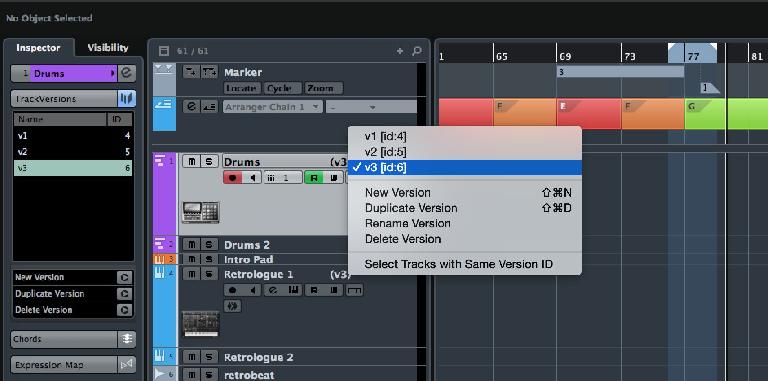
Track Versions can be used for audio, MIDI, drum and instrument tracks in Cubase and are a quick way to duplicate a track without creating any extra sequencer tracks: a clutter-free solution. You can add new material to a new version, edit existing material and then select any version to play back at any point. So you might have one version of a drum part and then decide to audition and/or keep a different one. This could be done just by flipping track versions, with no need to set up multiple tracks or copies of instruments. The contextual menu also has several options for managing versions of a track.
6. Batch export stems
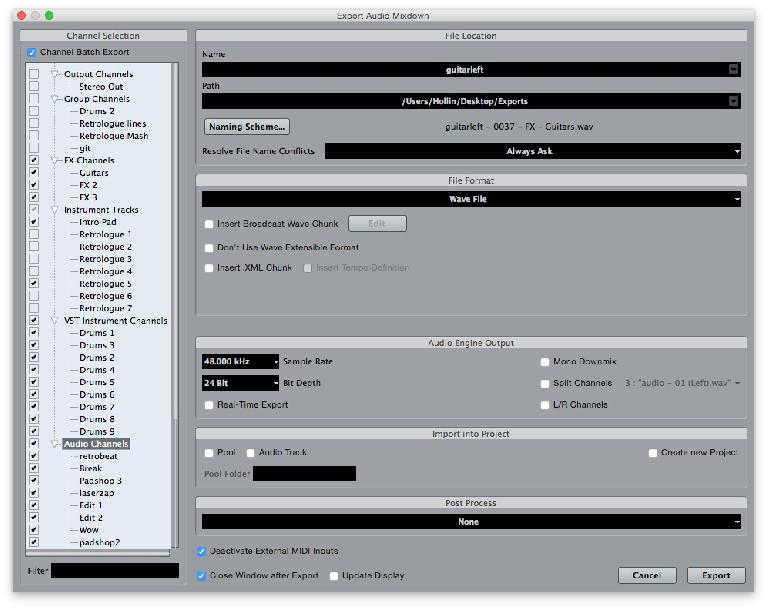
Although you will want a stereo mixdown of your finished project, you should always also export a batch of stems using the File > Export Audio Mixdown tool and selecting Channel Batch Export. There are various options available and as well as providing a great way to back up projects, this means you will have a copy of all the tracks in a format that can be easily remixed or re-mastered at a later date if it becomes necessary. It’s worth leaving the bit rate and quality settings the same as the tracks already exist natively inside the project.
7. Use fades
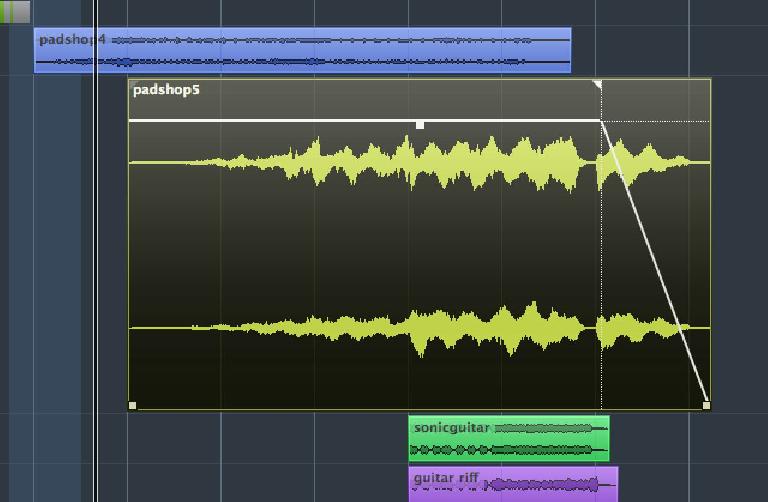
Automation is great but it can be overkill when you just want to make simple adjustments to things like clip volume. Audio clips have fade and volume handles that work independently of the channel’s fader, and these are perfect for tweaking individual clips nondestructively without bothering with automation, while leaving the channel’s volume fader alone. Simply pick up the left and right edges to fade in or out, and use the horizontal line to set the clip’s volume once it reaches the end of the fade in.
8. Understand the track types available to you
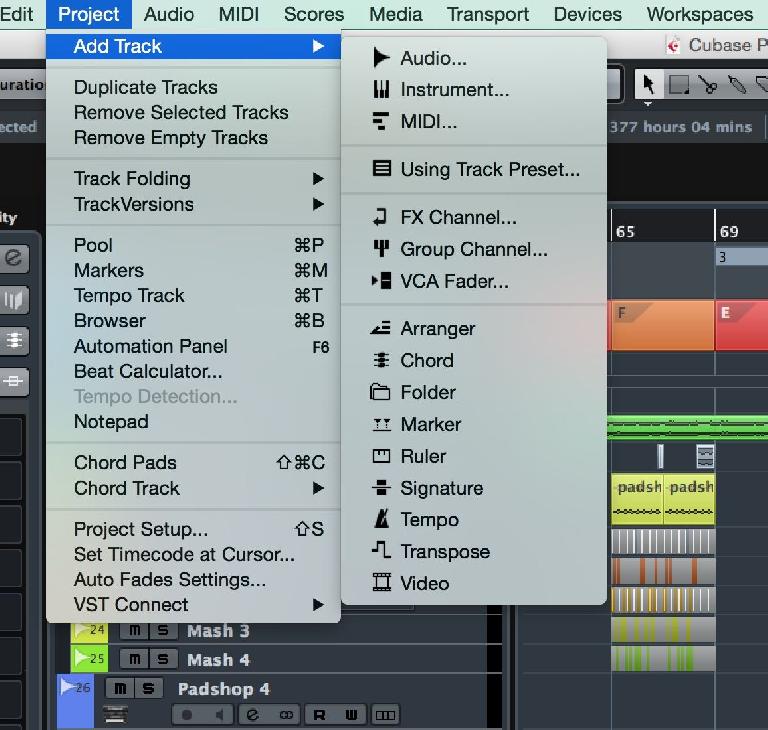
There are some great types of utility tracks available in Cubase that can help your workflow a lot. FX channels work like send effects and Group channels are used for managing larger mixes. VCA Fader channels let you control groups of faders but without altering the audio routing of the channels you’re controlling—sort of like groups lite—and can be layered on top of one another. Folder tracks help you manage multiple sequencer tracks into more manageable folders, transpose and tempo tracks let you alter these parameters over time, and so on. If you’re unsure what a track type is for, consult the excellent manual.
9. Work with the Pool
Something of a relic of earlier versions of Cubase, the Pool window looks a little long in the tooth but it’s still really useful. Use it to track down the physical location of files used in a project, process in-place (in full versions of Cubase) effects and functions onto audio clips, batch convert audio files to new settings and locate any files that have become delinked from the project.


 © 2024 Ask.Audio
A NonLinear Educating Company
Discussion
Want to join the discussion?
Create an account or login to get started!