1. The Rack Can Go Across as Well as Down
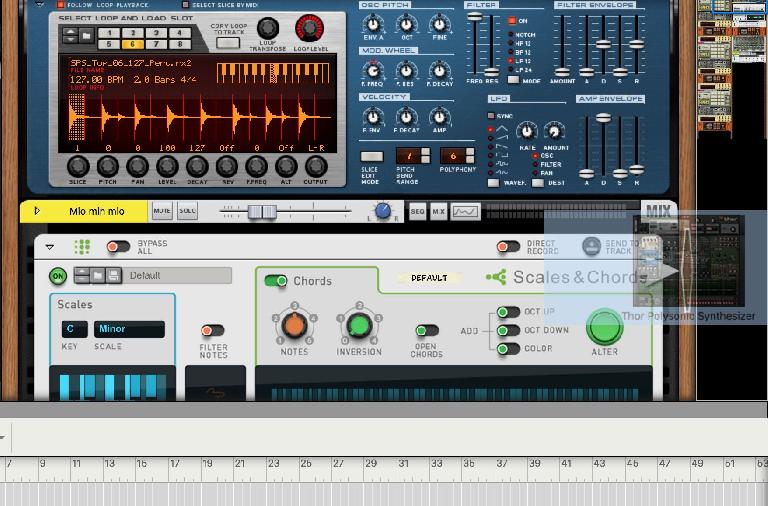
This is almost a hidden feature but once you know about it, it can be a life saver. You will be well used to dragging devices into the Rack and scrolling up and down to interact with them. Using two columns on a widescreen display is pretty standard. But if you drag a module to the right-hand edge of the rightmost column in the Rack, you get a new graphic that tells you a new column is about to be created. Simply dragging a device into the blank space to the right doesn’t work—you have to hover over the edge of the column, release the mouse and a third column is created. You can keep going and create 4,5,6 or more columns: I’ve never found out if there is an upper limit. If you prefer scrolling left to right instead of top to bottom, this is a better way to work with lots of modules. If you choose to detach the Rack and split it off to a widescreen second monitor, it’s even better.
2. Get to Know Some Key Commands
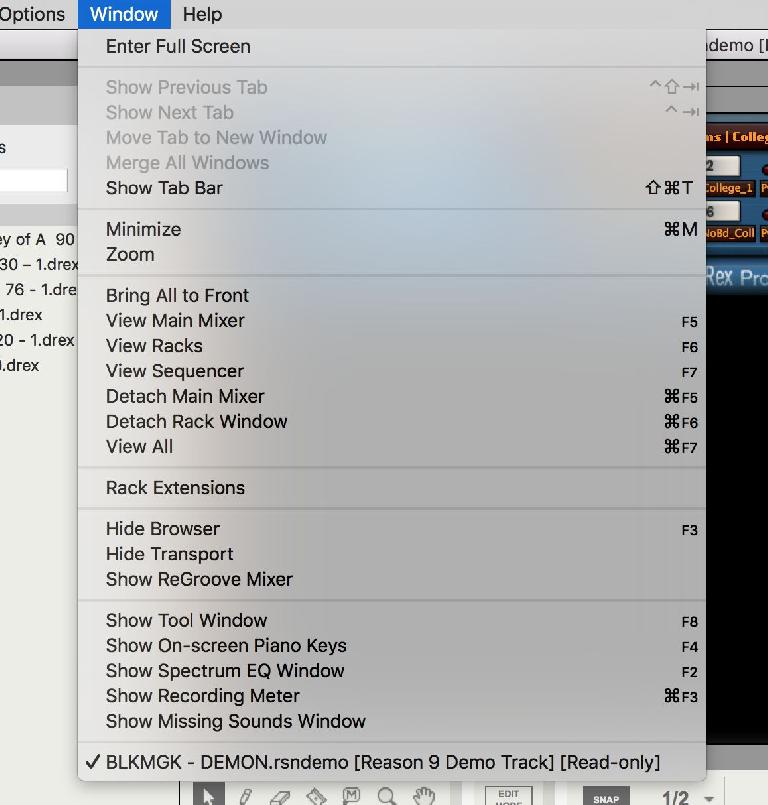
Shortcuts that are triggered by pressing key combinations on your computer keyboard are a good way to become a power user, quickly zapping between different commands. In terms of navigating big projects, one of the best tools to have at your disposal is an automatic recall of the shortcuts that open, close and rearrange the various views and windows in Reason. These are actually pretty quick to learn, involving the Command (Mac), Control (PC) and “F” function keys. Commit these to memory and you’ll find they are far quicker than mousing up to menu bar dropdowns every time you want to change the view.
3. Use Bussing in the Mixer
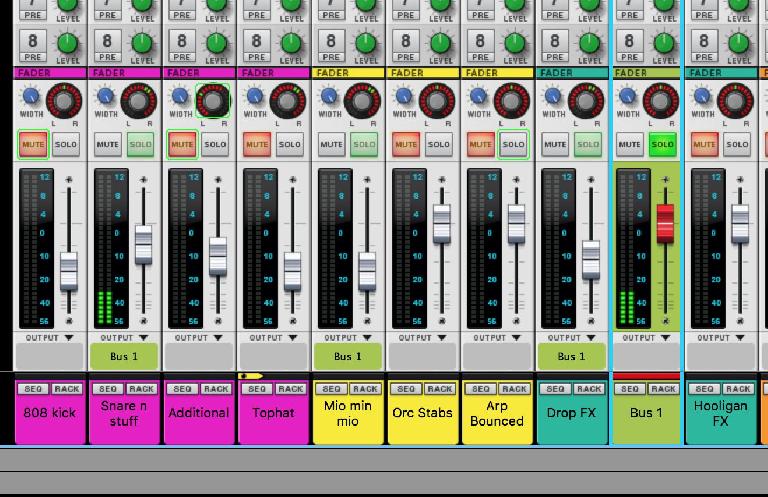
Reason’s mixer lets you select one or more tracks, click on one of their output areas and choose New Output Bus. Creating and naming a new bus means those channels are all now routed to a single bus channel and can be controlled using a single fader. This is perfect for subgrouping channels that belong to the same instrument or group of sounds—say a drum kit or a choir for example—but once submixed, you want to be able to pull the whole instrument up or down by the same amount without adjusting six or seven faders. With a little planning, you can simplify your mix greatly. Balance your drums, synths, vocals and more and then create a number of busses to route them through, reducing the number of channels you need to worry about. Of course the original channels feeding the busses remain editable too, so it’s win-win!
4. Alt & Click on Sequencer Tracks
If you’re done arranging in the Sequencer for a while, you can hold the Alt/Option key and click on any expander arrow at the far left of any sequencer track. This will have the effect of minimizing all tracks at the same time, which is far quicker than clicking them one by one. Click a second time holding Alt/Option and you will open out all the tracks again for a better view.
5. Control CPU Usage
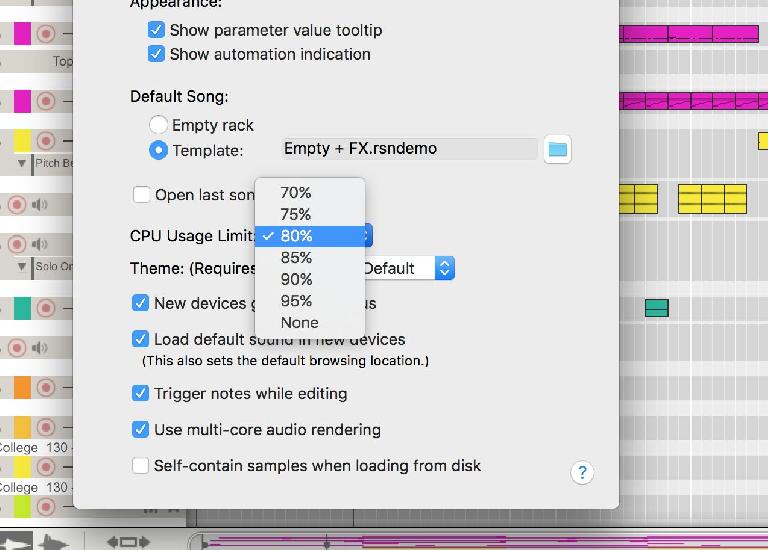
Modern computers are pretty powerful but as Rack Extensions get more complex and projects ever larger, you might run up against some performance issues. As well as reducing your audio buffer size when you’re finished recording and have moved on to editing and mixing, you can go into Reason’s Preferences > General tab. Here you will find a CPU Usage Limit option where you can throttle Reason a little (say if you are running other apps at the same time) or indeed remove the limit altogether by selecting “none”. The only potential issue with having no limit is pops and clicks in the audio but that’s not guaranteed to happen.
6. Colour me Bad
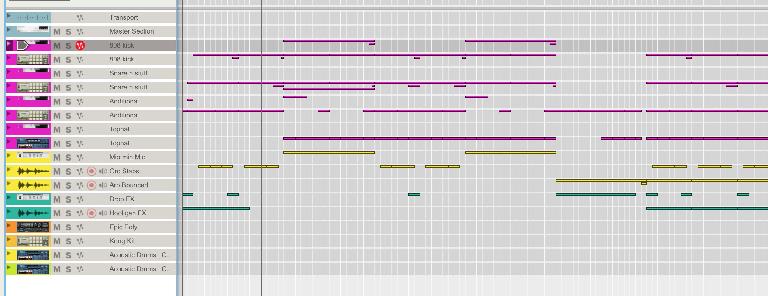
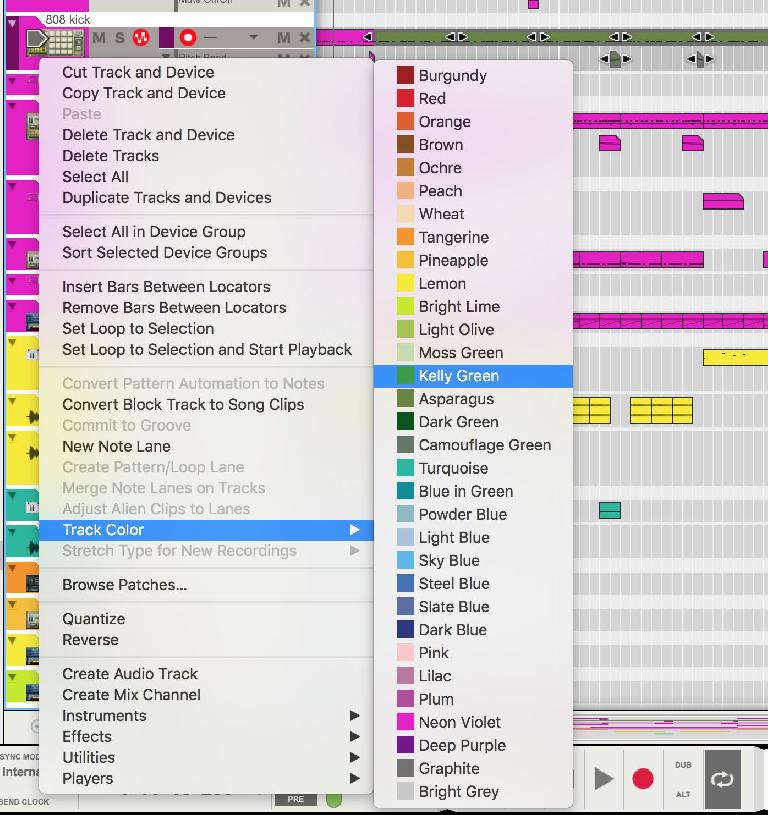
When you have a large project, the Sequencer can end up looking like hundreds of tiny blobs, which can be hard to keep track of. You can right-click on any clip or group of clips and choose Clip Colour to assign different colours to those clips. Or right-click in the name area of a Sequencer track and choose Track Colour to apply a colour to every clip in a track. Colour coding can make visually navigating complex projects much easier and it’s well worth a try if you’re not already doing it.
7. Reduce cable Clutter
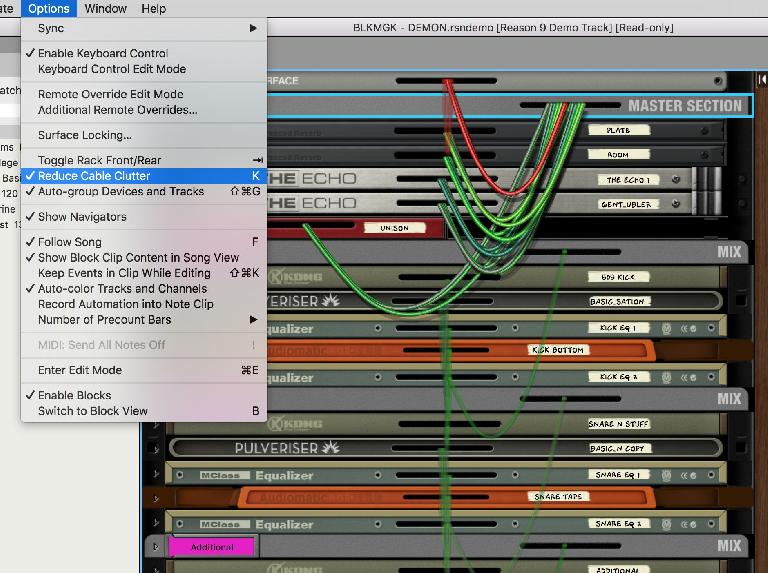
The tip about Alt & clicking in the Sequencer also works with Rack modules in both front and rear views. When you are poking around the back of the Rack, cable clutter can become a bit distracting but you can sort it out by choosing Options > Reduce Cable Clutter. This places all cables except those connected to the currently selected module into a semi-transparent state, making it much easier to see what you are working on at any one time. In the Preferences > General section there’s even an option to hide all cables, which displays ports as coloured dots. You can still make connections in this mode by clicking on the ports and choosing a destination to route the (now invisible) cable.
8. Master the Contextual Mixer Menu
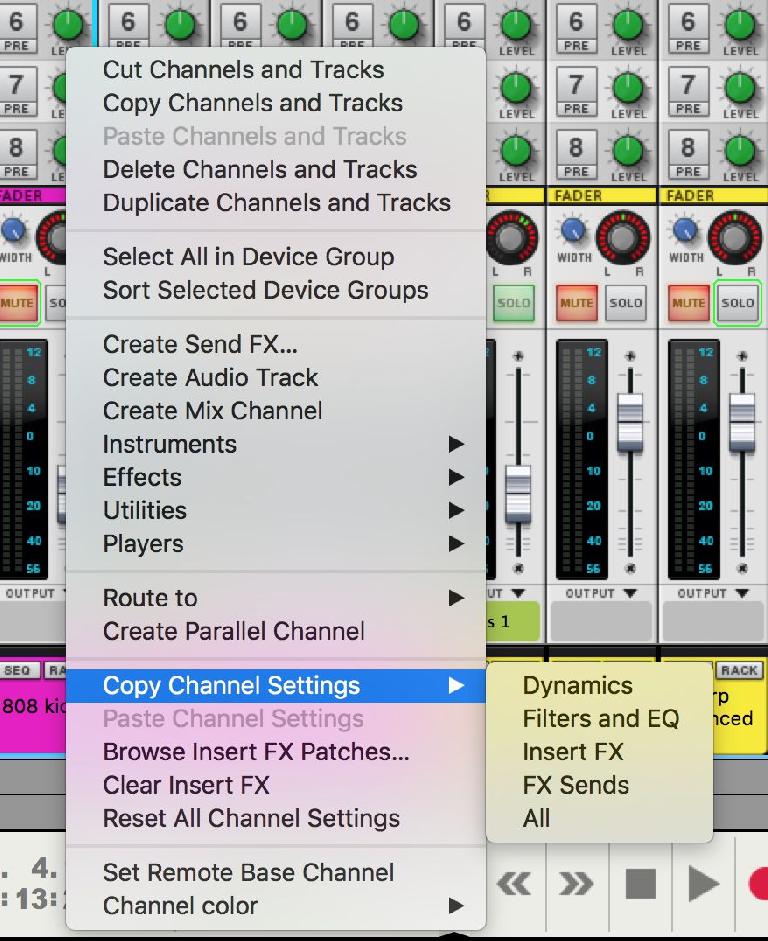
Right-clicking on a mixer channel brings up a menu from which you can access a whole bunch of useful settings. When dealing with a large project you might need to copy and paste settings or presets between several channels and you can do this using the Copy Channel Settings submenu. Imagine you needed to set up the same insert and dynamics processing on four channels at once. Instead of manually making these settings, just copy and paste them using this trick! From this menu you can also clear and reset channel settings as well as copying and pasting entire channels and setting up parallel processing.


 © 2024 Ask.Audio
A NonLinear Educating Company
Discussion
Want to join the discussion?
Create an account or login to get started!