
In the first part of our mixing tips, we looked at the importance of side-chaining, automation and send effects amongst other things. Read on to find out how to make your mixes even better…
(N.B. the pictures are from Cubase but the principles apply to most DAWs!)
1 – Rest your ears
Mixing is a relentlessly subjective process and after four or five hours of listening to the same three minute track on repeat, you can start to lose the plot a little bit. You might start to doubt that the track is any good or begin to believe that the mix is terrible when in reality your ears are exhausted and your judgement is getting sloppy. Take a break or maybe even come back a day or two later if you can. You'll hear it's probably better than you thought!
2 – Separate the mix and mastering stages
It's possible to strap a mastering plug-in across your DAW as you mix but this is rarely a good idea. Mixing is about achieving a great balance of all the tracks in a project, mastering is about adding punch and power to that mix. Keep the two stages separate and you will have much more flexibility when it comes both to mixing and mastering.
3 – Remember, EQ is powerful
Sometimes it's much better to alter a track's EQ than to play with its fader and volume. It might be that it's just the top end of a guitar part that's sticking out in the mix for example, and the mids and bottom end are fine. Tweaking EQ would fix this more accurately than dropping the fader.

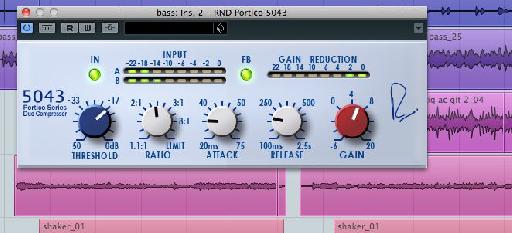
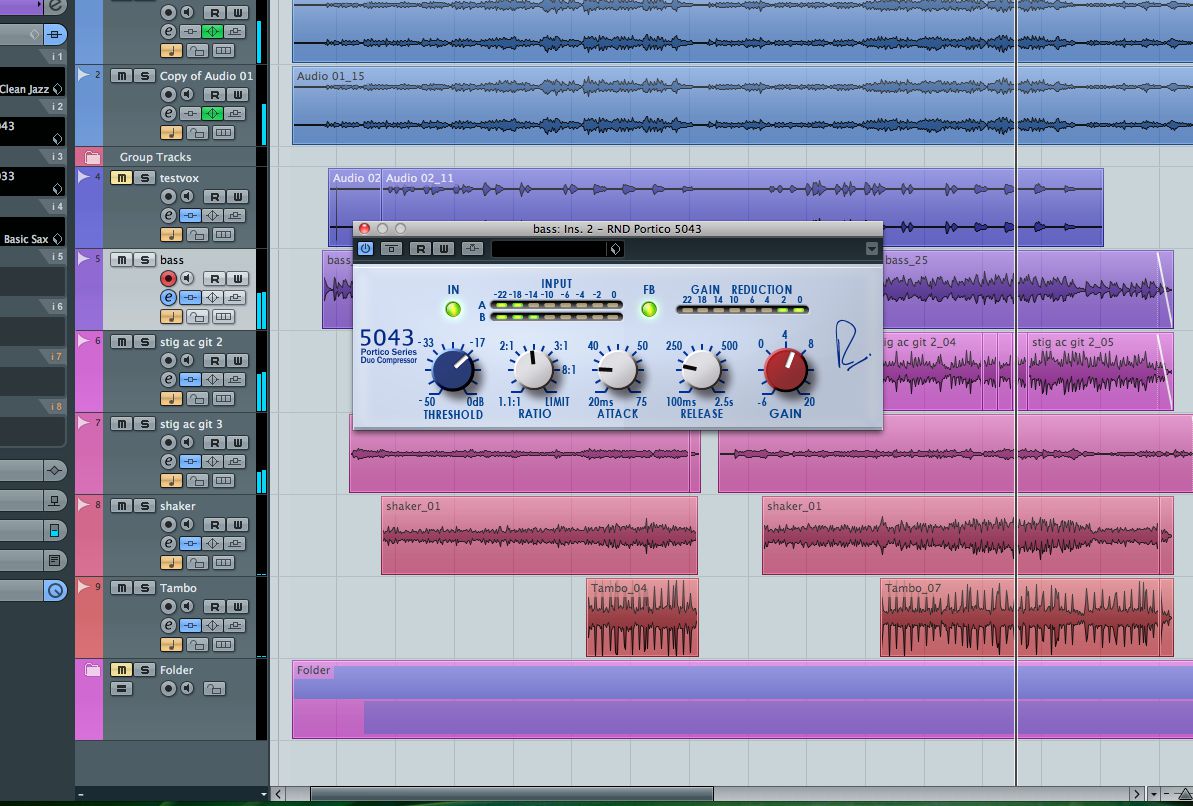
4 – Use compression with care
Most parts of a mix might require some compression, but keep it gentle. The cumulative effect of 20 or 30 tracks with a lot of compression on each is a mix that's tiring to listen to. A little compression is fine but don't let it suck the dynamic range out of your music when all the tracks play together. If in doubt, use master buss compression.
5 – Consider delay on vocals
The default effect to use on vocals is reverb but sometimes the space that they add to the soundstage isn't exactly what you need. A little short delay can add depth to a vocal without making it sound far away, and this trick applies to other mid and high frequency sounds as well.
6 – Link faders
Most DAWs allow you to link faders in some way. This isnt the same as grouping their audio outputs together to a single channel, but it means that when you move one, every other linked fader will move by the same amount. Crucially their relative levels will not change, so it's great for changing multiple levels at once and by exactly the same amount.

7 – Listen on different systems
Don't assume that because your mix sounds good in your studio, that it necessarily will do everywhere. Put a copy on your iPod, listen to it on your car or on someone's computer. There are so many playback devices for digial music that your aim is to get it sounding good across them all. This trick will also help you to understand the idiosyncrasies of your own room, like if your speakers are too bassy, and adjust your mixing accordingly.
8 – Always export stems
As well as a stereo mixdown, always export stems of your material. This is great not just for backup and remixes, but also if you need to re-do your mix on a different setup that isn't running the same DAW as you.


Discussion
Want to join the discussion?
Create an account or login to get started!