1. Using the Audio Header
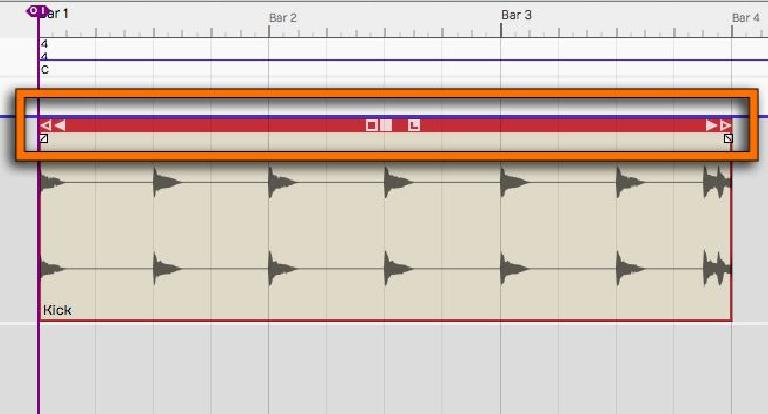
Most of Tracktion’s audio editing functions can be found in the audio header of an audio clip. Click on the header of an audio clip to select it. You’ll notice that there are icons on the left, middle, and right of the audio clip. Let’s go through these and see what they do.
2. Start and End Points
There are two triangles on the left. The first one, the outline, and then next to this a filled white one. The first triangle represents the start point of a clip. If you click on this and drag it either left or right you’ll change the start point of the audio clip. But this does not change the audio content within the clip, only its start point.
This works the same with the last triangle on the right of the header. This changes the end point of the audio clip.
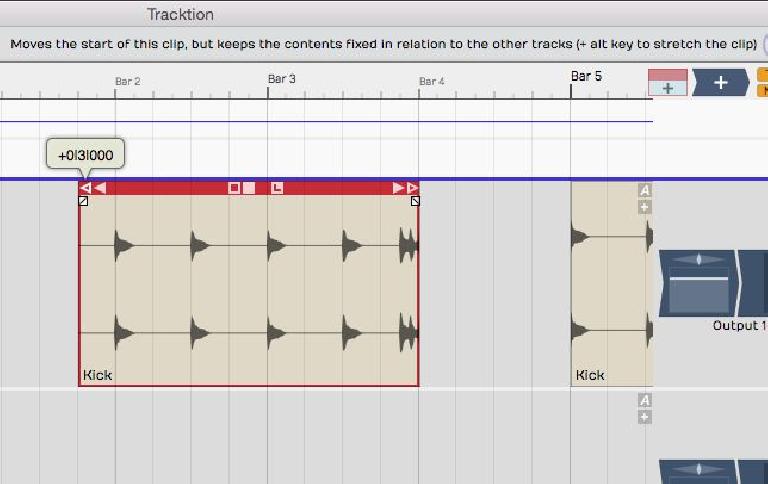
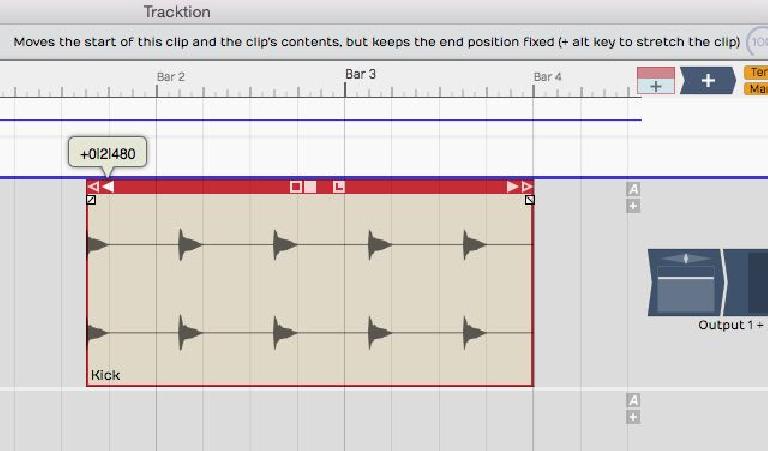
Now let’s move on to the next triangles on the left and right of the header. When you drag the one on the left notice how it moves the start point of the clip and the contents within. Test this out with the right triangle as well.
3. Snapping Audio Clips
If you want to snap your edits to the grid, make sure that you enable Snap in the properties on the bottom right. Or you can use the shortcut ‘Q’ to enable/disable snapping.
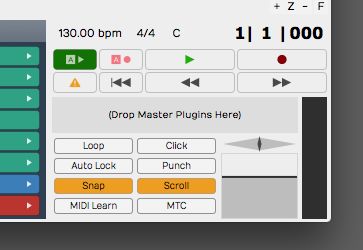
If you disable this, you can edit with finer detail on your audio clips.
4. Slip Editing
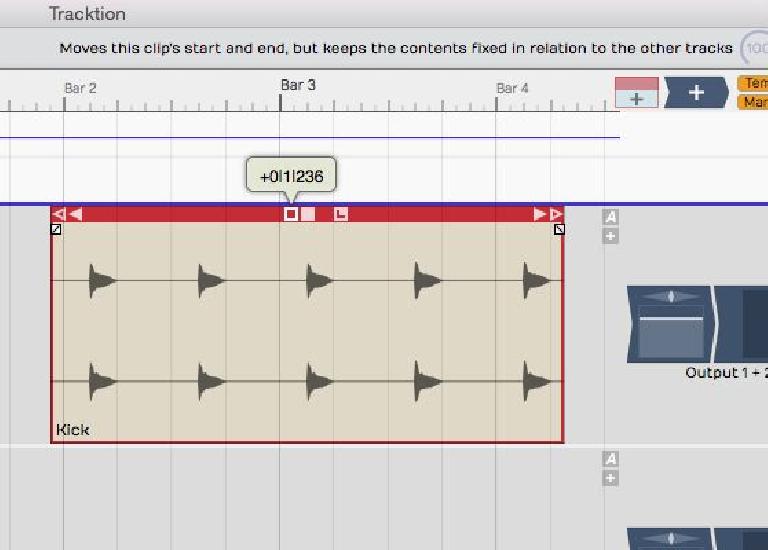
Now let’s take at look at the options in the middle of the audio clip header. You have two square icons here. If you click and hold on the first one, and drag either left or right you’ll notice how this changes the start and end point positions of the audio clip but the contents within remain fixed.
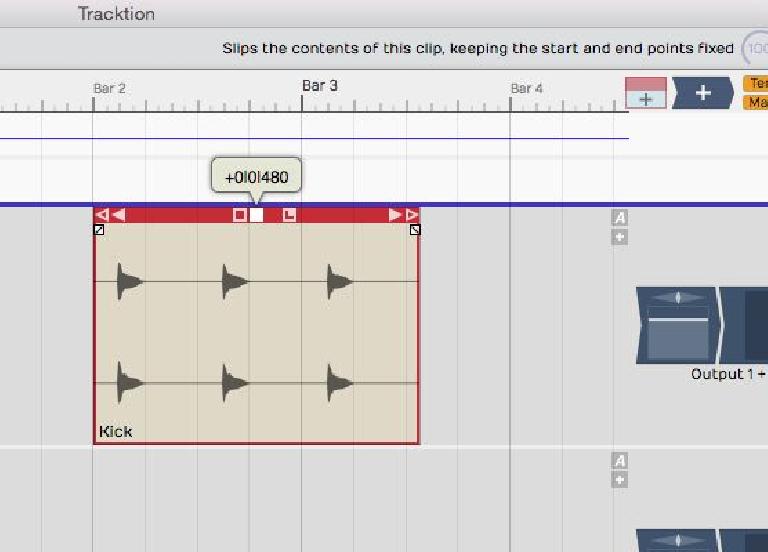
Now let’s move onto the next square in the header. If you click and hold on this, the start and end points of the clip stay fixed, while you can slip the contents within the clip. I really like this tool. Especially when editing audio like drums. I can use this tool to slip edit the drum hits to improve the timing on the drum takes.
5. Adding Fades
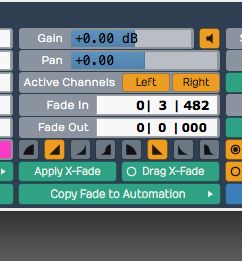
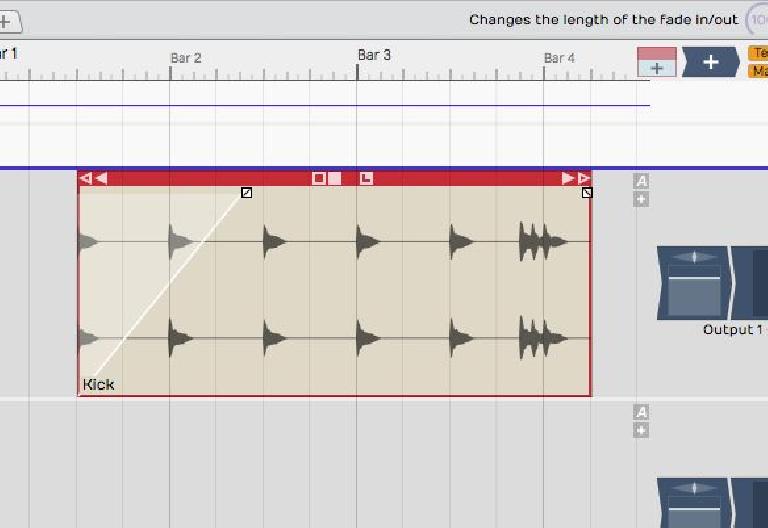
Under the header of the audio clip are the fade edit tools. Grab these and drag across to create a fade in or fade out on the audio.
You can change the fade shape in the audio clip properties on the bottom of the Tracktion user interface.
6. Speed Up and Speed Down
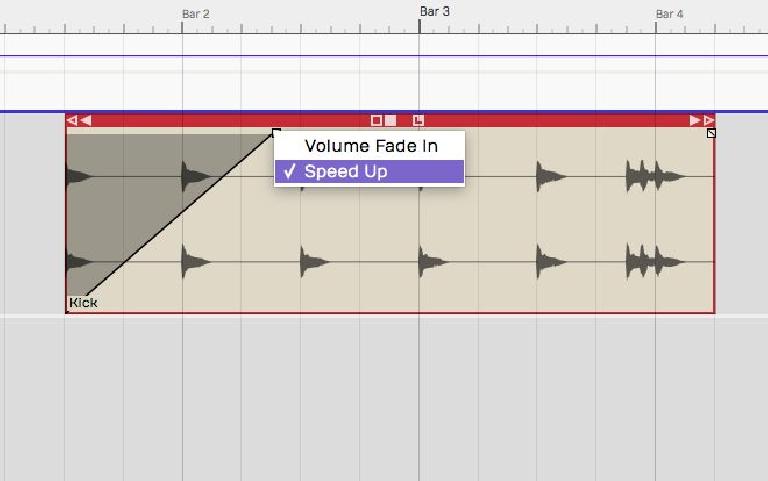
Another neat trick that Tracktion has added is that you can change this fade to a speed up or speed down tool as well.
Right-click on the fade tool on the audio clip and on the pop-up contextual menu choose Speed up. Now hear how this fades up and pitches up your audio, giving you that classic vinyl speed-up effect. How cool is that!
7. Splitting Clips
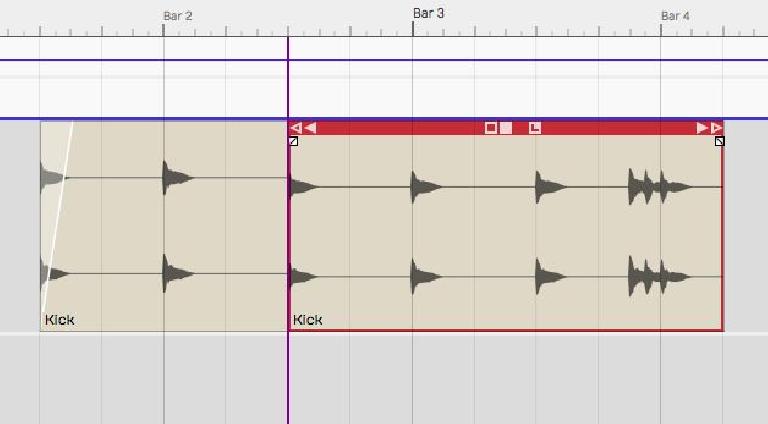
Here’s a quick an easy way to split an audio clip. Place the playhead where you want to split the clip, and the press ‘/’ and this will split the audio clip at that point. Now you can edit the clips individually.
Conclusion
That’s how to use Tracktion’s tools to edit your audio. All the tools are easily accessed either on the audio clip or on its audio properties. Tracktion really makes audio editing quick and easy. Try these tips out and see if it helps speed up your audio editing workflow.


 © 2024 Ask.Audio
A NonLinear Educating Company
Discussion
Want to join the discussion?
Create an account or login to get started!