
1. Automation Lanes
Automation in Reason has for some time used vector points rather than the old and much more opaque system and this makes it easier to deal with. When automation has been recorded for any parameter it appears in an automation subtrack underneath the device's note lane in the sequencer. Any automation clip exists independently of the note lane and can be moved around the subtrack freely. It can even be dragged to another automation lane. Bear in mind that if you do this, the parameter might have different characteristics. So an on/off control won't respond in the same way as a dial, for example.
2. Automation Cleanup
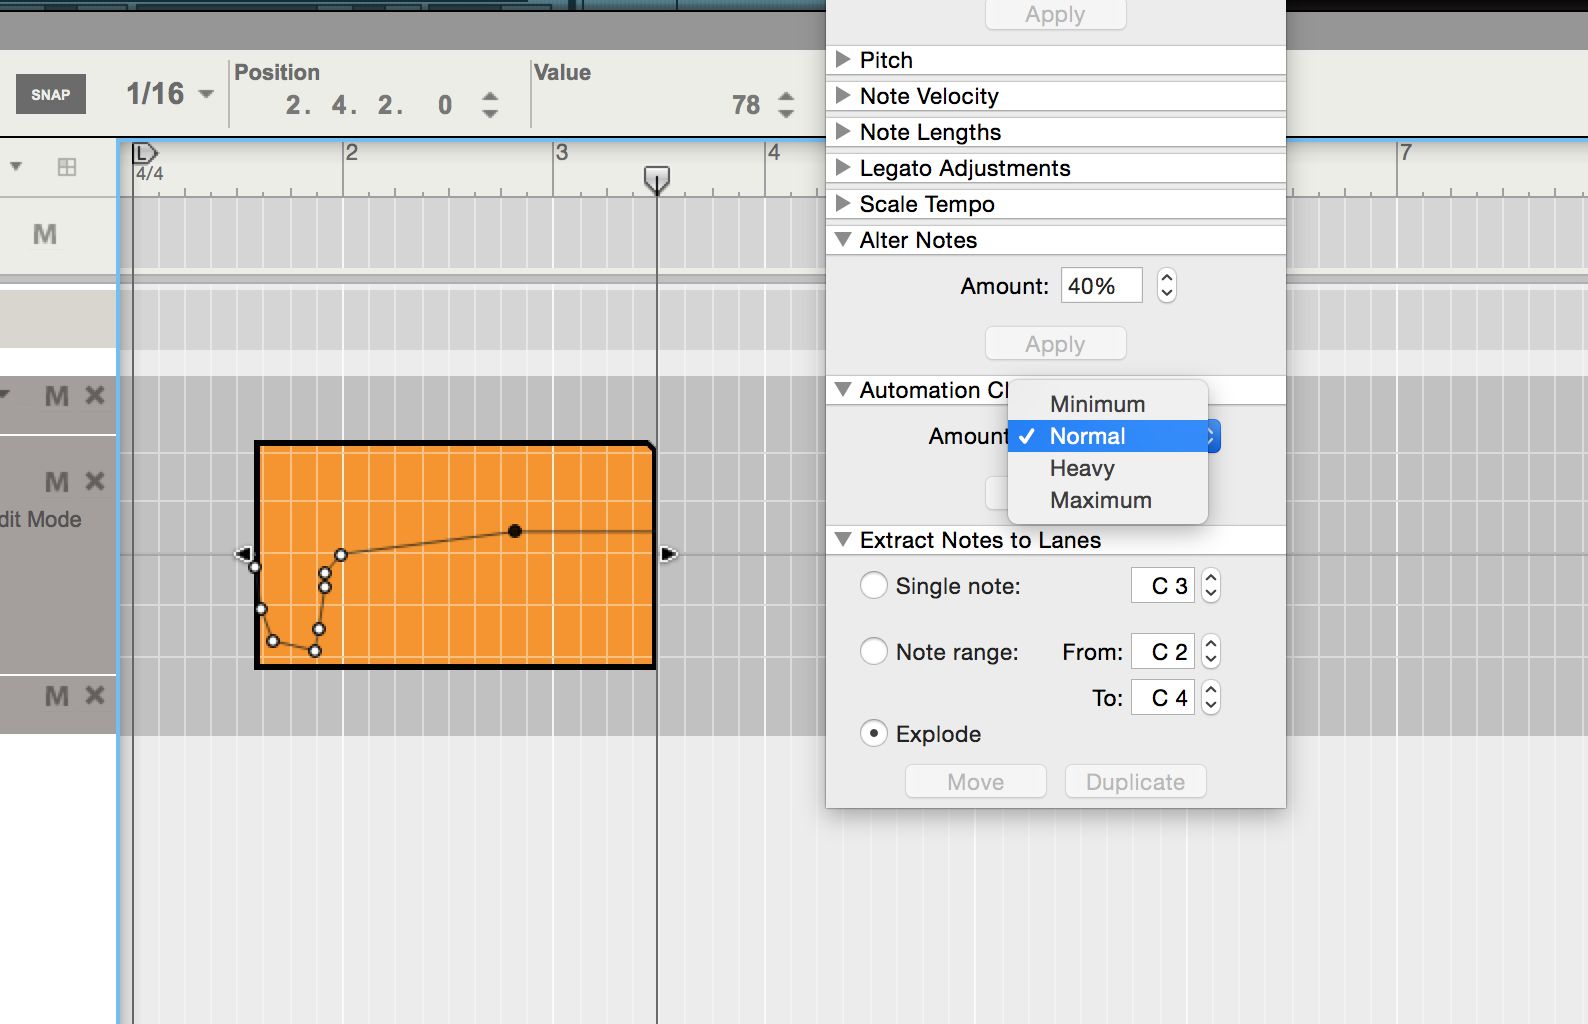
In the Tool window's Sequencer tools section, there is an area called Automation Cleanup. This has four settings from minimum to maximum and an Apply button so it can be applied to any selected automation clip. The setting here also applies as the default setting for all newly recorded automation data. It looks at the number of points created during automation and works out if the same result can be achieved using fewer points, which is cleaner. Although often best left set to Normal, you can tweak this to have Reason leave you more or fewer available vector points as you wish.
3. Draw In Automation
When you're in Edit mode in the sequencer and viewing an automation clip, holding the Command (Mac) or Control (PC) key down will temporarily change the cursor to a Pen tool which can be used to draw in new automation points on the fly. This is handy for quickly making edits, or for creating automation without having to find the device in the Rack first.
4. Grid Snap
By a similar token, holding the Option (Mac) or Alt (PC) key down while mousing over an automation clip will force the Pen tool to obey the grid snap settings of the sequencer grid. By doing this you can create regulated changes such as on/off or highly regimented tempo-synced modulations in values without having to manually line up the points yourself. Changing the project's snap settings alters the grid resolution and thus the way the points snap to the grid.

5. Use Shift
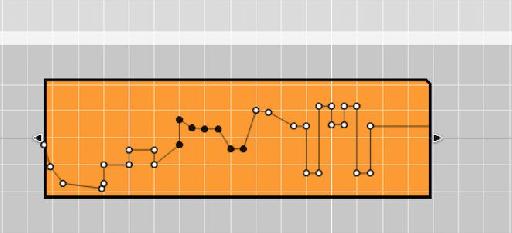
If you draw around several automation points using the mouse and then hold the Shift key, you can move all the points by exactly the same amount, maintaining their positions relative to one another. So you could keep a nice little pattern in place but move it a few notches higher all in one go. When moving up and down the movement is free but when going left or right with snapping switched on, the points will obey the snap settings. Of course you can turn snapping off to have completely free movement.
6. Set a Static Value
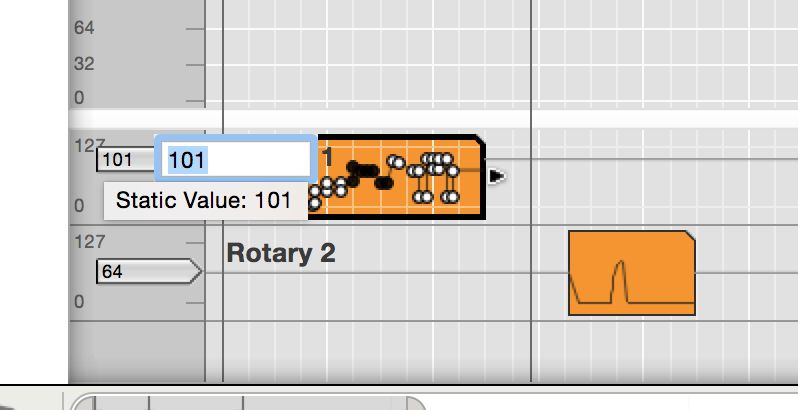
In the alternative Edit view you can set the static value of any automated parameter, meaning the value to which it is set when no other automation points are present. You can manually set the value bar by dragging it, or double-click it to manually enter a numerical value. This is handy for having a reverb snap back to a specific dry/wet level, for example, after a period of automation has played out.
Learn more about Reason at AskVideo here.

Discussion
Want to join the discussion?
Create an account or login to get started!