Having had the luxury of a few months to cozy up with Live's new Push instrument, I've gained some valuable insights to squeeze the most out of this powerful tool. Here's six tips to turbo-charge your creativity.
Tip 1 - Rack Up
At this point, Push doesn't natively cooperate with 3rd-party plug-ins '" but you can still put them to use. While it requires a bit of homework, designing your own racks can ultimately help you build a unique library of instruments, sounds and effects that are truly your own '" and by configuring the macro controls of a rack for easy access to the most important parameters via Push's eight dials, you'll be doing yourself the favor of making tweaks easier than ever. Even Live's own instruments are arguably best served in rack format, where they can be combined with various effect devices and even layered with other instruments. Once your most important racks have been constructed and saved in your library, Push will be able to call them up via the unit's built-in Browser navigation, meaning you no longer have to look at your computer to implement your favorite Live and 3rd-party devices. For more details on building your own Instrument, Drum and Effect racks, check out my AskVideo tutorial, Hooked on Racks.
Tip 2 - Design Your Defaults
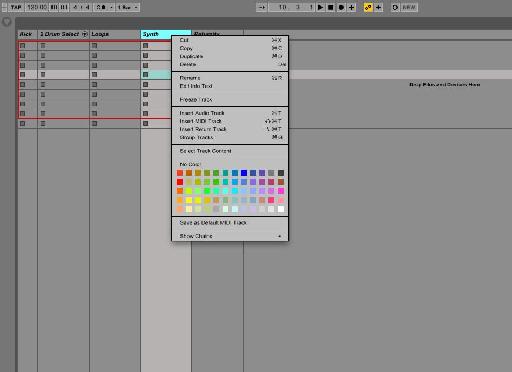
On a similar note, Live 9's new default tracks make it even easier to add new elements to your set via Push. Once again, there's some homework involved, but the payoff is significant. By configuring your ideal Audio and MIDI tracks with whatever effects, instruments and other devices you always want a new track of that respective type to have, and then saving them as defaults '" via the track's right- or control-click context menu, second option from bottom of context menu) '" you can simply hit the Add Track button on Push, select your track type, and there it is, just as you've configured it.
For example, a default MIDI track could contain an instrument rack with a selection of eight or more instrument types which could be selected via the Chain Selector (which would ideally be assigned to one of the macro controls) '" and which might then be followed by EQ, compression, and whatever other effects you might need to dial your sounds in on the fly.
Tip 3 - Step It Up
Step Sequencing may be a new concept for you, or it might be old hat '" depending on your experience with other hardware in the past. But it's an incredibly fun way to program rhythms, and along with Push's MPC-style real-time note entry, it's an essential component of Push's beat-making environment.
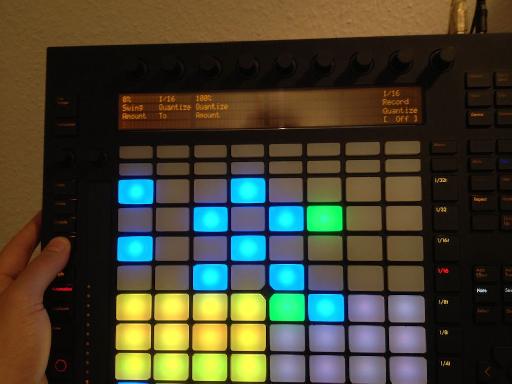
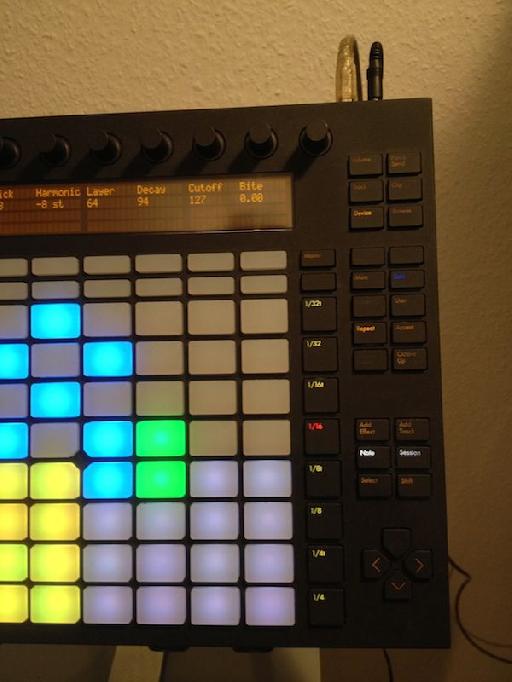
The default two-bar length, adjustable via the bottom right quadrant of Push's Drum Rack control pads, and 16th-note quantization, selectable via the note interval/scene selection buttons along the right side of the pad grid, should be a comfortable starting point '" but you can adjust these settings easily enough as needed.
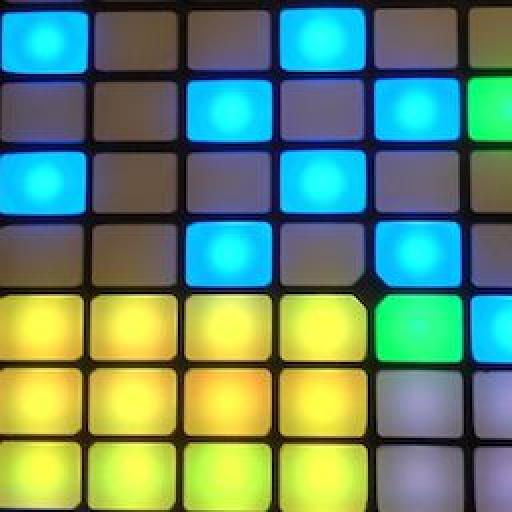
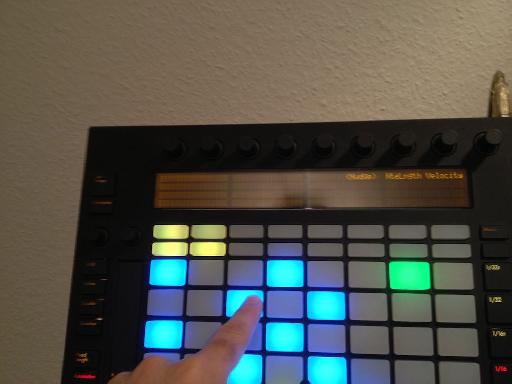
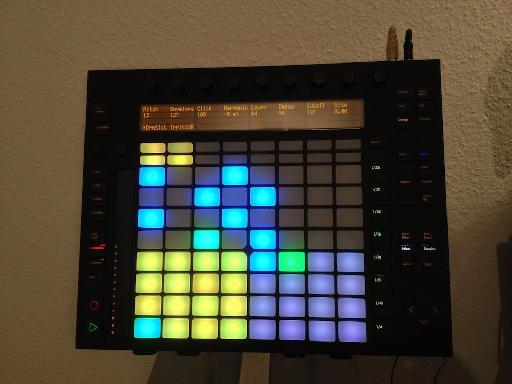
Next, hold down the Select button and tap the Drum Rack pad you want to write into your clip via the Step Sequencer, and then start activating notes in the sequence where you want it to play; follow the green indicator light to see where you are in your sequence as it cycles through. If you want to adjust the timing, velocity or duration of a step you've entered, just hold down the corresponding pad and adjust the parameters that appear on the LED screen via their automatically assigned dials.
per-step adjustment
Tip 4 - Repeat the Beats
Taking another page from the classic beat-making tools of the MPC line, Push's note repeat functionality is great for making intricate, complicated rhythm patterns. Engage note repeat mode by pressing the Repeat button on Push's right side, and then select the quantized repetition interval via the note interval/scene selection buttons along the right side of the pad grid.
Now any drum (or note) pad held down will be repeated at the selected interval as long as you hold it. Better yet, due to Push's remarkable after-touch sensitive pads, any pressure modulations made while holding down a repeated note will be recorded as velocity changes, making truly expressive rhythms easier to program than ever.
Tip 5 - Creating New Clips and Variations
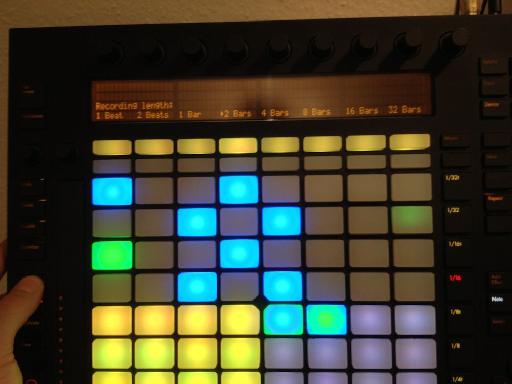
With Push's amazing scaled note input and drum pad entry, it's easy to keep jamming endlessly with Push '" but once you're ready to record your ideas into a clip, it's as easy as hitting the dedicated Record button. That said, trying to punch out of recording on the fly can be a bit tricky, especially if you're playing notes with both hands right up until the end of the phrase, so if you know you want to record clips of specific lengths, you can set this up by holding down the Fixed-Length button to select the desired recording length '" between 1 beat and 32 bars '" and the selected length will now be the default for any newly recorded clip.
Once this duration loops over, new notes entered will be recorded over top of the beginning of the clip until punching out of recording mode with the Record/Overdub button. Once punched out of recording, you can now jam new notes over top without committing them into the clip '" and then add new notes when you're finally ready by punching the Record/Overdub button again, which allows new notes to be recorded alongside existing ones.
If you want to retain your original clip version before adding new notes to a subsequent version, just hit Push's Duplicate button to copy the clip you're working onto a new clip slot in one easy move '" then you can hit the Double button to double the clip length if you want to add variations that occur less often than the original loop duration.
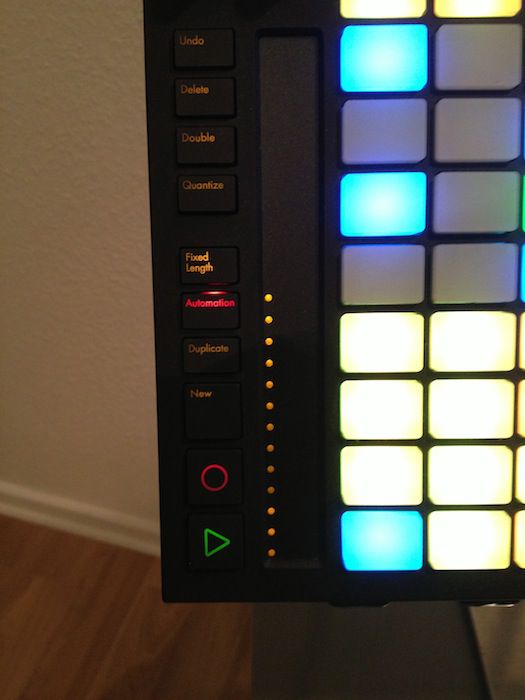
To prepare a new scene for recording a completely new clip along with the same clips currently playing on other tracks, just hit the New button. And if you want all your real-time recording to fit right into a quantized note interval, hold down the Quantize button to enable and adjust real-time quantization via the far-right macro dial and LED display.
Tip 6 - Just Tweak It
Whichever device is currently selected '" via the track and device selection buttons, above and to the right of the pad grid '" is also currently tweakable via Push's handy macro control knobs.
The parameter controlled by each knob is displayed directly beneath it on Push's high-contrast LED screen, so it's easy to see what parameters you can control. If the parameter you want to access isn't already showing '" which is one reason it's such a good idea to configure your racks and assign your macros '" you can still navigate through the device to find it via the device exploration In and Out Arrow buttons to the right of the Master button.
Once you've got your desired parameters in hand, enable Session Automation recording with the Automation button to the bottom left of the unit, and once you hit Overdub, tweaks made via the macro knobs will be committed into the clips as Clip Automation. Wanna erase the automation of a parameter? Just hold the Delete button and touch the parameter's corresponding dial.
Become an Ableton Push Master:
Push 101 - Create & Perform With Push
Push 201 - Jordan Rudess - Pushing The Limits


 © 2024 Ask.Audio
A NonLinear Educating Company
Discussion
Want to join the discussion?
Create an account or login to get started!