
Mastering was once the domain of dedicated engineers in acoustically-tuned rooms with specialized gear, but nowadays it’s another production stage that’s addressed as often as not in-the-box, by the same engineer who recorded and mixed a project. Here are a few suggestions for producers and mixers who may also want (or need) to tun their hand to mastering.
1. Take A Break
If you’re going to be self-mastering—mastering a project you also produced, recorded, and/or edited—then it’s a good idea to get a little distance from the the song(s) before embarking on this final stage of production. After spending a lot of time working on specific details during the recording and mixing stages, and having the tracks and the details of the mix ingrained in your ears, ideally you’ll want to take a break from that material before sitting down to master it.
Besides being the final production stage where the mix may be tweaked subtly to shore it up, mastering is also the last chance to pick up on any technical flaws or potential problems. Traditionally, mastering is performed by a different engineer, not only because it’s a specialized process, but because a set a fresh ears is more likely to pick up on subtle issues like balance and overall tonality that may be in need of some small changes, or tech issues like less-than-ideal panning choices or phase problems with certain tracks that show up in mono playback. Anyone who’s listening to a mix they themselves performed is more prone to hearing the mix as they want it to be, rather than as it really is.
If you are mastering your own mix/project (whether by choice or necessity), then a substantial break between wrapping the mix and starting the mastering is strongly recommended. A pause of a day or two is a very good idea—at the least, a 24-hour overnight break can help to clear you head, especially if you listen to some other music, to help clear your ears of the focus on details and over-familiarity with the mix as it stands. The closer you can get to hearing the mix with relatively fresh ears, the better the results at the mastering stage.
2. Try “Clean” vs “Character”
Traditionally, mastering processors are designed to be as clean as possible, to avoid introducing too much processing artifact to a mix that may already be rich and full. Often, this leads to the use of linear-phase processors, which avoid the normal very-subtle phase effects like those present in all analog and most standard digital EQs. Linear-phase processors can sometimes be more transparent than regular plug-ins, and the accompanying latency should not be an issue in a mastering session (as long as the DAW’s latency compensation feature is enabled). But in practice, the perceptual difference is very small, and regular processors are just fine for mastering applications.
In fact, with some mixes you may want to go the other way, and try “character” processors at the mastering stage. These are plug-ins that emulate the euphonious distortions of classic analog hardware—tubes, transistors, transformers, tape—adding a little analog warmth and presence.
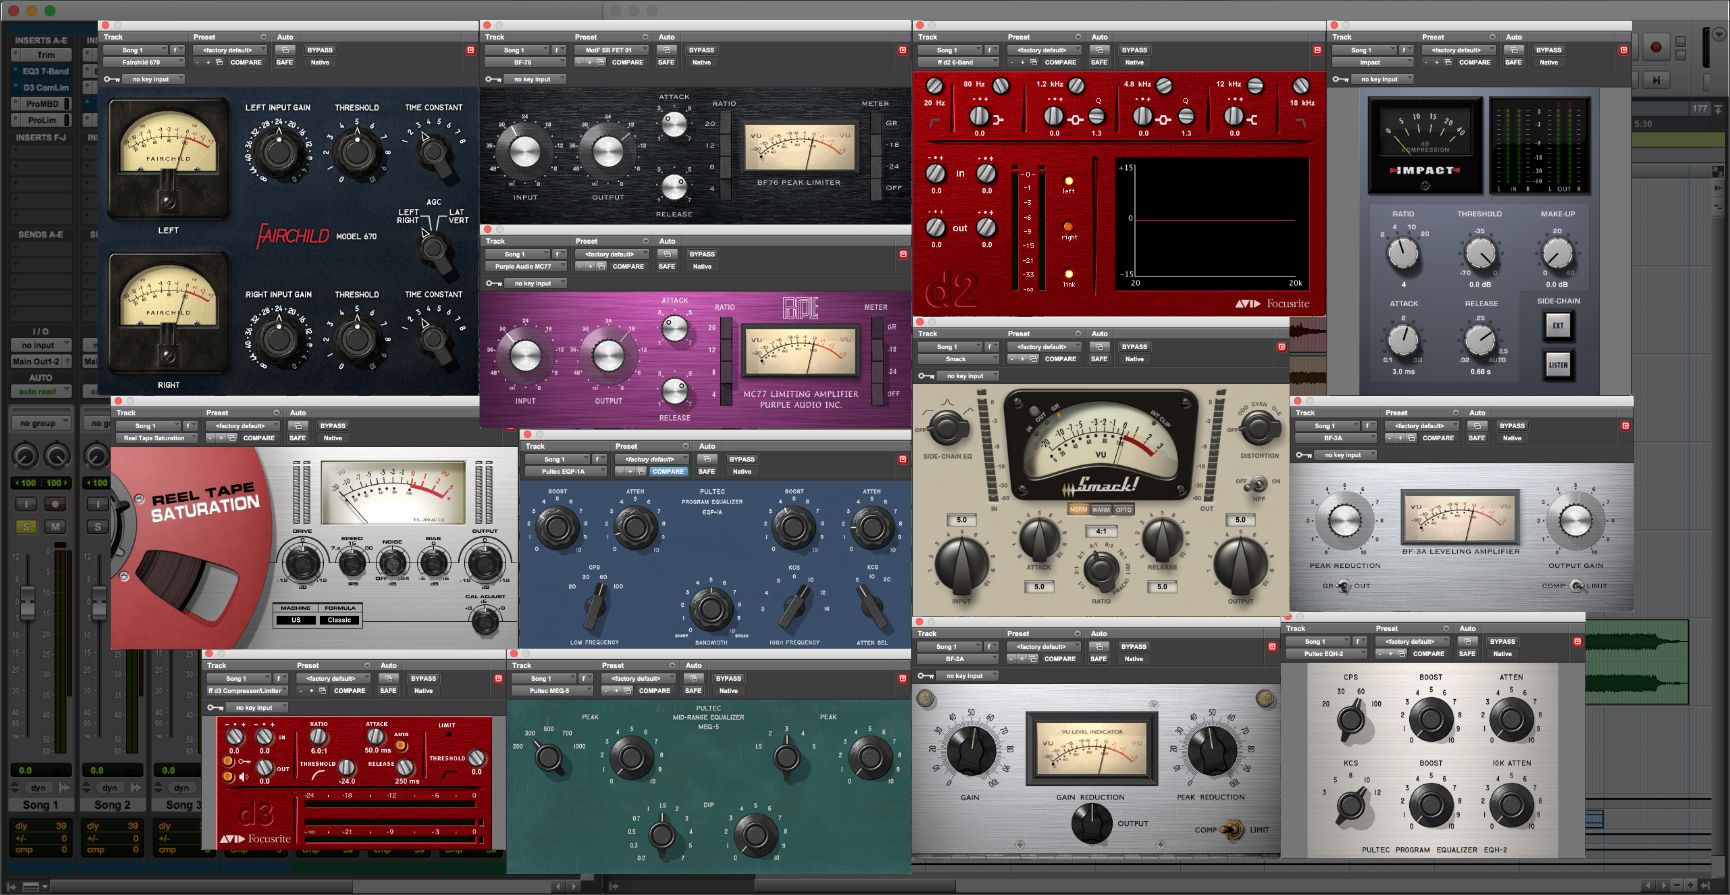
Now, a mix may already have more than enough of this, but at times a little analog character can add something, in terms of both the subtle distortions, and the characteristic response—EQ and compression curves—of some analog gear. In fact, for years after digital took over, many mastering engineers often bounced down both in-the-box and to analog tape, simply selecting the version that worked best for each song. Nowadays, character plug-ins that emulate various hardware boxes and tape can still provide the option for a little analog edge, whenever it may be called for.
3. Use Special Techniques
Sometimes special techniques are employed in mastering, for both technical and creative reasons. For example, often a mastering engineer will strap a highpass filter at around 30-40 Hz across the mix (there’s little musical energy down there) to eliminate any unnecessary subsonics in the tracks, like footfalls or rumbling. Those might not even be audible on a system without a subwoofer, but they could compromise the master, potentially affecting compressor response or playback on small speakers. Another technique sometime used is to employ a crossover to reduce frequencies below 100 Hz or so to mono—a trick that was routinely done to promote better tracking in the vinyl era.
A special technique commonly used in mastering is M-S—Mid/Side—processing. M-S is a matrix that converts a standard left-right audio to a sum signal (L+R, pure mono) and a difference signal (L-R, which is mostly wide-panned elements and reverb/ambience).
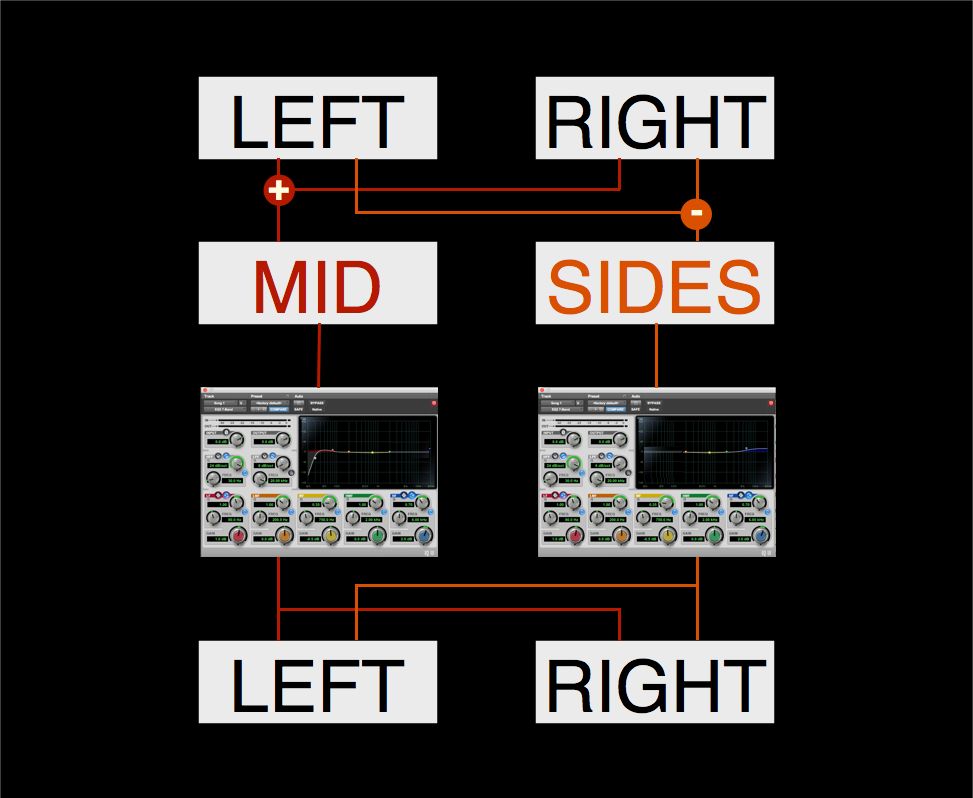
This allows not only subtle rebalancing of the center and sides of a mix, but also semi-independent processing of mix elements in the center and sides, like EQ’ing only cymbals and wide-panned instruments without affecting center-panned parts like kick, snare, bass, and lead vocal. M-S processing is a very useful technique for applying slightly more targeted processing to certain elements in a finished stereo mix, and it’s another very useful tool in the mastering engineer’s toolbox.
4. The ABC’s of A/B’ing
Even though mastering processing is usually applied subtly—small tweaks are generally best with a decent mix—you’ll still want to periodically A/B the master-in-progress against the original mix. As small adjustments are made, the tonal balance and/or dynamics can gradually start to get further away from the balance and dynamics of the mix, which, remember, is already a finished product, which in theory sounds exactly as the mixer intended, less any very subtle mastering “sheen”.
Some of the aspects that can occasionally get away from you while mastering include the high and low end balance—it’s common to slightly pump both the highs and lows, but when a little of this sounds better, it’s easy to keep adding a little more, until it’s too much. Another thing to watch out for is dynamics—and here I’m talking about general compression, not the final-step brickwall limiting—again, it’s easy to squash a mix for a more aggressive push, but in the process under- or over-emphasize some parts of the arrangement.
A quick A/B against the original mix can draw attention to any excessive or inappropriate processing choices, by calling attention to those aspects of the mix that might be unintentionally changed, and not for the better. To this end, it’s very important to do any A/B comparisons with the overall average loudness level of the original and mastered mixes matched by ear, to ensure that level differences don’t distract from the ability to detect subtle changes from the mastering processing.
Just as A/B’ing a master-in-progress against the original mix can help you stay true to that mix, A/B’ing the master against commercial reference tracks is a good idea, to help ensure that the finished master will work well when it’s heard on the radio or in a playlist, against other songs. Everybody is aware of at least one aspect of this: the average loudness level of the master, which you want to be consistent with other masters it’s likely to be heard against—I’ll come back to that in the next section. You also want your master to have a tonal balance that isn’t either too bright and/or bassy or too dull and/or thin, compared to the previous/next song when it’s heard in a stream. And you don’t want your master to be too compressed—if the dynamics are overly squashed, the mix may lack punch when heard against other songs that have more snap, and listener fatigue can set in, resulting in a negative overall impression.
It’s a good idea to assemble a collection of commercially-mastered songs to use as reference tracks when mastering.
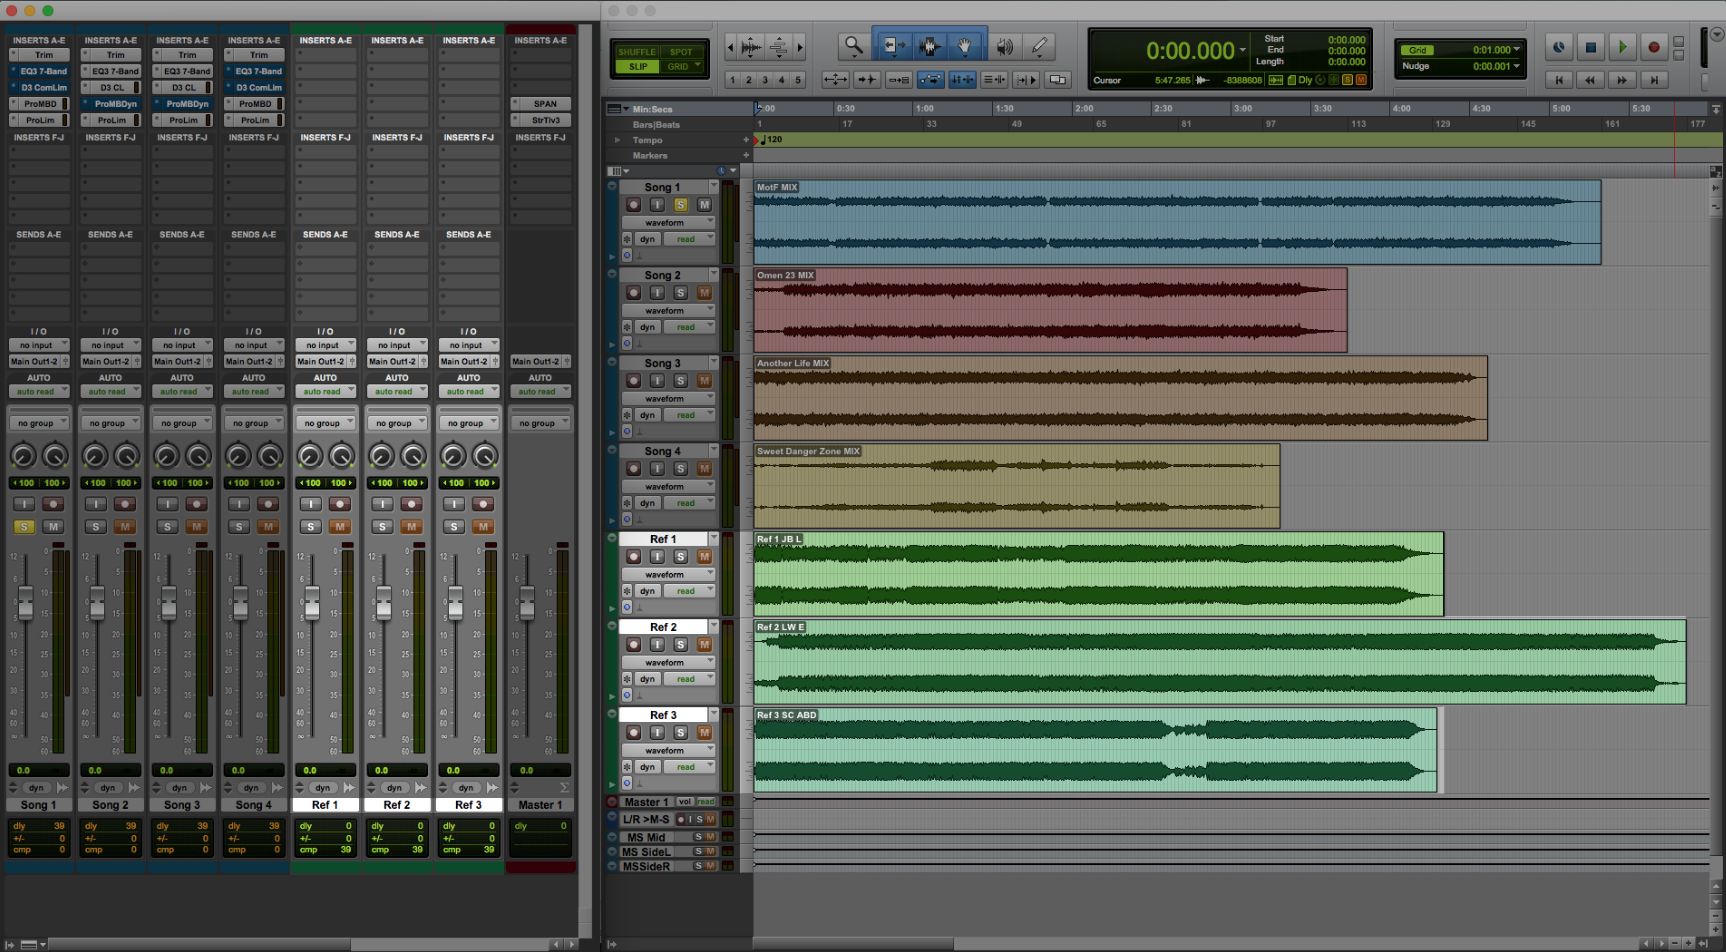
These should be well-respected recent masters (ideally mixed and mastered by top engineers), in the same musical genre, and with similar instrumentation as the songs you’re currently mastering. This collection can be a rotating group of songs, from which you chose three or four appropriate tracks for each mastering session. They should be full-quality LPCM format (from HD to CD-quality)—not MP3s or MP4/AACs. Once again, the reference tracks and the masters-in-progress must be matched in overall average loudness level, for any A/B comparisons to be valid. And ideally, the reference tracks will be from the same target medium, i.e. CD vs streaming—more on that next.
5. Be Up On The Latest Loudness Trends
For years, mastering has included “loudness maximizing”—the practice of using brickwall limiting to crank up the average level of the mix as loud as possible so it’s at least as loud as (if not louder than) other tracks on the radio or in a streaming playlist. This is still being done with masters intended for CD, but for masters intended to be heard via streaming services, a different practice is taking over—“Loudness Normalizing”.
Instead of making the average level of all masters as loud as possible, based on maximum (clean) peak levels, Loudness Normalization seeks to make the average levels of all masters consistent at a significantly lower average level—one which leaves plenty of headroom for transient peaks, eliminating the need for—and any benefit from—the typical transient reduction (from brickwall limiting) that results in the kind of overly-squashed masters that have dominated for many years.

This is possible because while there’s no way to regulate the maximum average levels for CDs and digital downloads, streaming services can and do enforce lower limits for maximum average loudness. As a result, a highly limited “maximized” track will not be louder and more attention-getting in the stream—instead it’ll be lowered in level until its average level matches that of other, potentially less-squashed tracks. This produces the opposite of the intended effect of the loudness maximizing—instead of being louder and more attention-getting, maximized tracks will sound smaller and less punchy than tracks mastered at lower average levels, which retain more snap and desirable musical dynamics.
It’s becoming common for the mastering engineer to make different versions of the master, at different average loudness levels for different media—louder for CD/downloads, or adhering to the varying (enforced) standards of different streaming services. There isn’t room here to get into the details, but check out any of our courses on mastering for the specifics.
Final Word
As more producers and mixers turn to mastering, it’s important to keep in mind the differences in overall approach, and specific techniques employed in mastering, that distinguish this final stage of production. But with a little effort, some research on current mastering trends, and a fair bit of practice and ear-training, it should be possible to achieve good results when mastering in-the-box.

Discussion
Want to join the discussion?
Create an account or login to get started!