MIDI programming is still at the heart of Reason, taking advantage of its excellent selection of instrument modules. Here are some tips to help you get even better results.
1 - Use the Remote system
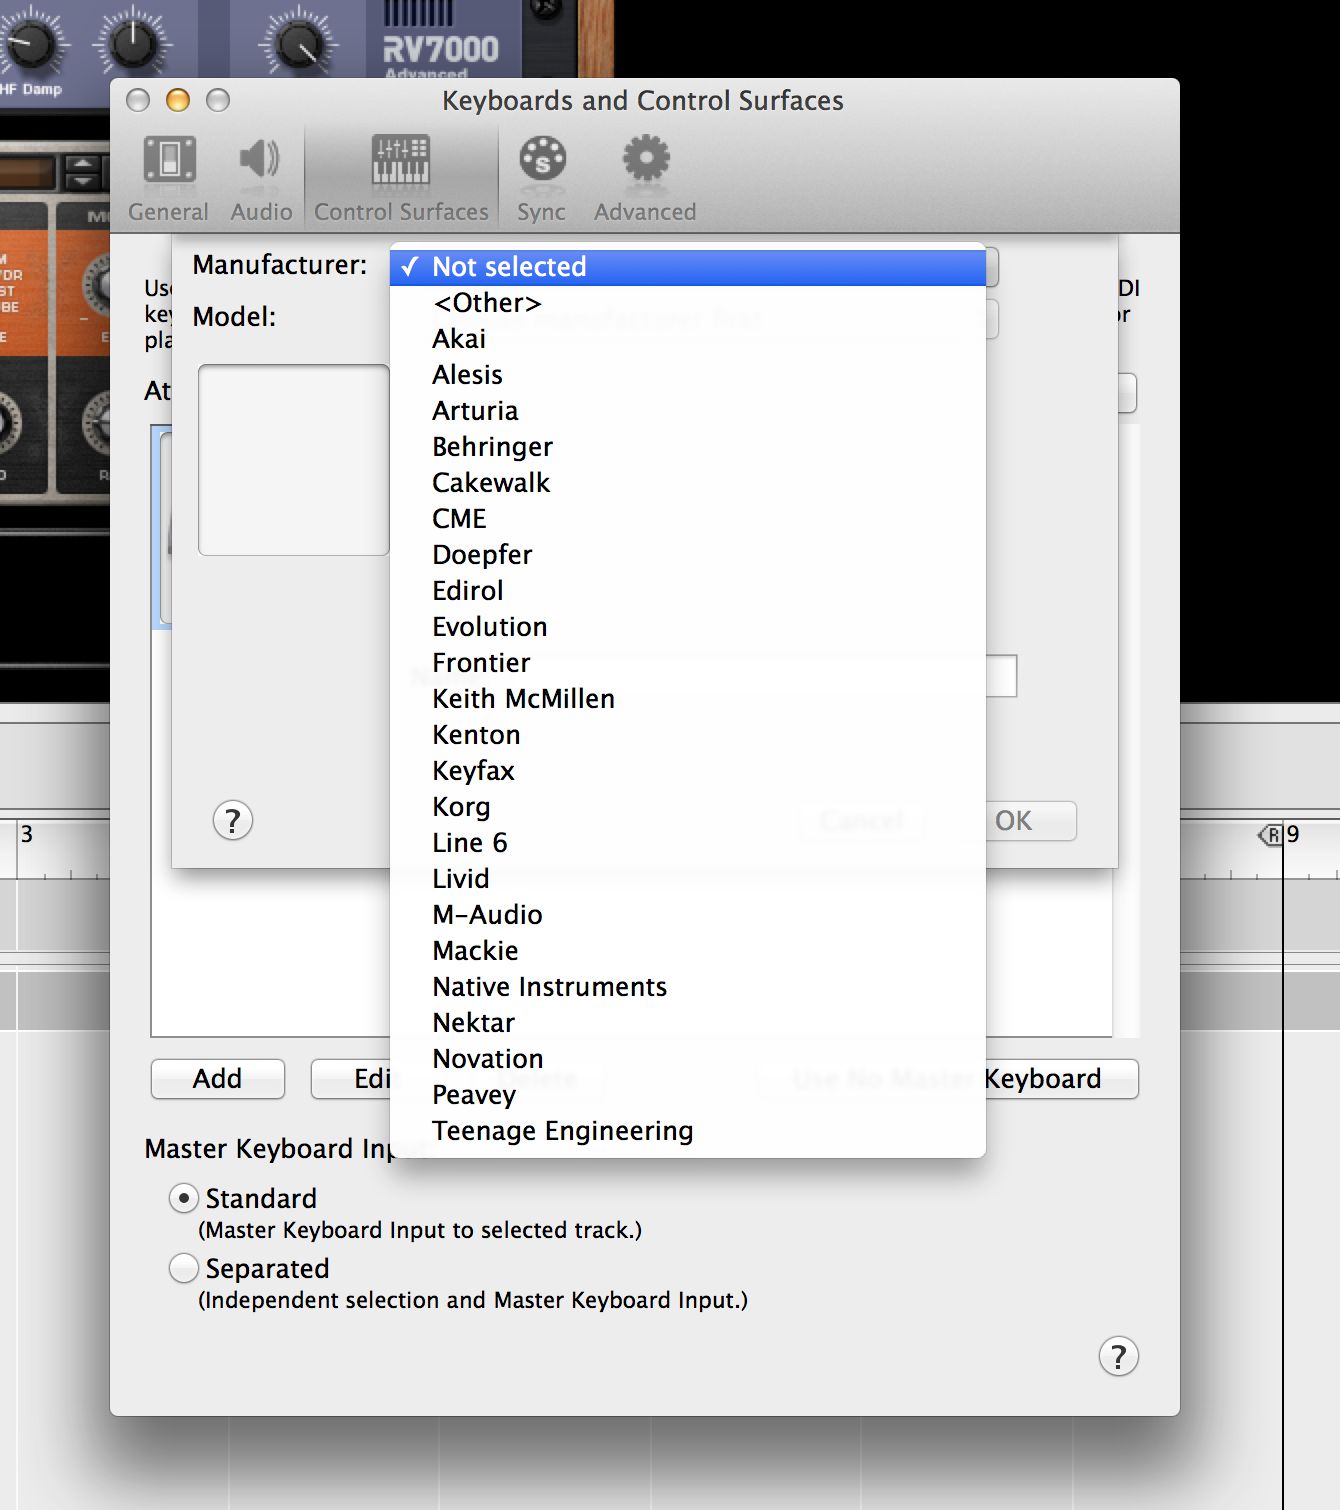
Reason has for some time now supported a variety of MIDI control devices straight out of the box, with templates installed alongside the app itself. If you go into the Preferences > Control Surfaces section, you will see the option to add a controller device by specifying its manufacturer and model. If it is directly supported, Reason will then be able to map its controls accurately to any module in the Rack that you select, which is a great timesaver. Some controllers have downloadable Reason template files that you can add manually.
2 - Quantize during recording—or not
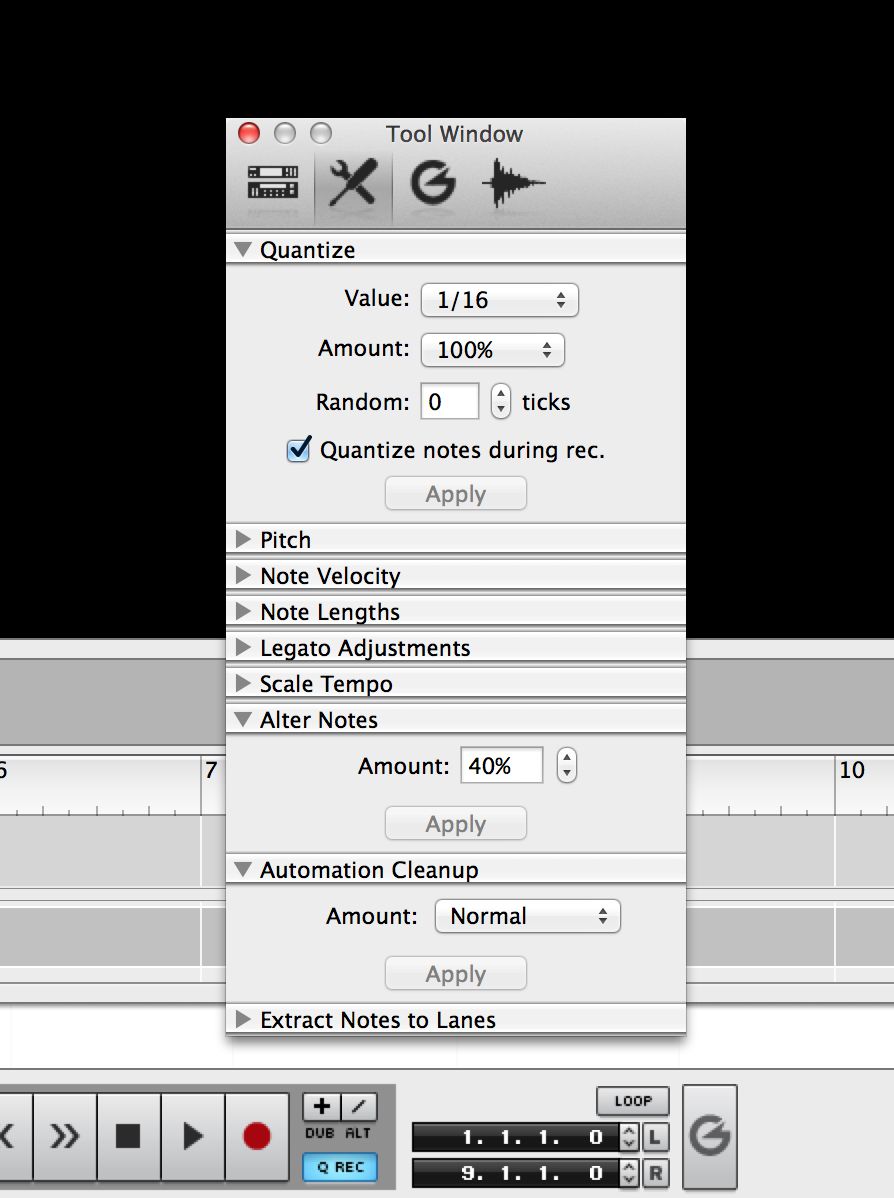
In the Transport panel and also in the Tool Window > Tools > Quantize tab, you will find an option called “Quantize notes during recording”. If you switch this on, Reason will automatically quantize all notes you input live using the quantize values set here in the Tool window. This can sometimes be desirable, say if you're inputting a straight beat, or if your playing is a little shaky. Even if you accidentally over-quantize notes using this tool, you can always add a human element after recording by using the ReGroove mixer to add swing.
3. Set automation cleanup levels
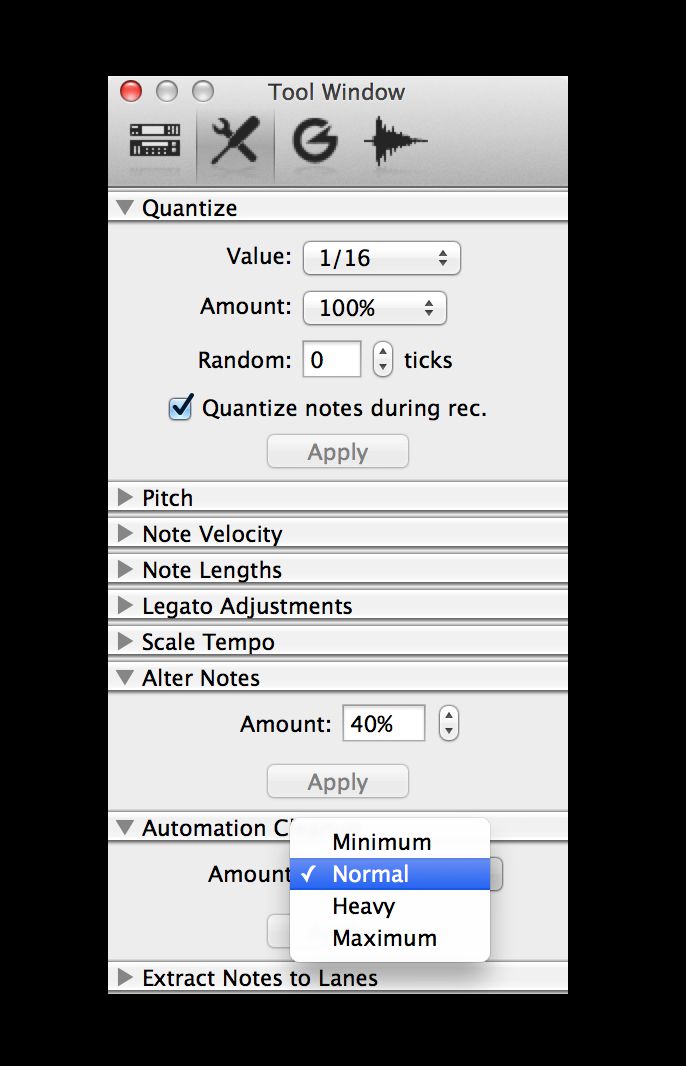
Also in the Tool Window you will find the Automation Cleanup section, with settings ranging from minimum to maximum. When you are recording automation live, say by moving dials or faders on a MIDI controller, it is recorded as lots of tiny vector points. By having Reason automatically clean up as it is recorded, you can avoid having hundreds of these points when all you wanted was a clean ramp from one value to another. But also be careful not to clean up so much that you don't capture all the changes you actually wanted.
4 - Lock hardware to devices
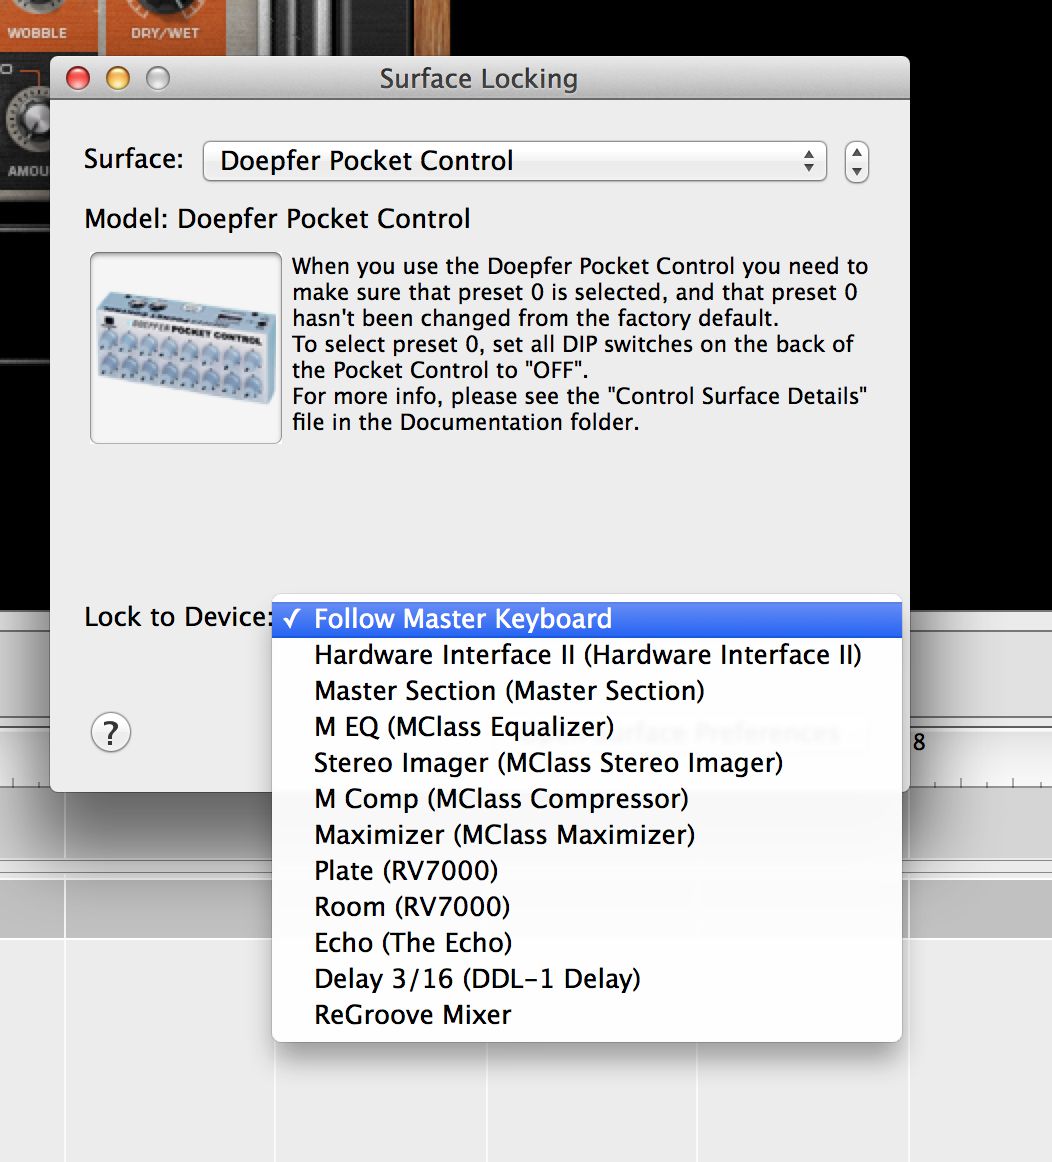
With more than one MIDI input device configured in the Preferences section, you can go to Options > Surface Locking and choose to lock a device to any module in the rack including the hardware interface and mixer. This is handy for making sure one keyboard for example will always play the piano, or one controller will always control the main mixer. It's especially good when performing with a multi-user setup. Lock the relevant hardware to specific rack devices and you can all perform different parts from a single project.
5 - Record automation into Note Clips
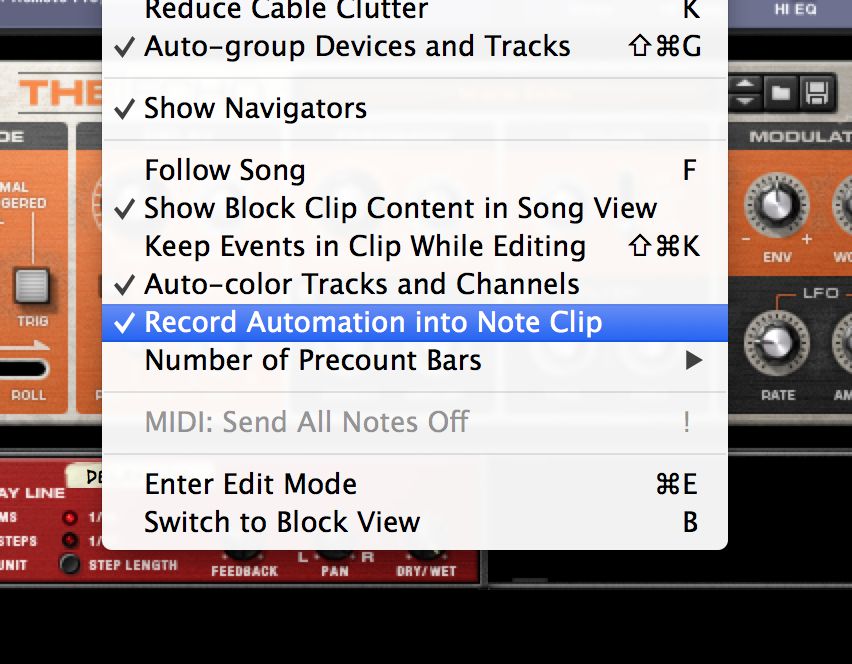
In the Options menu you will see an option to record automation data into note clips, which you can toggle on or off. If you leave this off, automation remains separate from notes and exists on individual subtracks inside the sequencer. So you can move note data independently of automation and vice versa. If you choose to turn it on, the automation and notes remain linked which makes them easier to move around without un-syncing them.


 © 2024 Ask.Audio
A NonLinear Educating Company
Discussion
Want to join the discussion?
Create an account or login to get started!