Tip 1 : Save VIs into recallable project templates
Sometimes it might take a couple of hours to find the right set of sounds if you are picky about appropriate textures and instruments for your project. This is especially difficult once you have more than 16 parts to work with.
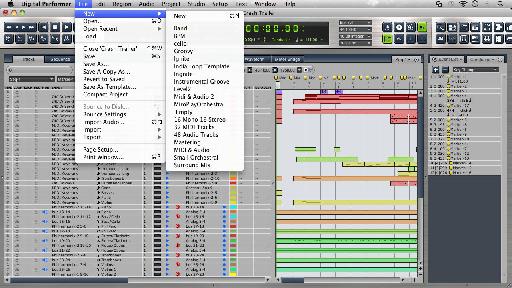
Instead of doing this every time you begin a new project, take advantage of the fact that you can save a template that can be recalled when you open a new project.
A NewProject
This way, you don't have to search for all those instruments if your project requires similar instrumentation and plugin architecture.
The steps are simple.
Create a project and instantiate all of the instruments that you would like. If you have an old project that has everything up already, then load that one. Go to the File drop down menu and select save as a template. Be sure to name it something memorable and specific. You may end up having many of these as you get deeper into DP 8.
Tip 2 : Use the Event List
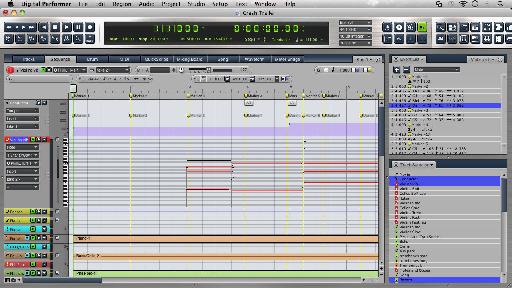
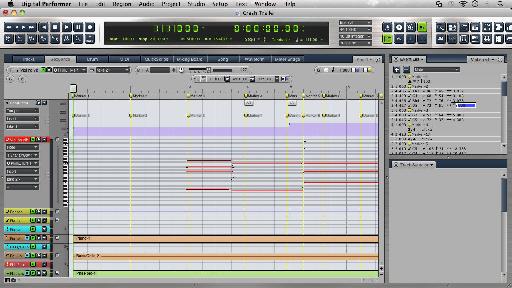
Open your sequence editor and select a MIDI track that you would like to work on. Open the right sidebar by pressing Command-] and select the Event List Tab. In my example, I am working on the note length for a violin part. I can select the note in the event list or in the Sequence editor. Either way, the note will be singled out and highlighted.
I can manually change the duration of that note by approaching it with my cursor and dragging it to its desired length. This all depends on how I have set the grid. A more precise way is to use the events list.
Click twice on the note duration dialogue box in the Event List to input a different value.
Press enter and you are done.
Tip 3 : Transposing is Fun and Creative
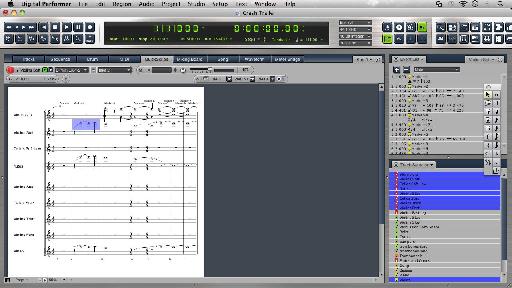
In many forms of music, modulating the key while reiterating the melody is appealing. This happens in complex styles like jazz but it can also be heard in the trance inducing house tracks that keep you moving on the dance floor. Of course, this requires a little experimentation! There are a couple of ways to do this technique. Select the notes that you wish to transpose.
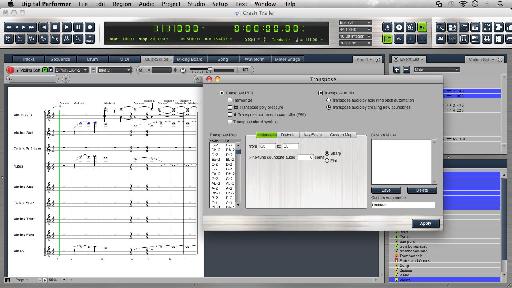
You will notice that they will change color from black to blue if you are in the QuickScribe Editor. Press Command-9 and now you have a whole bunch of creative options for transposing. Select one, press apply and use your ears and good musical senses to reinvent your melodies!
Tip 4 : Use The Pencil Tool in the Drum Editor
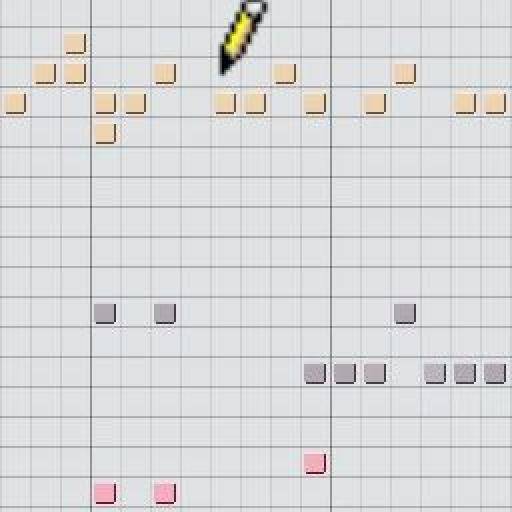
If you are using some kind of Drum Virtual Instrument to create a drum part, a great place to embellish or edit the part is in the Drum Editor in Digital Performer. Once you get in there, press and hold the letter P. This will bring out the pencil. Now you can draw notes into the Drum Editor Grid. This is a quick way to add that extra snare hit!
Tip 5 : Change Velocity to trigger Velocity Sensitive Sounds
Some VIs trigger different samples based on the on velocity. Sometimes, we may press the MIDI keyboard or drum controller too hard during the recording of your MIDI performance. For example, a quiet sample for a snare drum may be triggered by softly playing your MIDI keyboard between the on velocity of 1-40. Other louder samples can be triggered when higher velocities are played according to how you VI has set the limits. The range can be divided into several layers between 1-127. This makes your VI sound more realistic.
Let's assume that due to musical reasons, you don't want to trigger the louder snare samples that trigger an n velocity of 78 and above. A great way to do this is by limiting the on velocity.
Select the MIDI notes that you wish to change in one of the MIDI editors. The Sequence editor is a great versatile place to go deeper into MIDI as well as audio.
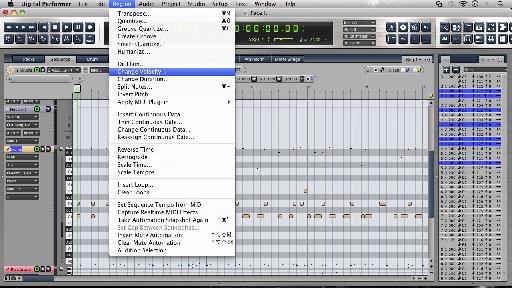
Go to Region Drop Down and select Change Velocity.
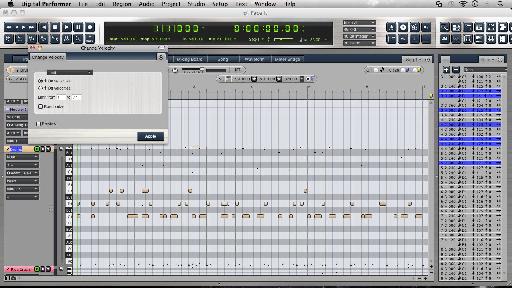
Select Limit and input the Highest on Velocity that you wish to be triggered so that it doesn't surpass the threshold. I decided to use 77.
Now the louder snare samples above 77 will not be triggered!






 © 2024 Ask.Audio
A NonLinear Educating Company
Discussion
Want to join the discussion?
Create an account or login to get started!