
Recently I gave you a few tips and tricks to use when mixing your projects in Reason. This time around I'm focusing on mastering. With so many tools at your disposal inside the app now, there is little excuse for Reason users to ever leave the environment, from the conception of their project, to the completion.
Step 1 - Pre-flight check
Just before you get into your mastering session, it's well worth taking a final glance over your mixdown. Undoubtedly, you will have already checked things through and should be happy with the way things are sounding, but it can't hurt to perform a second pass.
The main things you are looking for here are wayward transients, dynamic spikes and elements that are going to cause excessive bursts of level. This will threaten precious headroom and push mastering processors to their limit and ultimately rob you of volume.
Sharp rises in level can be attacked by using corrective automation or dynamics processing on the offending track. Whatever method you use, it's best to iron out these extremes before the mastering begins.
Step 2 - Cascaded Compression
If you still find that you have inconsistencies in level throughout your project, or you simply want to ensure everything is suitably uniform, your first stop should be buss compression.
We touched on this subject in the mixing tips, and I suggested using the console's excellent bus compressor. If you find that a single compressor is simply not cutting it, you can opt for multiple (cascaded) compressors to get the job done.

Using multiple compressors can be the best way to tackle problem transients.
Try using the MClass compressor in conjunction with the console-based processor. They can be used consecutively or at various stages in your chain. You will find that using two compressors in this way with subtle settings can be much more effective than one extreme unit alone.
Step 3 - Killing The SubSonics
It's always a good move to control the subsonic frequencies in your mix. A focused low end is key to producing something that sounds professional and translates well on a wide range of playback systems. However, having a solid low end does not mean that you must include everything down to 10 Hz.

The MClass EQ has a dedicated subsonic filter.
The MClass equalizer actually features a dedicated 30 Hz subsonic filter. Using this in any style of music can help clean things up and get rid of any unwanted super low frequencies and ultimately push a cleaner signal to your limiter.
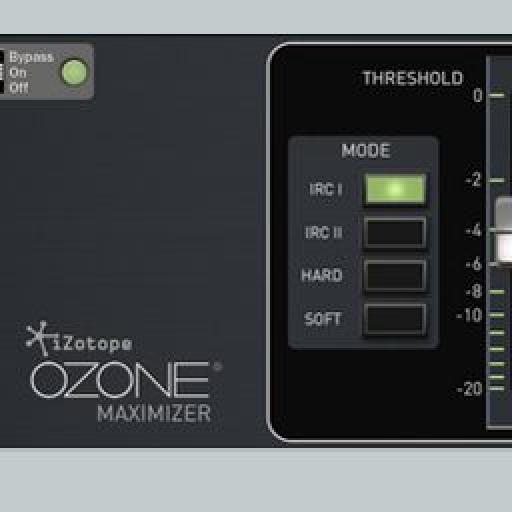
Step 4 - Check Out The Rack Extensions
Although you can great results from using the Console's Bus Compressor combined with the MClass processors, there are now other options for Reason users. These come in the form of Rack Extensions.

Check out rack extensions like the Ozone maximizer.
Compressors, loudness maximizers, loudness metering and vintage Equalizers are just some of the things you can get hold of at the Propellerheads store. All of these can be ideal for mastering and give you an extra edge.
Step 5 - Final Touches
You can often invest a pretty substantial amount of time into a mix and master, the last thing you want to do is fall at the final hurdle. When you come to the end of your mastering project, take your time and ensure everything is in place before you deliver the final product.
Things to look out for here are an overloaded limiter. This is very common and too much gain reduction at the final stage can mean a serious lack of dynamic range. Yes it will be loud but you'll end up with something that may make peoples ears bleed, plus dynamics are what makes music interesting.
Also remember to check you are using the right dithering settings. If you are moving from 24 to 16 bit this is essential. Finally try to re-import your master into an audio editor to check for faults and trim any unwanted silence from the start and end of your track.

Discussion
Mentioned in this book by Bob Katz :
"Mastering Audio, the art and the science."
Excellent read, highly recommended.
Want to join the discussion?
Create an account or login to get started!