Aside from headline features such as Wavetable, Echo, Drum Bus, Capture, Multi-Clip Editing and Nested Group Tracks, Ableton’s latest version of their flagship DAW comes with a number of subtle yet powerful improvements under the hood. Let’s take a look at some key aspects of Live 10 that are worth doing a bit of homework on so you can take full advantage of them.
Labelled Routing Configuration
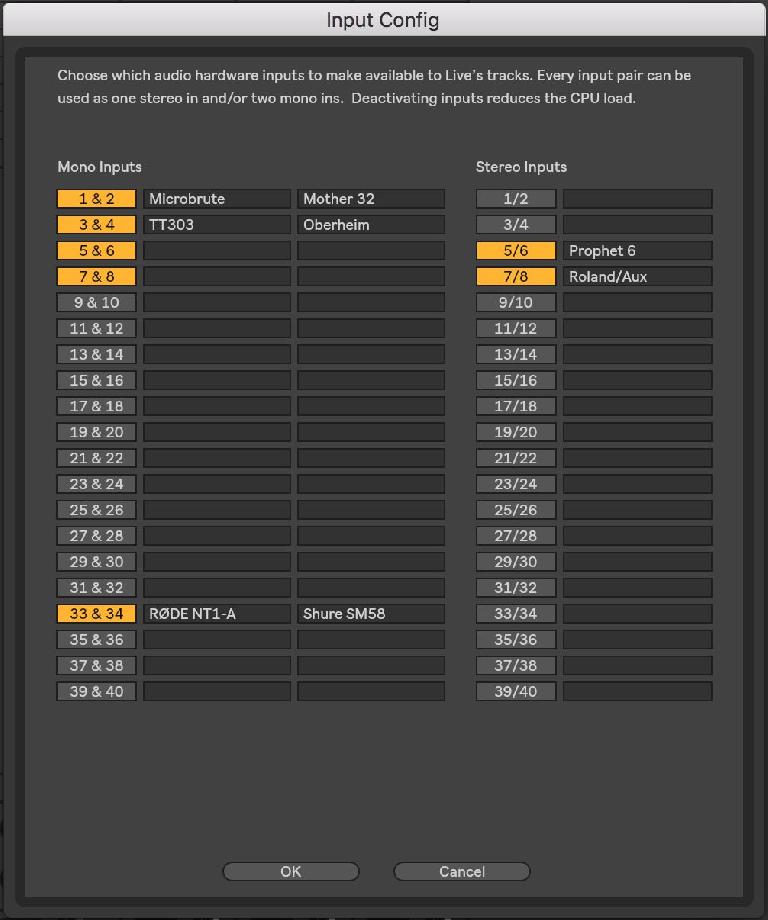
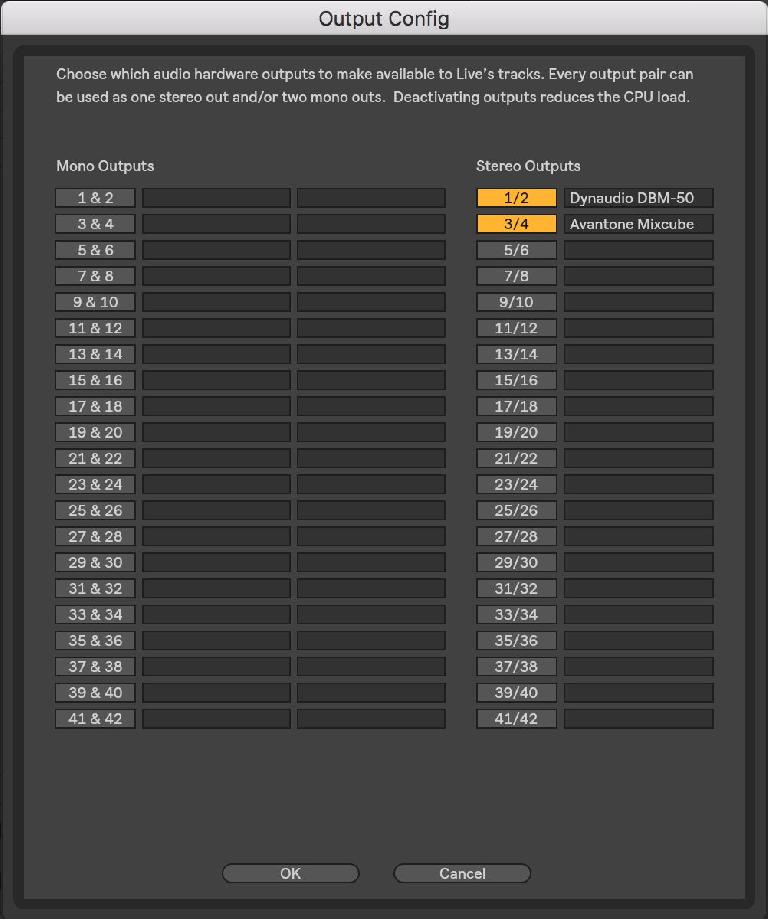
Have you ever found yourself in the midst of a potent creative session, stalling out when trying to record because you can’t remember which mic or synth is connect to which input on your audio interface? Live 10 aims to remedy such mishaps by allowing you to customize the names of all connected ins and outs.
To do so, click the Input Config and Output Config buttons below your audio interface selections in the Audio Preferences pane; the corresponding pop-ups now let you type in whatever names you want for each input or ouput – which immediately populate Live’s I/O routing matrix and External Instrument drop-down menus accordingly: no more disrupting your creative flow trying to figure out what’s plugged in where.
Browser Collections
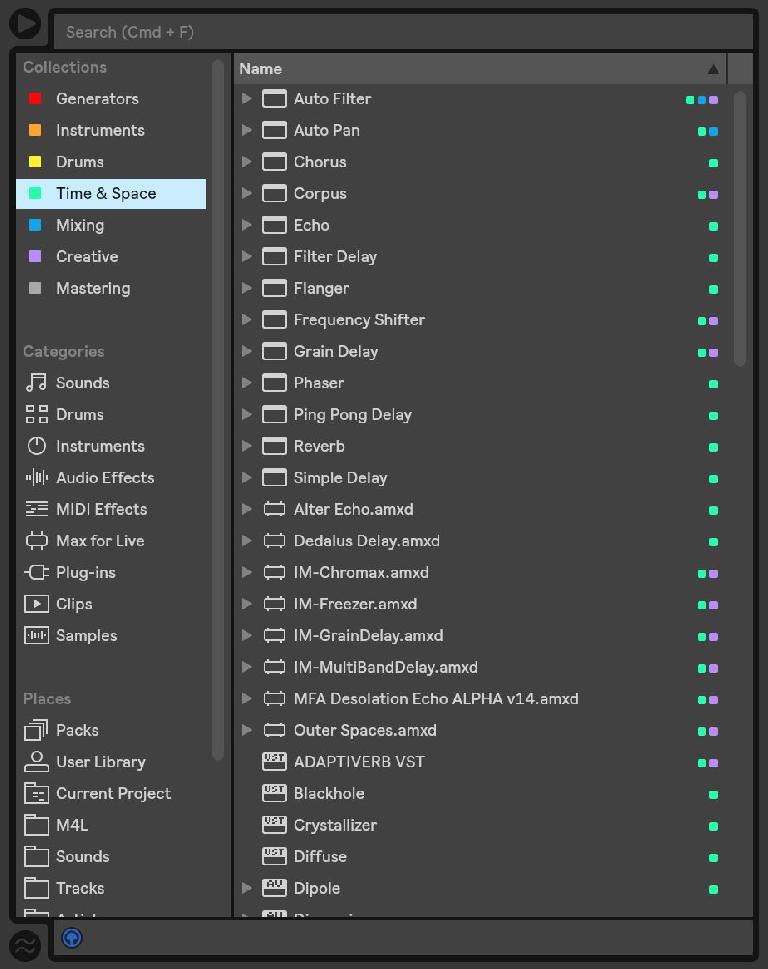
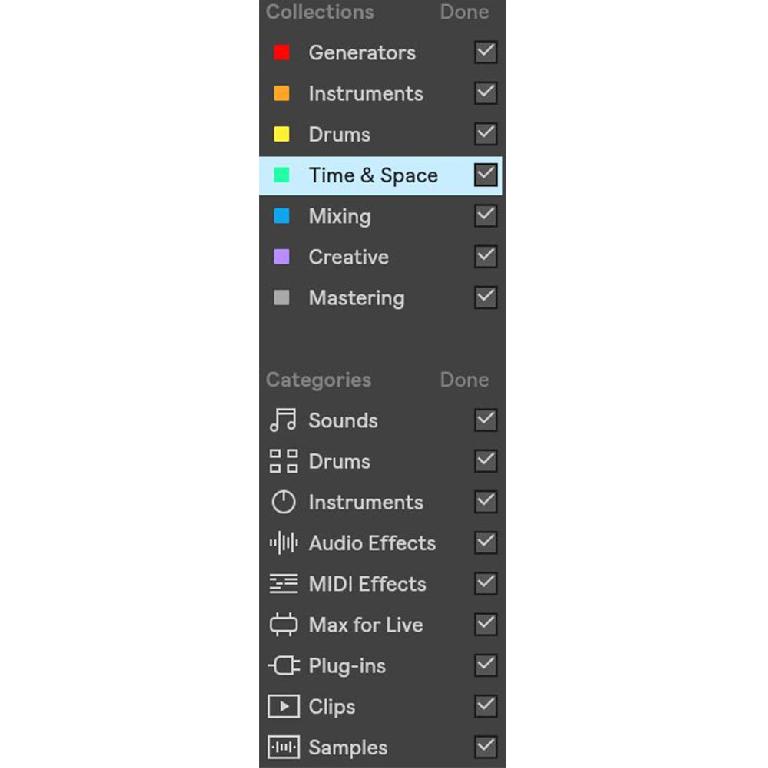
Similarly requiring a bit of homework in order to take full advantage of it, Live 10’s new Collection system allows for organization of all asset types – be they Live or Max devices, audio files, folders, third-party plug-ins or anything else, stored anywhere across multiple hard-drives – to be tagged for easy reference in Live’s browser.
For example, I’ve got all my favorite Max, Live, VST and AU instruments tagged as Instruments; all my Drum Racks, one-shot drum library folders, and third-party drum instruments tagged in the Drums collection, and all of my go-to plug-ins and Live device effects and preset Racks grouped according to corresponding Collections for easy reference and minimal folder diving.
Create whatever kind of system suits your needs, and take your time to set it up by assigning any asset selected in the browser to a corresponding color-coded Collection using the 1-7 keys, or 0 to de-assign. You might have to set aside some time to configure Collections usefully, but the accelerated workflow will pay for itself.
Track Coloring
Have you ever found yourself capturing a Session performance into the Arrangement only to be instantaneously overwhelmed by a mess of jumbled, multi-color clips? A quick right-click on a track’s heading lets you Assign Track Color to Clips, directly beneath the color palette selector. Using Group tracks? You can right-click there to Assign Track Color to Grouped Tracks and Clips.
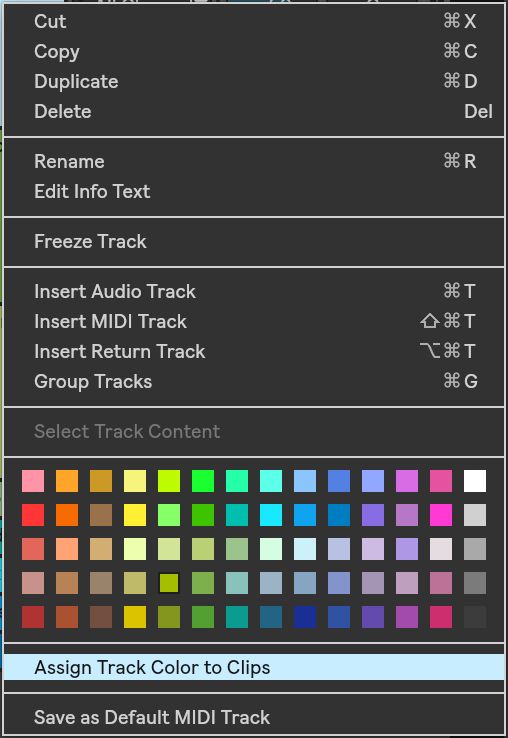
Assign Track Color to Clips context-menu command
Better still, if you’ve got all your tracks colored how you want, you can select all of them using the Shift key and use the right-click Assign Track Color to Clips on any of the selected tracks to simultaneously correct all contained clip colors in one fell swoop, instantly making your set much easier on the eyes.
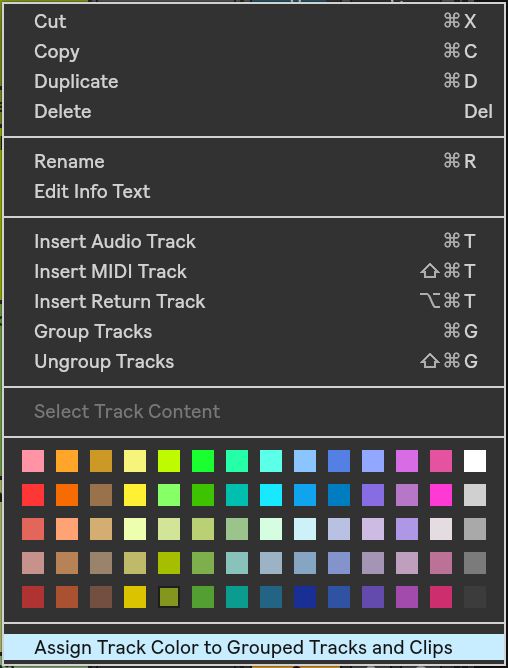
Assign Track Color to Grouped Tracks and Clips context-menu command



 © 2024 Ask.Audio
A NonLinear Educating Company
Discussion
Want to join the discussion?
Create an account or login to get started!