There are over 1000 key commands for Logic Pro X, both pre-assigned and unassigned. It's completely possible to use strictly the mouse/trackpad with Logic, but key commands help you to realize your musical vision much faster. In this article I'll be narrowing the focus on production in Logic, and show 10 of my favorite commands for this. Even if you're more interested in recording, arranging, mixing, or editing… most of these commands will cross over to those areas too, so read on.
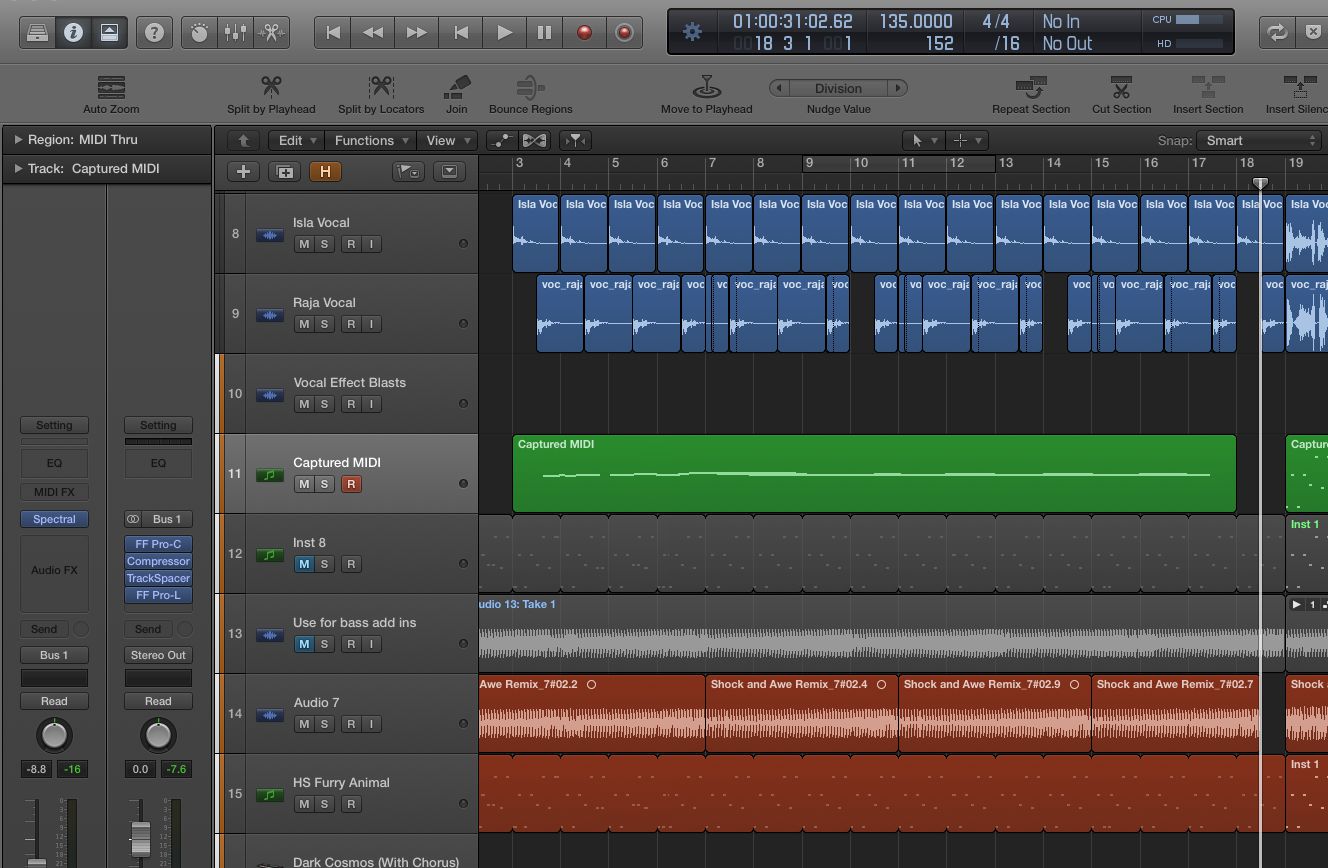
#1 - Capture a MIDI Recording After it's Played (Shift-R)
When playing a virtual instrument along with your track, you might end up doing something great that you wish you'd have recorded. Many producers get nervous when they put Logic into record mode. In either case, there's no need to worry. Use key command Shift-R to capture what you play after you play it. While in playback, this great command will grab anything you've played on your MIDI controller. Simply stop playback as soon as you've played the part, then use this command to capture what you've done.
Shift-R to Capture as Recording
#2 - Zoom in and Out (Command-Arrow Keys)
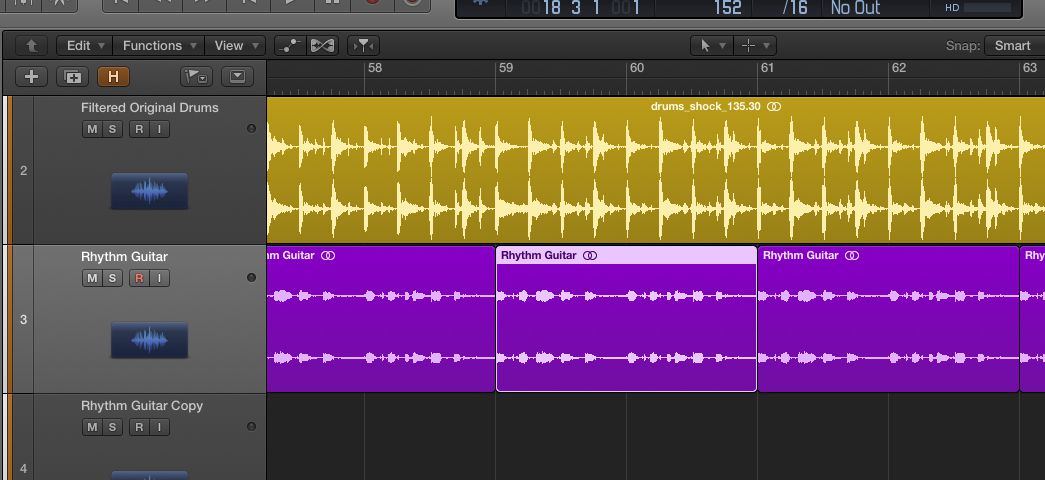
In the workspace/arrange window, being able to clearly visualize an area you're working in—or while in the Piano Roll—is absolutely vital while producing in Logic. Use Command-Arrow Keys. You can easily make the visible area in the workspace as large or small as you want. The left/right arrows display more linearly, and the up/down arrows will increase the vertical height of each track.
Command-Arrow Keys to Zoom in and out
#3 - Move the Playhead by Musical Bars (, and .)
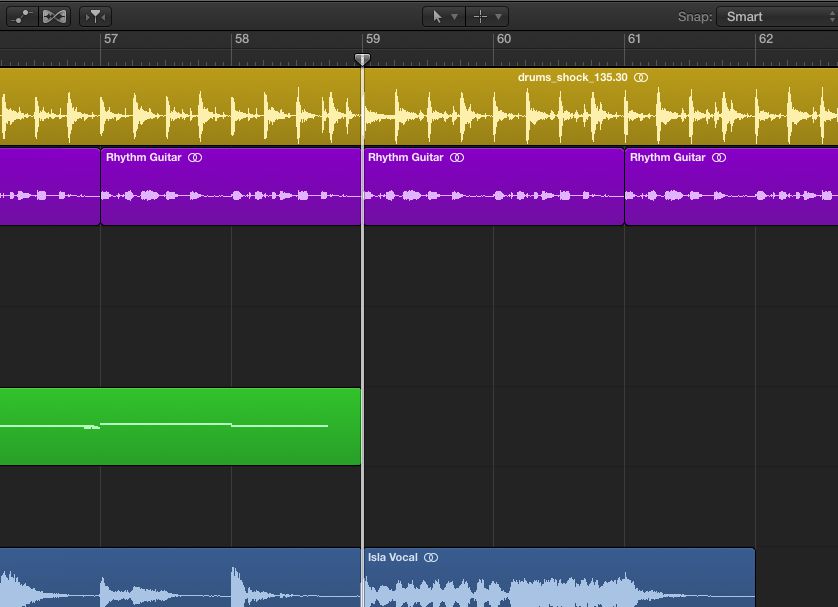
Often you'll want to start playback from a specific position. Using the , and . keys you can do this. Holding Shift with these will move forward or back 8 bars. This is also great for lining up bar position cuts on regions.
Move the Playhead with , and .
#4 - Move Region to the Playhead position (;)
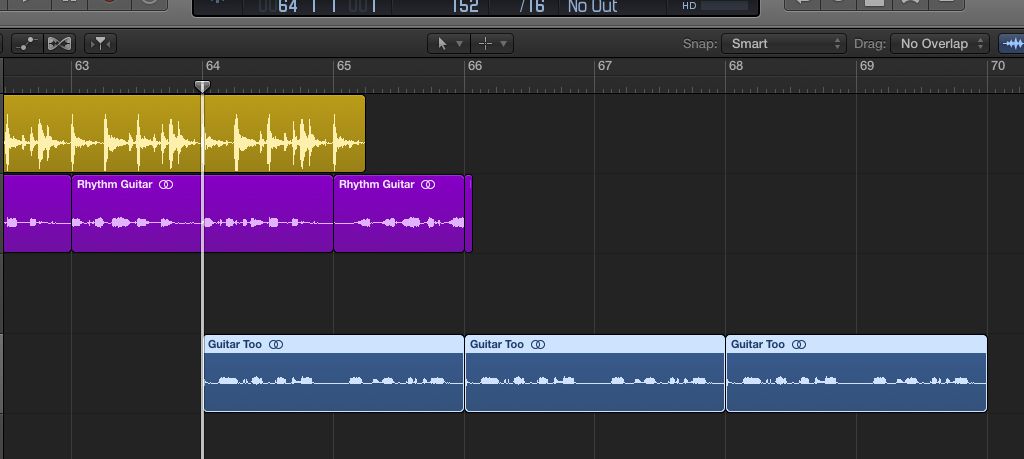
This is often called “Pickup Clock” and is frequently used for aligning sound effects to visuals when scoring. This is also great for moving regions large distances without having to physically drag them. Simply select the region(s) you want to move, then press the ; key. The selected regions will snap to the specific timeline position.
; to Move Region to the Playhead Position
#5 - Easily Cycle/Loop a Specific Area (Command-U)
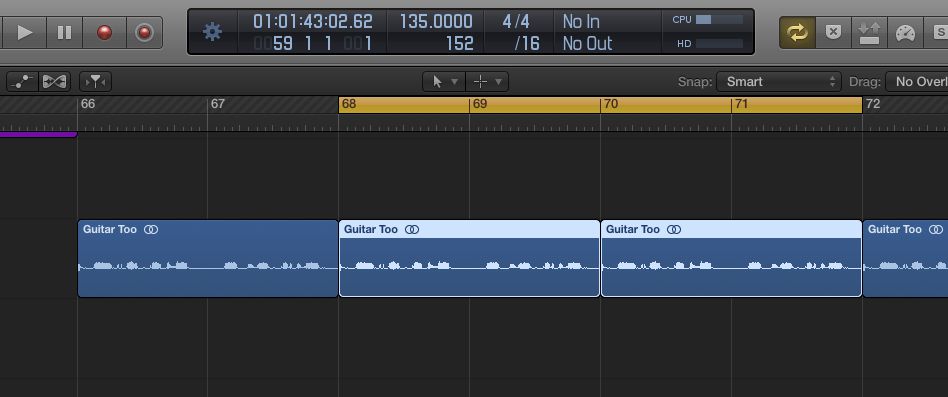
So you're working on an area of your track and you need to loop a specific bar range for playback. You can use the mouse to swipe up and across the top ruler, but if there's plenty of regions in the workspace, it can be difficult to “eye” the area you're attempting to loop. First select the regions you intend to loop around, then use Command-U. This command comes in handy very often while producing, editing, or recording. Using Command-U after selecting regions will set the cycle area to the exact width of the selected regions. Keep in mind Cycle Mode must be enabled for this (C).
Set Locators by Regions/Events/Marquee with Command-U
#6 - Move Through Settings/Presets ([ and ])
Do you find yourself repeatedly clicking onto Logic's settings menus when searching for a sound? What about clicking onto the next setting in the Library? Use the left and right brackets [ and ] to move between synth sounds, effect, EXS24 settings, and Library patches. Every built-in Logic instrument and effect works with these commands, and many third-party developers are kind enough to include their patches in the standard Logic settings format. On the other hand, many instruments with built-in preset management will not be available from the standard Logic settings.
Move Through Settings with [ and ]
#7 - Learn a Parameter to Your Keyboard Controller (Command-L)
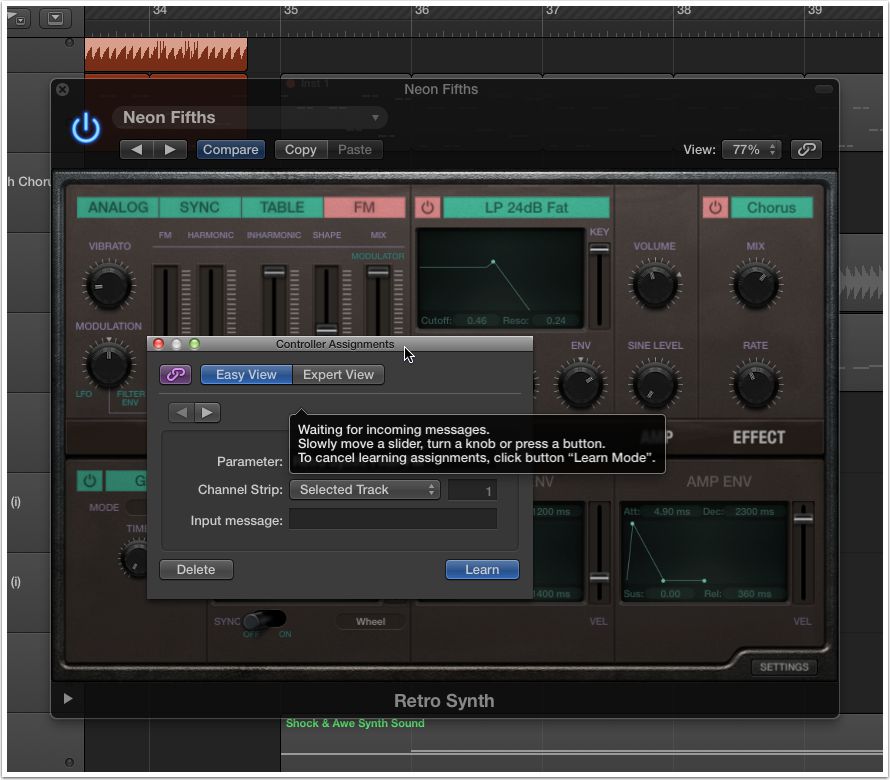
So you bought that great controller with all those knobs and sliders? So now what? How do you utilize them? First, tweak the parameter you want to control, then press Command-L. Now move the knob or slider on your controller you want to assign it to. Done. The command is remembered globally so even when opening other projects, the link between parameter and physical MIDI controller stays.
Learn new Controller Assignment with Command-L
#8 - Record Live Parameter Movements (Control-Command-A)
It forms the shape of an A on the Mac's keyboard. This is one of my favorite Logic command. This is actually a toggle command. It toggles between reading automation that has already been recorded and recording automation. Ever tweak a knob on a synth or effect and wish you could just grab what you were doing right there and then? Use Control-Command-A and you literally never have to stop… while Logic is playing whatever synth, effect parameter, or mixing levels you adjust, get recorded on the spot as automation. Toggle to return this parameter to the read value by pressing the command again.
Toggle Current Track Automation/Latch with Control-Command-A
#9 - Repeat Entire Sections (Control-Command - R)
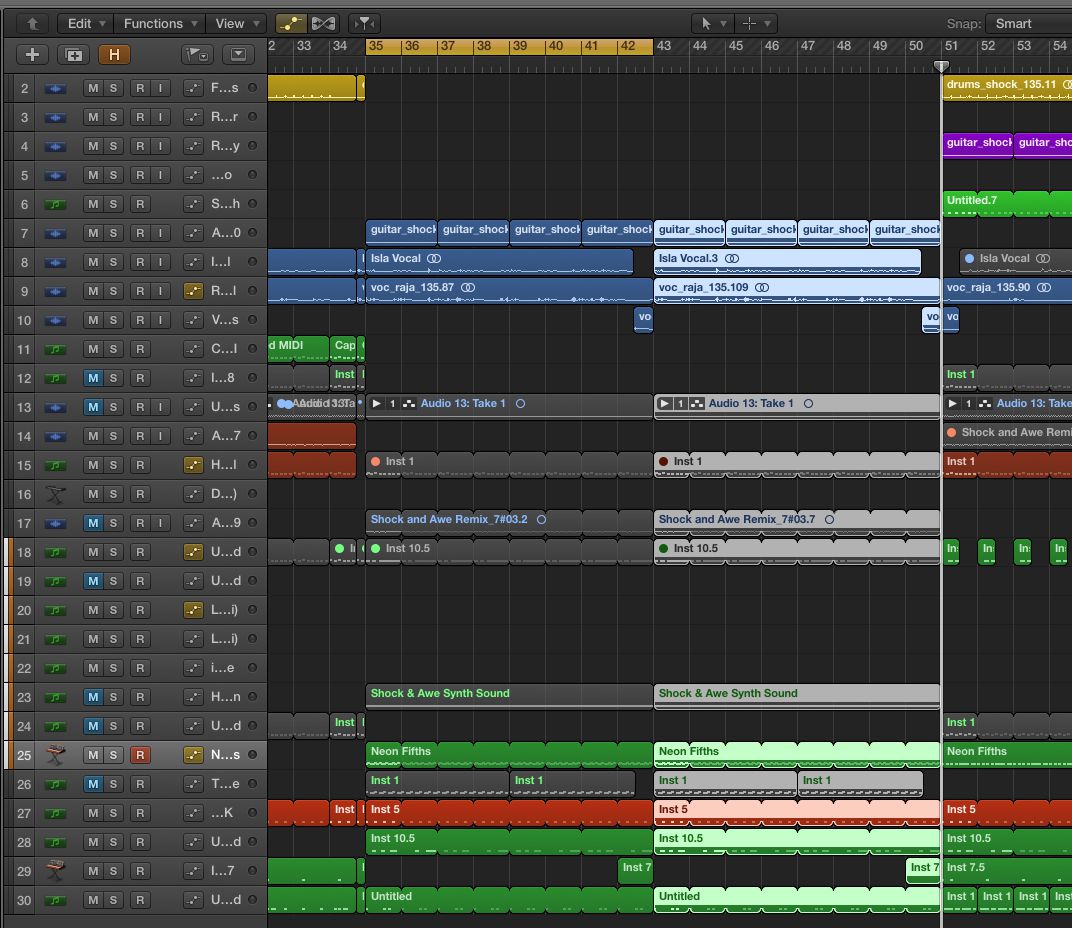
Control-Command-R is great for adding length to your songs. You can easily repeat a section, then remove regions to start sequencing/arranging. Create builds by working backward from a drop/peak section. Create a cycle/loop around the area you want to repeat first, then use this great command.
Repeat Section Between Locators with Control-Command-R
#10 - Convert Loops to real copies (Control-L)
This is great for editing a specific loop. When working with looped regions, remember that if you edit the original, all the copies are edited too. What if you want to edit a single region from those loops? Using Control-L turns any selected looped regions into independent editable copies. After using this command you can easily edit the notes in a specific MIDI region or chop an audio region without effecting the others. Keep in mind that copied audio regions are still linked back to the original audio file, so if you make a destructive edit (like in the sample editor) all the others will change too. That leads me to the final command… wait, that's 11 right? Yeah, I couldn't help it!
Convert Loops to Regions with Control-L
#11 - Convert Audio Regions to Independent Copies (Option-Command - F)
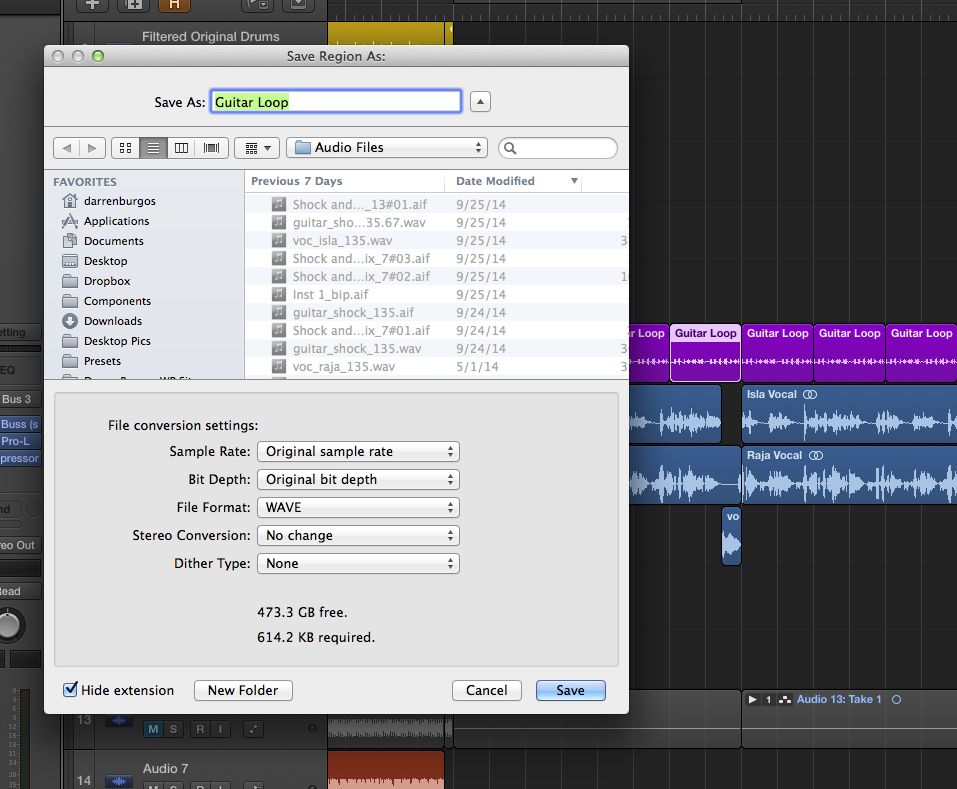
Destructive edits to audio files are done in the Sample Editor. Reversing, changing the pitch of a specific area, fading in and out, and more are a few reasons to destructively edit an audio file. When you do this, and you don't use Option-Command-F, the original file and all its loops are changed. If you do use this command on a region, a window will appear asking you to save it as a new copy. Logic should name the region automatically for you so simply pressing “Save” should do the trick. Now you can go to town destructively editing this independent piece of audio without worry.
Convert Regions to New Audio Files with Option-Command-F
Thanks for reading. Hope these commands help speed up your workflow while producing your tracks!


![Move Through Settings with [ and ] Move Through Settings with [ and ]](https://d29rinwu2hi5i3.cloudfront.net/article_media/997dee9c-dd6f-46ed-a08b-9040e1ba6440/screen_shot_6.jpg)


 © 2024 Ask.Audio
A NonLinear Educating Company
Discussion
Although this command only applies to MIDI recording, there is one hidden feature in Logic that is similar for audio recording. I would call it: “Capture an Audio Recording After it’s Played (and before you hit the stop button!)â€. This could be an absolute “job†saver if the singer or instrumentalist performs the perfect track and you realize that you didn’t press Record. Here is the trick: As long as you have “Quick Punch In†enabled, you can press play (i.e. at bar 5) and while the vocalist sings his best take, you still can press record any time (i.e. bar 20) before stopping the playback (i.e. bar 26) and everything from bar 5 on is recorded. The Audio Region seems to start at bar 20 to 26, but you can drag its left border all the way back to bar 5 and “voila, there it isâ€.
Also, for anyone who's dealing with lag/system overload, I recommend creating your own shortcut to toggle on and off Low-Latency Mode - I set mine to be cmmnd+shift+L and I save a lot of time doing that - turning it on when I need to record vocals or whatever, and it disables all the plugins slowing things down, and then just hit it again when I want to listen back with the effects and all.
Thx in advance
Andreas
Want to join the discussion?
Create an account or login to get started!