Most of us aspire to creating and mixing our music in ideal conditions, but very few of us do. We are stuck working on very basic setups, in average rooms, with little to no acoustic treatment. The advice that you should halve your speaker budget and split the costs on some kind of acoustic treatment is unrealistic on tight budgets, and a lack of knowledge on what to do with the acoustics often makes things worse anyway.
So What Can Be Done About It?
The one thing you do have control over, regardless of your listening environment, is the volume you play back your music, and it is more important than you might realize. The idea is that you set a fixed reference listening volume in your studio.
Why?
Psychoacoustically “louder” often appears to be “better”, and that very fact is the problem. By arbitrarily raising and lowering your levels when checking your mixes, you could be tricking yourself into thinking they sound “better” (or “worse”) than they do.
However, if you set a fixed level, your ears become used to a 'standard' volume and it enables you to judge levels, loudness and dynamics by ear more accurately. You will begin to know intuitively when something is 'too loud' or 'too quiet' relative to your standard reference level, and this is enormously useful—arguably essential—when making decisions while balancing your mixes.
What Do the Pros Do?
The Recording Academy's Producers & Engineers Wing, in their “Recommendations For Surround Sound Production”, recommend a reference listening level for surround sound production in the range of 79 to 85 dB C-weighted. This means the speakers are aligned so that a mono ‑20 dBFS (RMS) pink‑noise signal delivers 79–85 dB SPL from each individual speaker to the listening position.
But 79–85 dB is loud! It’s loud enough that the average bedroom producer working at this level for a few hours would eventually get a knock on the door from either an irate neighbour, the police, or both. Mixing at 79–85 dB in a small bedroom is ludicrous anyway, at this level you will be driving the room acoustics nuttier than your neighbours, and risk ear fatigue on top of that. It's a recipe for disaster. 69 dB SPL–79 dB SPL is more realistic for home studios and small rooms, and a reference level of no more than 74 dB SPL is recommended for rooms smaller than 42m3 (1500 Cubic Feet).
Working in this lower SPL range will help reduce (but not eliminate) room interference, your ears will stay healthy, and your neighbours won’t be introducing themselves with sharpened pitchforks at 3 a.m.
Why the range from 79–85 dB SPL?
A fundamental phenomenon of human hearing is that the human ear is extremely sensitive to the perceived loudness of differing frequencies, and the flattest response across all frequencies is in this range.
Where Do I turn up?
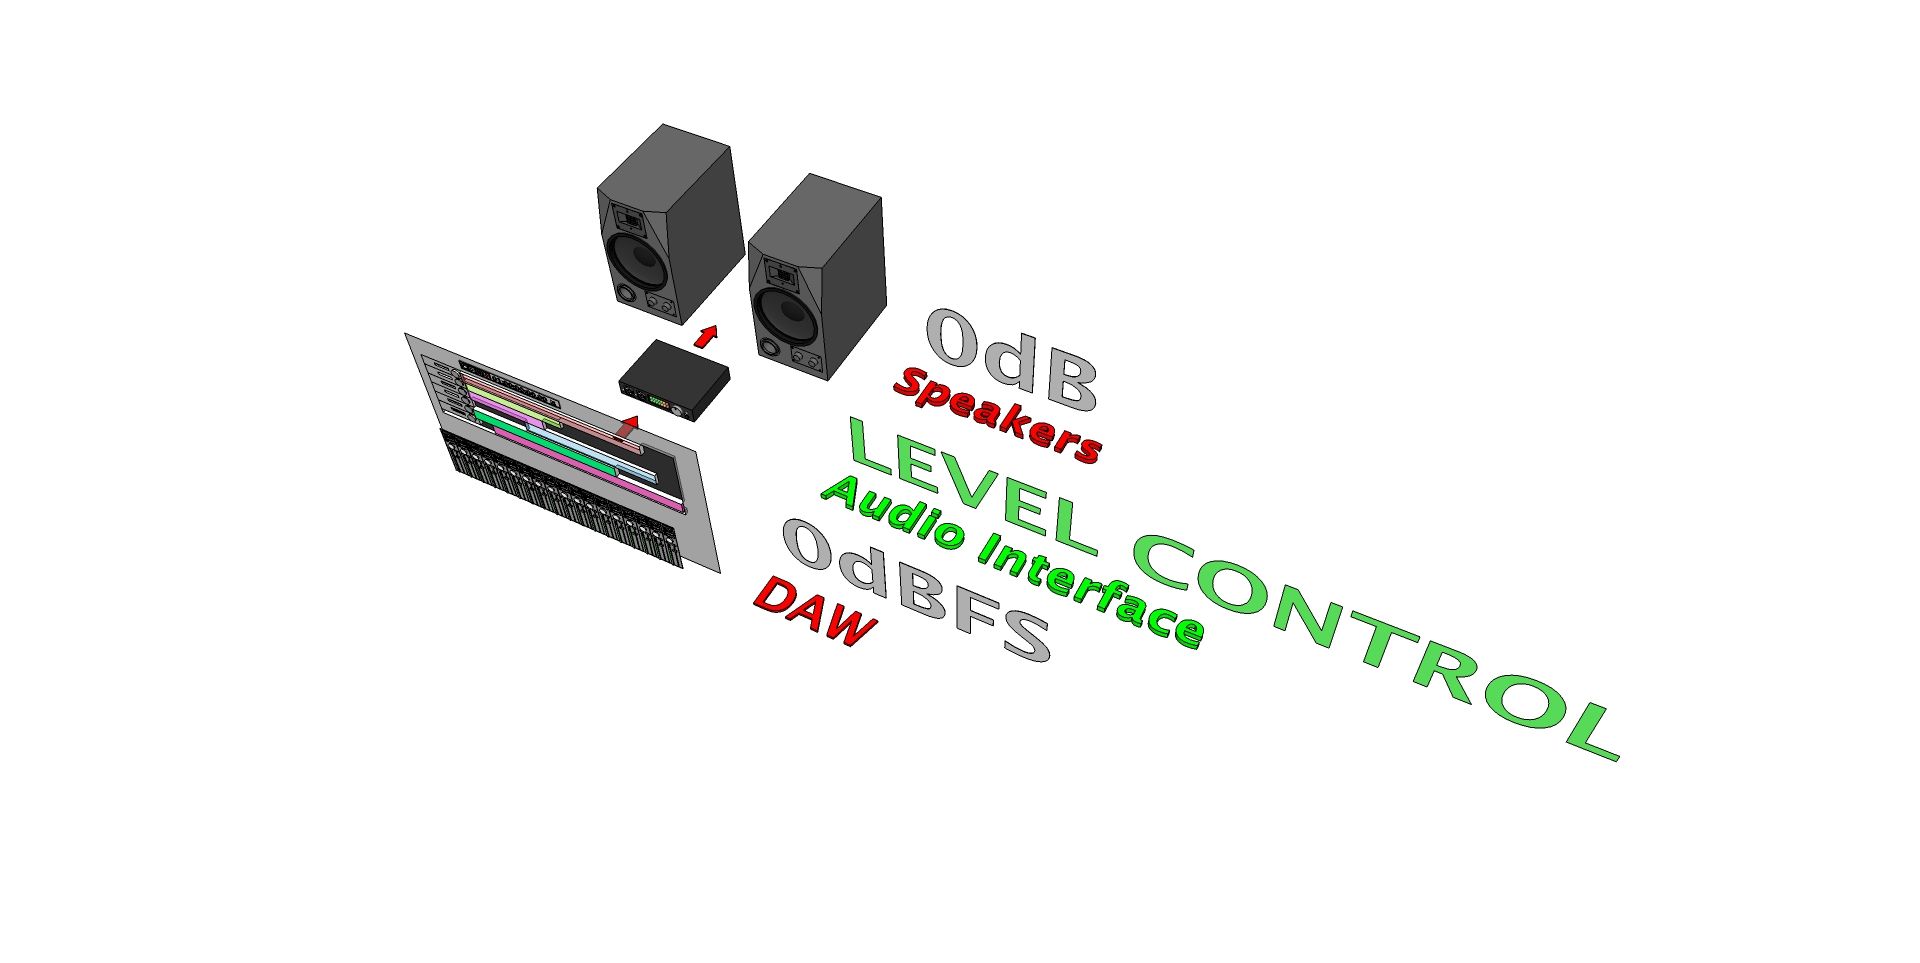
In digital systems it is recommended to keep everything at unity gain and turn up in the analog realm. This means inside your software the main output fader stays at zero, your audio interface is at 0 dB, and final levels are set on your speakers or their amp. While ideal, this is not always practical or possible.
One solution is to include a monitor controller in your setup—it’s an analogue volume knob that sits between your audio interface and your speakers. Of course if you are just starting out this may be an absolute luxury (a good controller can cost as much as a decent entry level sound card), so levels can be controlled from the interface itself.
The very last resort is turning down in the DAW itself at the master fader, but remember to turn back up when you are bouncing your final audio!
Disclaimer:
An in-depth, quantitative and empirical calibration of a studio is beyond the scope of this article.The following guides are “lite” versions, but they will get you started in the right direction.
Basic Speaker Setup
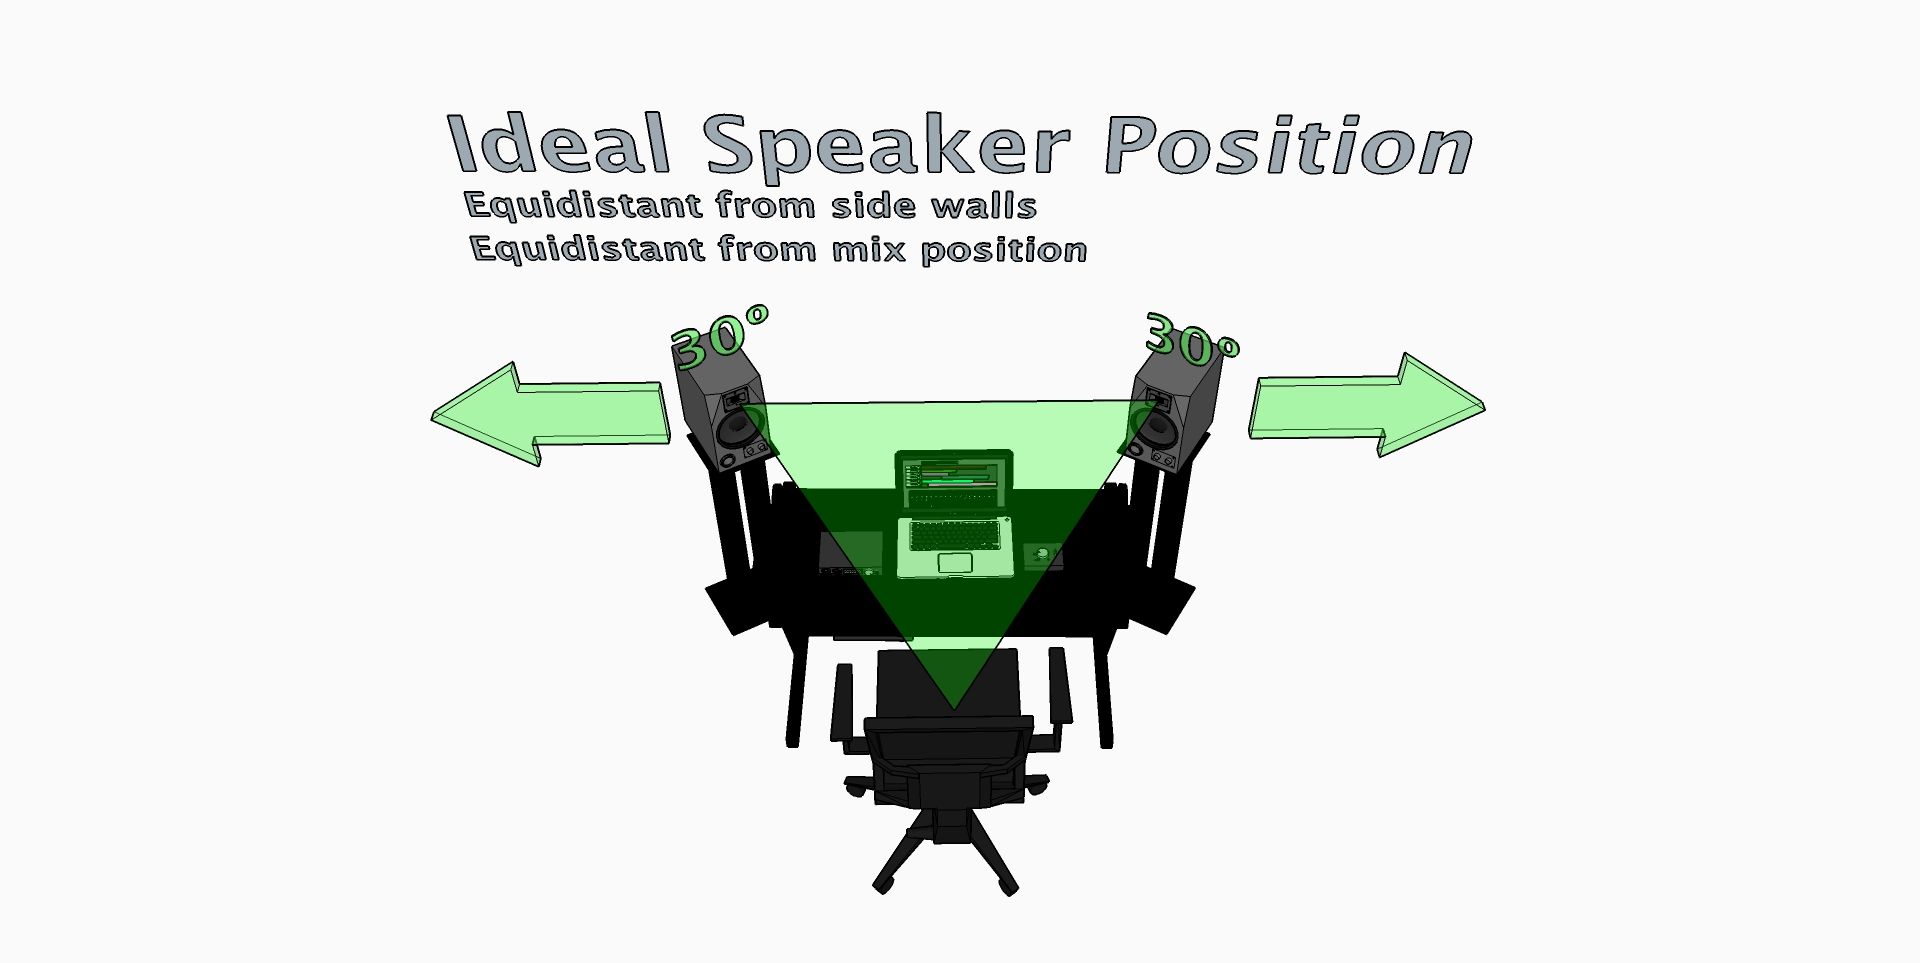
Before you get started make sure your speakers are positioned properly—equidistant from each other and your listening position, angled in 30º, tweeters at ear level (or aimed at ears if lower or higher than seated position). Speakers should be the same distance from the walls on each side.
DIY Very (Very) Basic Level Calibration
You will need:
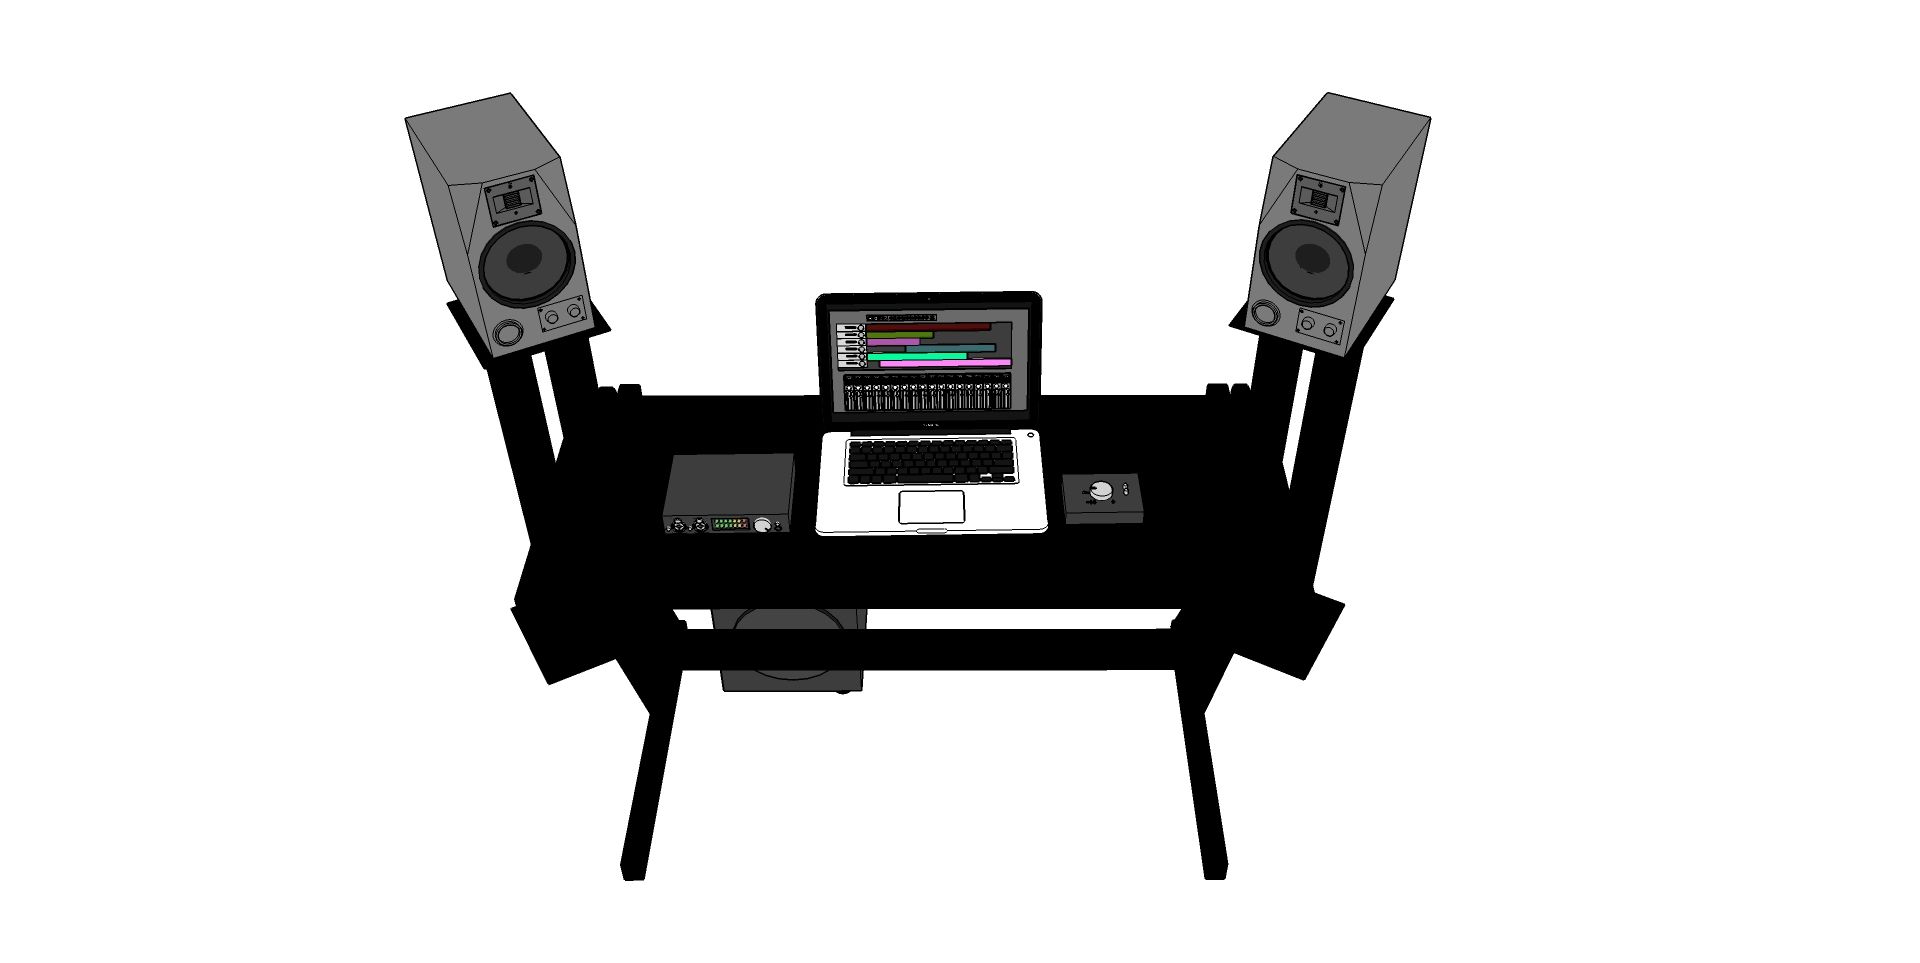
- A typical music making setup—computer, DAW, audio interface, and speakers.
- Some reference music.
Methodology:
- Using your own music, or some trusted reference tracks, experiment with volume levels until you find one that suits you.
- Mark that position on your volume controller.
- Use that level as your standard.
Keep in mind that reference tracks can be misleading if they are not level matched to each other, and to your own tracks. Remember to turn down excessively loud professional masters so that you get a more realistic average reference level for mixing.
Calibration “Lite” for Stereo and 2.1
You will need:
- A typical music making setup—computer, DAW, audio interface, and speakers.
- An SPL meter. (An SPL Meter app on your mobile will do for “close enough” measurements.)
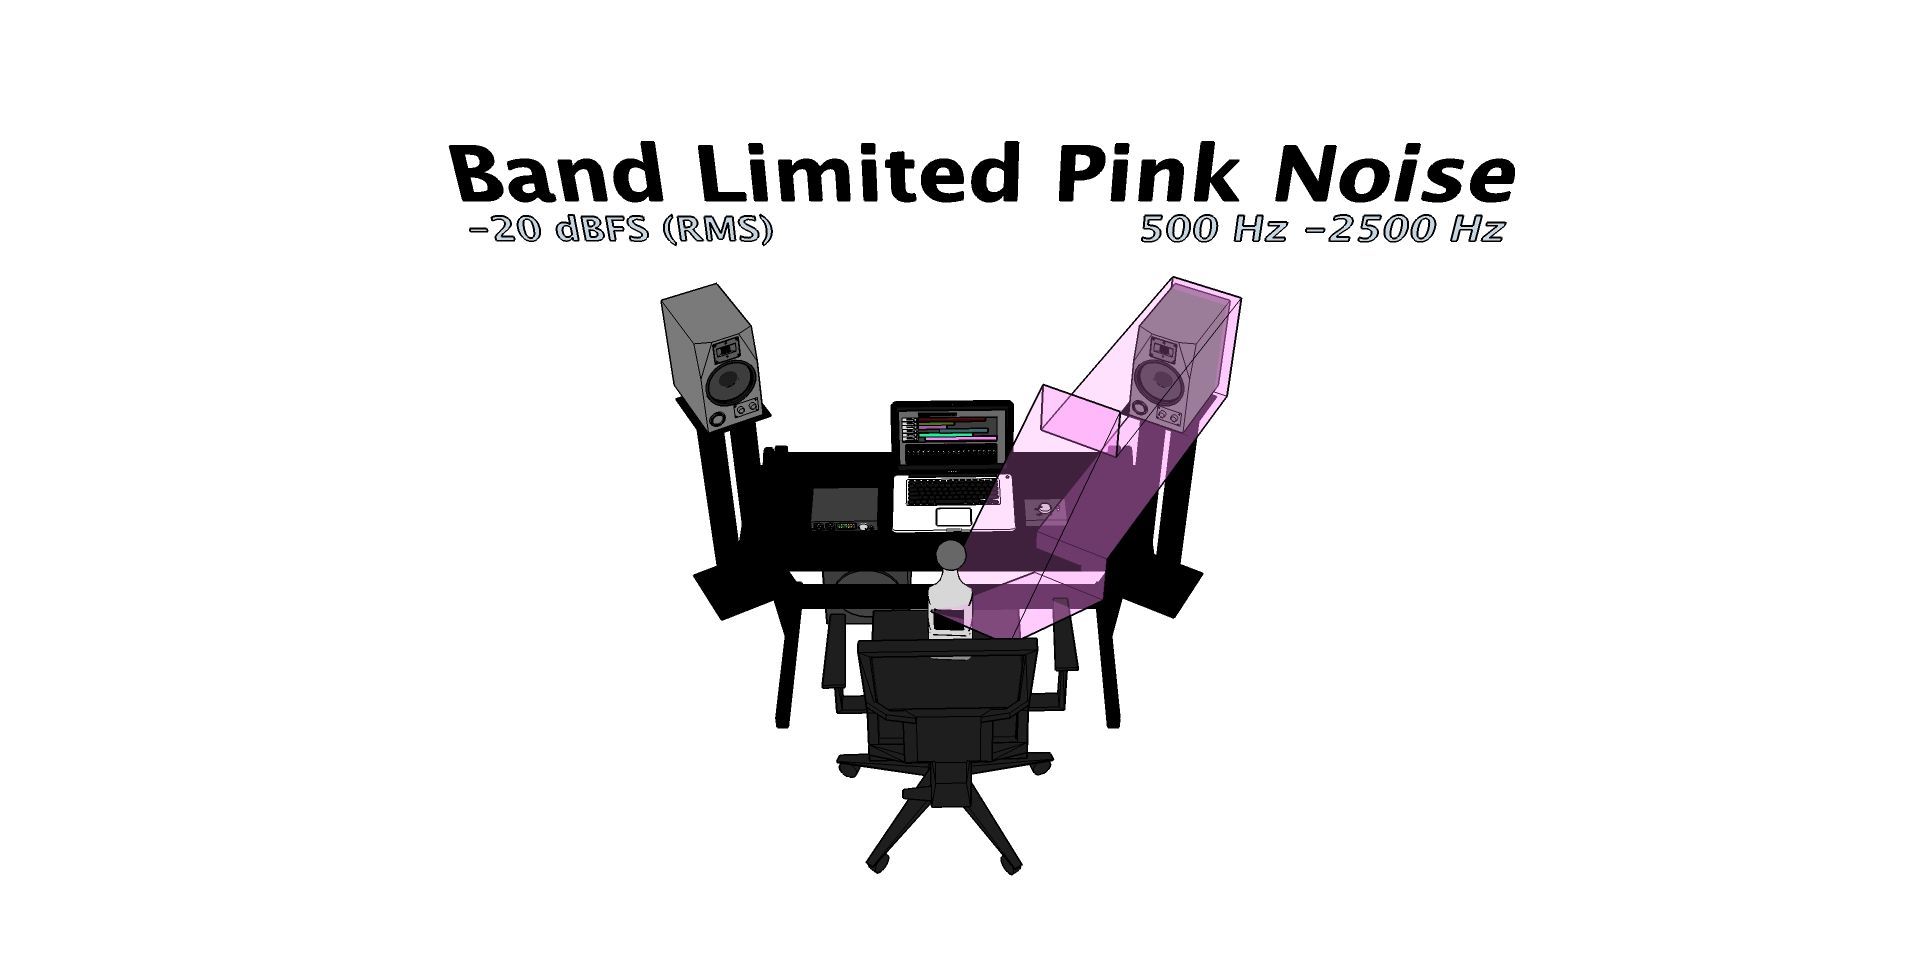
- A mono -20dBFS (RMS) band limited pink noise audio file. (500 Hz - 2.5 kHz)
- A mono -20dBFS (RMS) band limited pink noise audio file. (40 Hz - 80 Hz)
- A mono -20dBFS (RMS) full bandwidth pink noise audio file.
- A reliable DAW/software meter.
- Speakers to calibrate.
Go online here http://abluesky.com/support/blue-sky-calibration-test-files to download some test files.
Methodology:
- Turn off your speakers.
- If you’re calibrating with your audio interface, turn the volume completely down.
- If you’re calibrating with a monitor controller, set your audio interface output to 0 dB and turn your monitor controller all the way down.
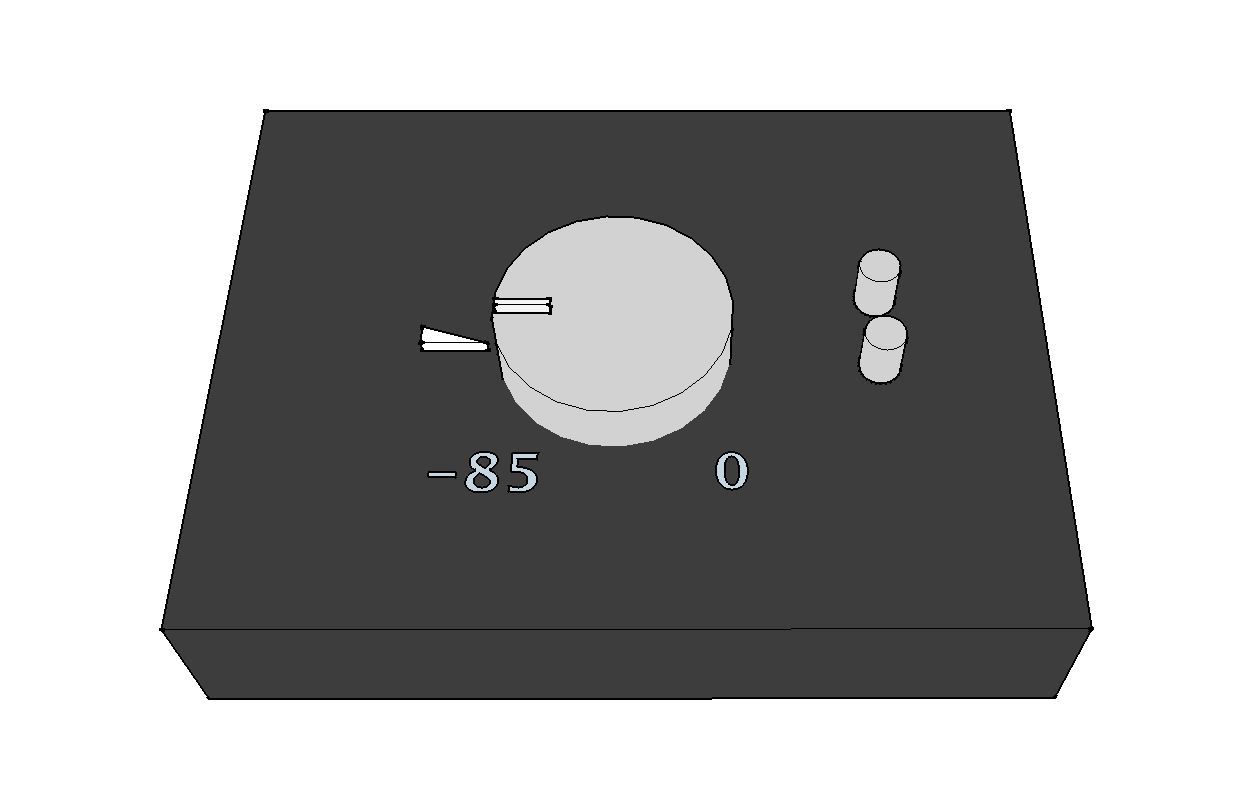
- Set your speakers to their nominal working level—typically marked 0 dB on the dial.
- Open up your DAW and load the mono test files into separate tracks.
- Set all their faders to unity (0 dBFS) and remove any EQ or dynamic plugins from all signal paths.
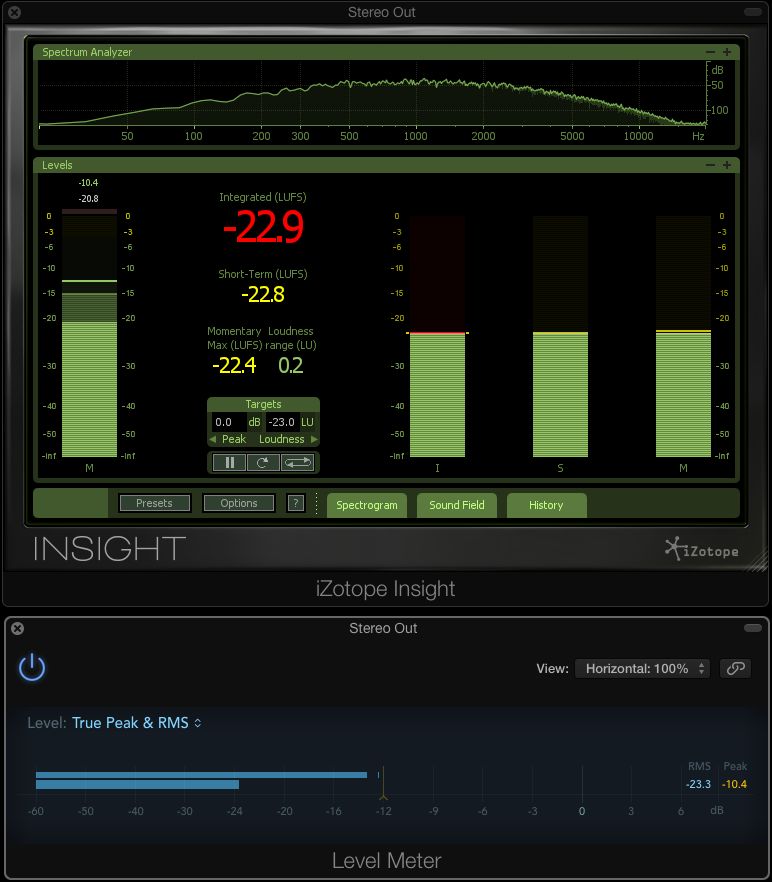
- Check your DAW’s output is accurate with a level meter—the -20 dBFS (RMS) band limited pink noise should peak at around -10 dBFS with the RMS hovering around -20 dBFS. (Please note that the Logic Pro X level RMS meter is offset by -3 dB and reads +/- -23 dB.)
- Make sure your audio interface/monitor controller volume is down.
- Turn on your speakers.
- Set up the SPL meter at your listening position and point it at the ceiling. If you’re using a mobile device, hold it in front of you while sitting in your mix position.
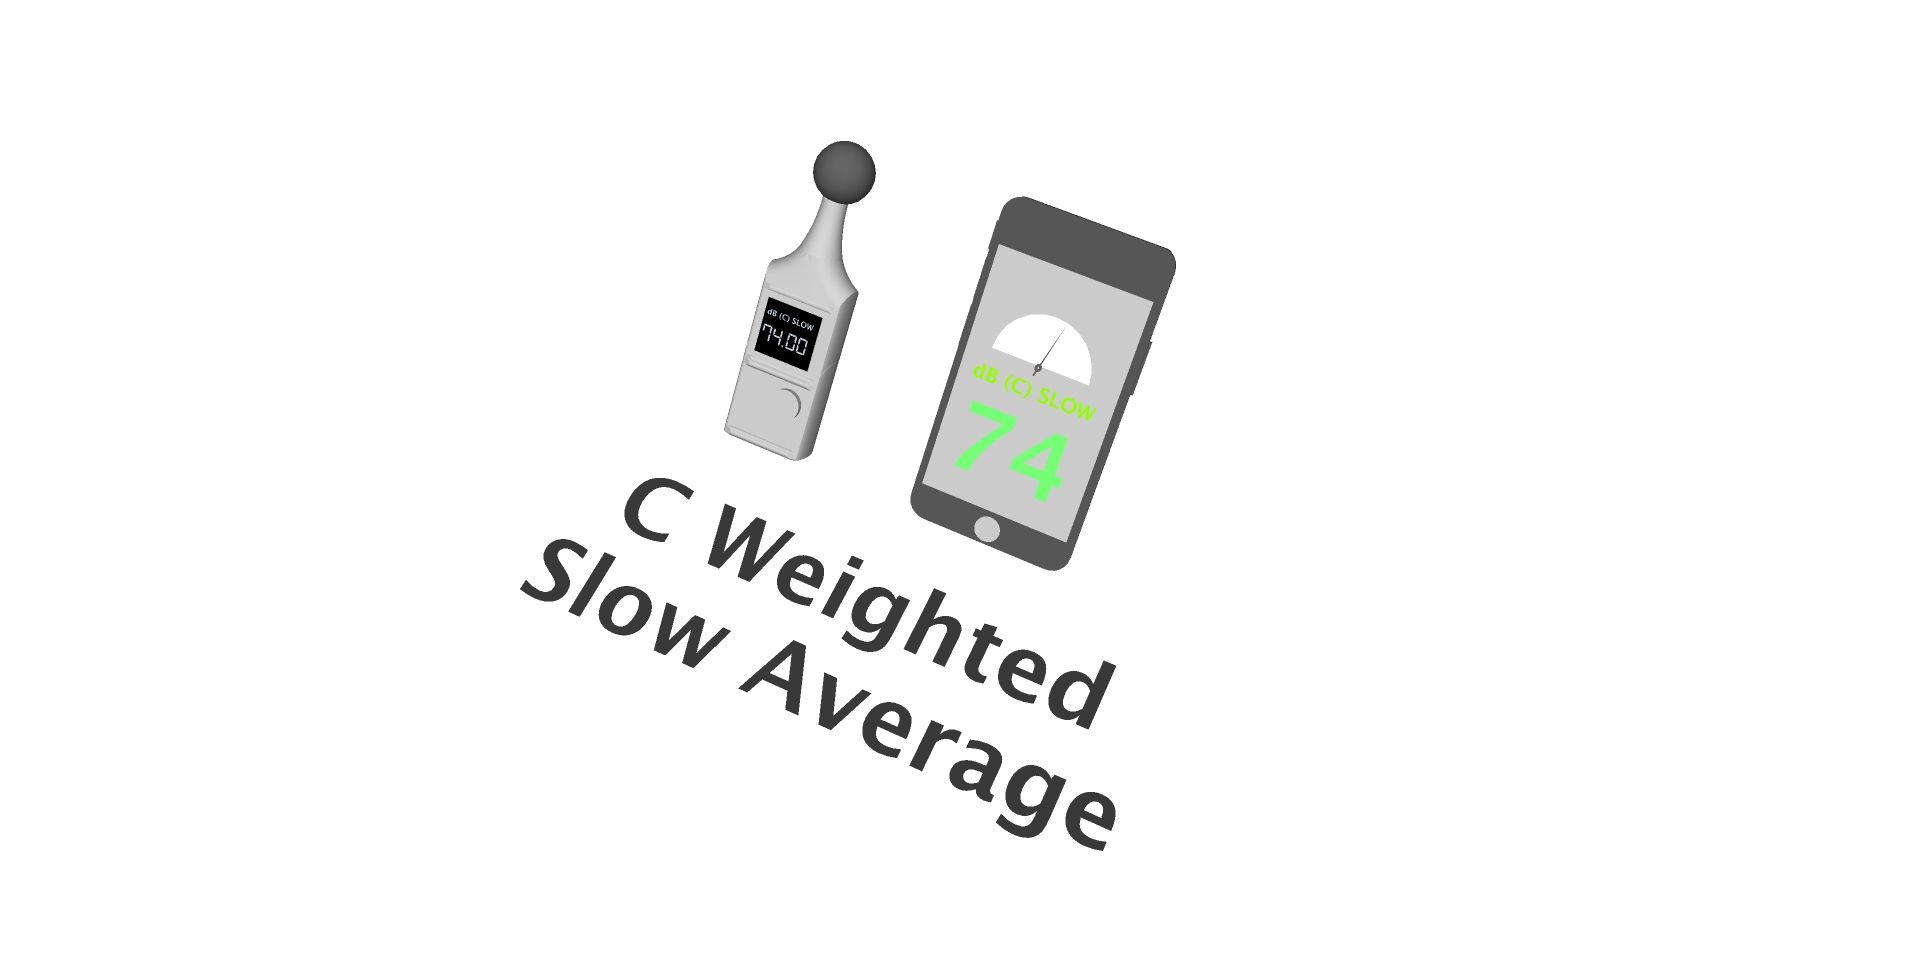
- Make sure it’s set to C-Weighting and a Slow Averaging time.
- In your DAW, route the band limited pink noise (500 Hz–2.5 kHz) directly to the left channel, usually Output 1 (Mono).
- Play the band limited pink noise (500 Hz–2.5 kHz) and loop it.
- On your monitor controller, or your audio interface, slowly turn the volume up until you reach an SPL reading of your choice. (For a home studio the SPL you choose is up to you. As a general rule of thumb in any room below 42m3 (1.500 cubic feet) you should aim for around 69–74 dB.)
- Mark the position of your volume knob at this SPL reading.
- Turn your audio interface/monitor controller volume back down.
- Send the pink noise through the right channel and speaker only, usually Output 2 (Mono).
- When you reach the position you marked previously, your SPL meter should read the same level as that from the left speaker.
- If you find one speaker is lower in level than the other by more than a +/- 0.5 dB you can use the speaker’s volume knobs to fine tune the levels.
Basic Subwoofer Calibration:
- For your subwoofer play the bandlimited 40 Hz–80 Hz file through the sub (left channel and right channel, one at a time) and match the SPL to your speakers’ calibration level. (Hint: Matching subwoofer SPLs to satellite SPLs can be overwhelming in small rooms, so use your ears. You might find that turning down a few dB on the sub brings more balance to the levels.).
- Also, bear in mind that a basic SPL meter/App is not really up to the task of measuring such low frequency content, so results are rough at best.
Conclusion
Et voila! Your studio has been ‘Lite” calibrated to a fixed level with a headroom margin of +/- 20 dB. This equates to an operating level of -20 dBFS (RMS) which aligns with the broadcast standard level of -23 LUFS, as we have covered in this article:
https://ask.audio/articles/demystifying-the-confusion-around-loudness-metering-levels.
This is your reference mixing level—but watch out!
Since this is a mixing reference volume, remember to turn down when listening to commercially mastered music, films, or internet content, because this -20 dB headroom has been deliberately removed—a commercial CD could be as much as 15 dB (RMS) louder and damage your speakers or worse yet your ears.


 © 2024 Ask.Audio
A NonLinear Educating Company
Discussion
If we need to worry about this risk,
Since this is a mixing reference volume, remember to turn down when listening to commercially mastered music, films, or internet content, because this -20 dB headroom has been deliberately removed—a commercial CD could be as much as 15 dB (RMS) louder and damage your speakers or worse yet your ears.
Why don't we calibrate our speakers to an even lower SPL? If we are calibrating with a -20 dB FS sample, yet most music is trying to hit 0 dB, why not calibrate to 50/60 dB SPL, so that when your music or any reference material is played at unity (in your DAW), you're actually hearing it at 70-80 dB SPL? Is this just silly? What am I missing?
Want to join the discussion?
Create an account or login to get started!