
More then ever, it has become easier to lay down your song ideas while on the move. With GarageBand for iPad, we are also closer then ever to having a full professional recording studio in a very thin package. And at a price of $4.99, who can complain? For those who are just starting out, here's a first tutorial on recording guitar to get you and your iPad rocking.
Setup and Equipment needed
First off before even starting the application, you should get the hardware you need to enable you to record your guitar to your iPad. There are two basic input types you need to consider:
- Guitar Input for Electric Guitar and Bass (IK Multimedia iRig, Apogee Jam, AmpKit Link)
- Mic Input for acoustic guitar (IK Multimedia iRig Mic, Blue Yeti Pro -- requires Apple's Camera Connection Kit)
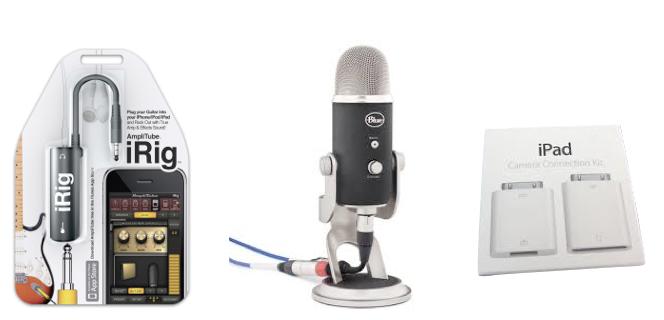
L to R: IK Multimedia's iRig, Blue Yeti Mic, Apple's Camera Connection Kit
Guitar Amp
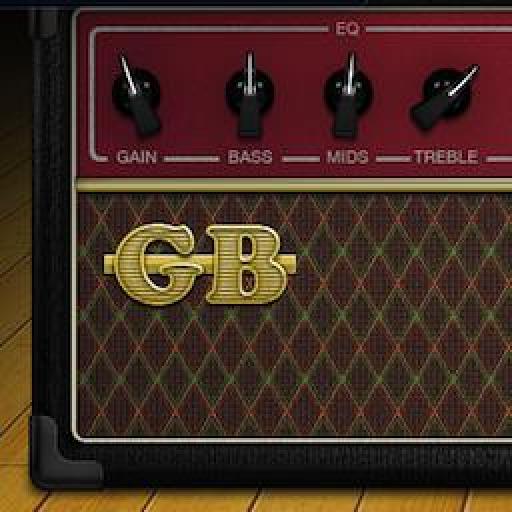
Launch GarageBand for iPad and plug your guitar into the iRig. On the left of the screen is a " 1/4" jack" button which lets you add a noise gate. Handy for those distorted tones. Next to it is the guitarist's best friend: the Tuner... no excuses for a flat g-string!
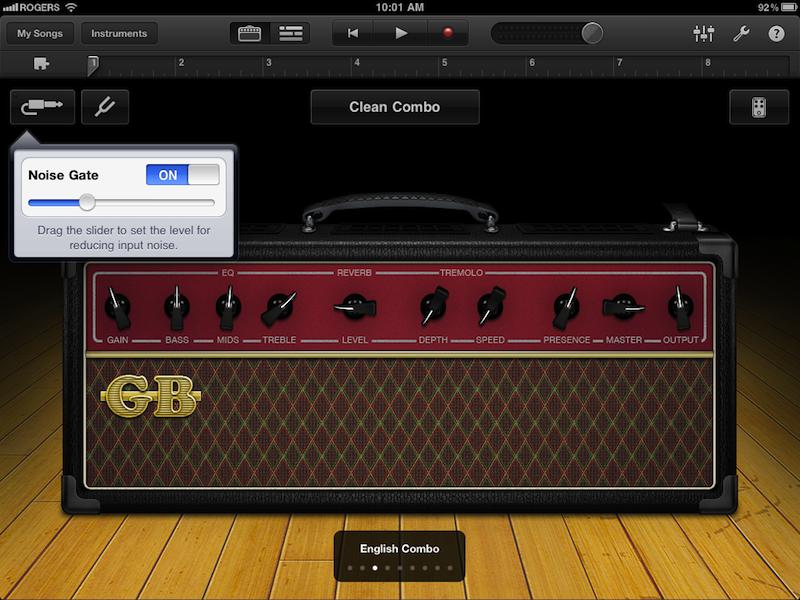
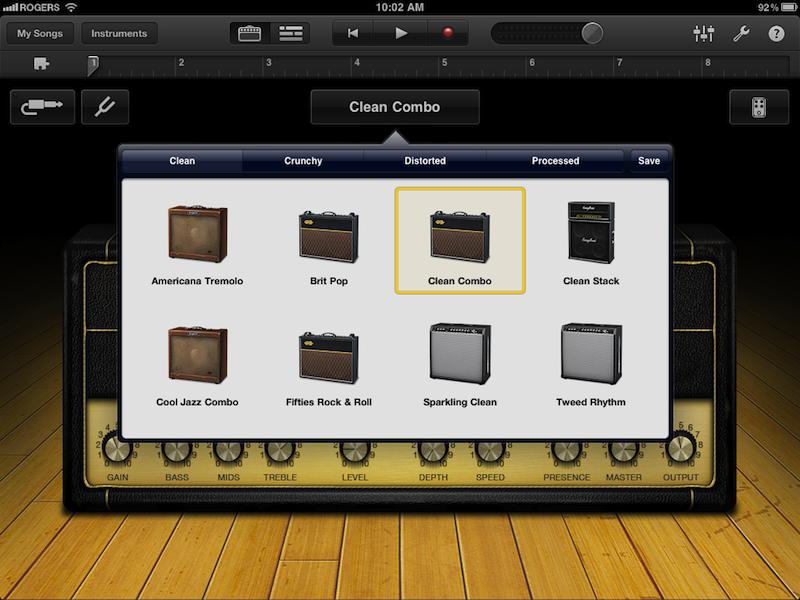
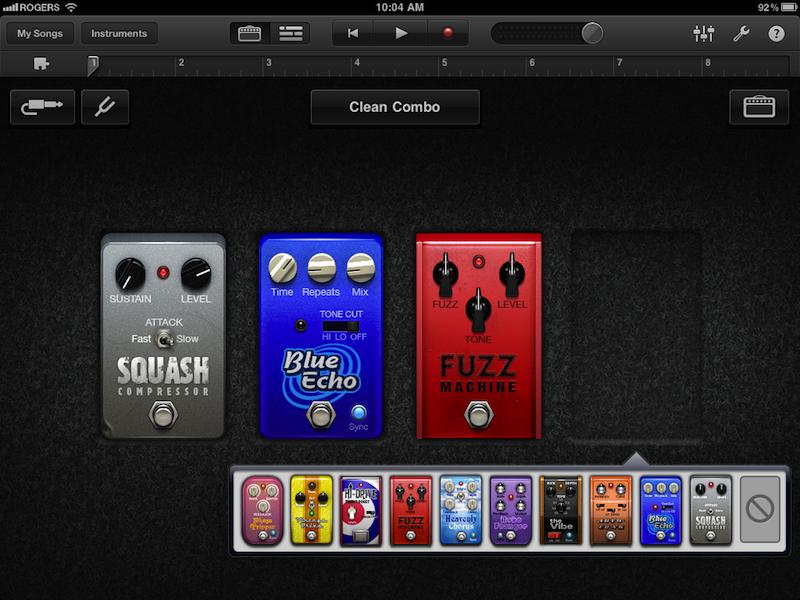
In the middle, you can select from different amp combinations and even save settings of your own. You can also swipe the amps to keep the same preset settings and try these settings on different amps.
On the far right is the "pedals" section. Here you can add up to 4 pedals, change their effects level and remove pedals. To get back to the amp section, tap the "Amp" icon on the right of the screen. One nice thing about GB for iPad is that you can change the amps settings after you've recorded your part and even create your own presets for future recordings.
Audio Recorder
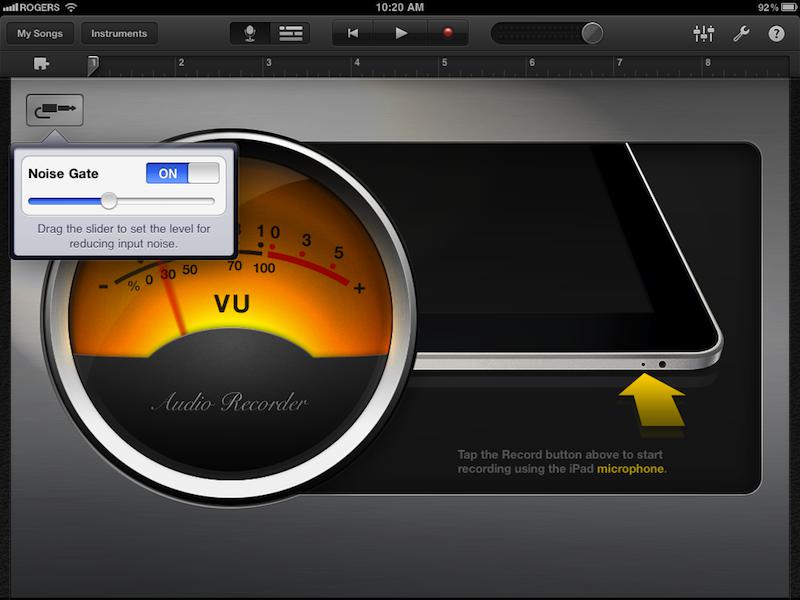
If you want to record acoustic guitar, you can use the iPad's built in microphone but I would recommend looking at Blue Microphone's "Yeti Pro" or Apogee's upcoming "Mic" to add a professional sheen to your recordings. When you first open Audio Recorder it gives you a VU meter to check your audio input levels. A noise gate is also available by tapping on the "1/4" plug" icon.
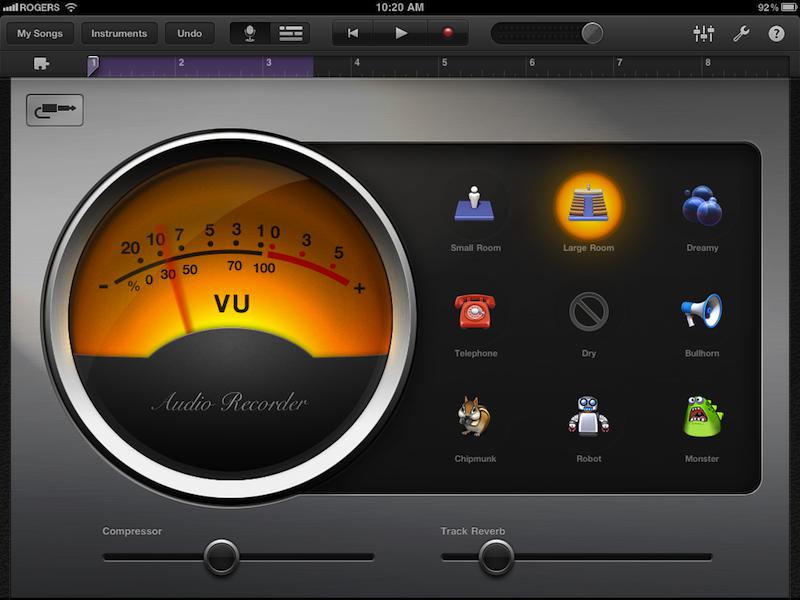
Once you record a take, you can then add processing to the sound from a preset selection that include effects and voice transformers. The effects also give you sliders for compression, reverb, chorus, etc. depending on the effect you choose.
Recording Tips!
First and foremost... PRACTICE! GB on the iPad does not allow editing like GB on a Mac and you don't get features like Flex Time, multiple takes, pitch correction, etc. Also, you will have to play the parts at the tempo of the song unlike those who slow a song down, record their part, and speed it up after. While some would look at this as a detriment, I look at it as positive growth for musical skills and it ultimately gives you a better understanding of your song. After all, becoming a better musician is a life long process and not a means to an end.
After recording an electric guitar you have plenty of options to affect the tone as the amps have EQ and FX pedals to compress, etc. If you want to record feedback on the electric guitar, you will need to connect the output to your speakers and boost the main volume. But... be careful as each amp/guitar has it's own characteristics for feedback and some are just plain uncontrollable ear-piercing squeals. Layering guitars also has the usual big sound but also eats up tracks so planning is crucial.
Also, when planning your song parts, take into account that GB for iPad does things in "sections" and only up to 10 sections. While this may not seem like a big deal, you will want to figure out the parts/sections of your song beforehand. For example, song intro, verse 1, pre-chorus, verse 2 with added guitar, pre-chorus with organ, Chorus, verse 3 with less instruments, bridge, intro, Chorus, Chorus 2, End, etc. You can put the "Sections" into "Automatic" mode which gives you whatever amount of bars you want i.e. Record intro and verse 1 together.
When recording an acoustic guitar or instrument, be sure to try different takes with your USB microphone or iPad mic on different spots and distances from the guitar. Mic placement is very critical to get a decent sound. For example, placing a mic close to the sound hole of the guitar can add unwanted bass frequencies. Although with the iPad mic I found this to be the best spot.
Also, there are No EQ Frequency bands to allow you to fix things after recording. For a brighter tone, consider newer strings or a harder pick. If using the iPad's mic, make sure your room is as quiet as possible, because it'll pick up every little sound as the signal to noise ratio is not great. Another trick is to use the Guitar Amp settings for EQ control. I found the most natural to be the Clean Combo setting with the gain off. As you increase the gain, it adds some crunch to the tone. This way you can EQ somewhat and even add some nice compression and chorus. Even playing with the Noise Gate setting gave some interesting results. Metal Acoustic! Experimentation is key.
Stay tuned for more GarageBand for iPad tips and tutorials on recording synths, pianos, etc. and vocals!

Discussion
I'll be posting more on recording with keyboard controllers, vocals and drums soon.
Ian
... or any class compliant audio interface that plugs into the Camera Connection Kit :)
si j'ai bien compris il faut une guitare électrique pour enregistrer sans micro! Est-ce possible avec une guitare électro-acoustique branché avec iRig sur un iPad?
Merci pour votre réponse
Luc
Want to join the discussion?
Create an account or login to get started!